Table of Contents

Summary of Contents for Prestigio GEOVISION 5055
- Page 1 GEOVISION 5055 Unboxing Getting started Maps & navigation Specifications Troubleshooting Safety You may find detailed warranty information at: www.prestigio.com/support/warranty-terms. © Copyright 2015 Prestigio. All rights reserved.
-
Page 2: Inside Your Package
Inside your package Your device at a glance 1. Power button 4. Mini USB port 2. Earphone jack 5. Reset button • Prestigio GPS • USB cable 3. SD card slot 6. Speaker • Mounting cradle • Quick start guide • Car charger... -
Page 3: Getting Started
Getting started Mount your device Congratulations on your purchase and welcome to Prestigio. To get the most from your product and enjoy all that Prestigio has to offer, please visit: http://www.prestigio.com/catalogue/Navigators For more details about your product, please visit: www.prestigio.com/support... -
Page 4: Charge The Battery
USB port of a computer. Press and hold the power button to turn on your device. To turn it off, press and hold the power button, and and then tap power icon on the pop-up screen. Menu Troubleshooting Back Next www.prestigio.com... -
Page 5: Maps & Navigation
(Navigation Map screen Menu), tap Settings > Simple mode. When Prestigio GeoVision is started the first time, you need to select whether to start the program in Simple mode or in Advanced mode. The two operating modes of Prestigio GeoVision mainly differ in the menu structure and the number of available features. -
Page 6: Navigation Menu
Navigation menu destinations. • Tap Map to navigate or to browse the map. • Tap Settings to customise the way Prestigio GeoVision works. • Tap Exit to stop navigation, and exit Prestigio GeoVision. GPS modes Navigation menu Navigation Map screen After selecting Simple mode, the Navigation menu appears. - Page 7 4. Pick the settlement from the list. Navigation Map screen In the Navigation menu, tap Find Address. By default, Prestigio GeoVision proposes the country/state and settlement where you are. If needed, tap the button with the name of the country/state, and select a different one from the list.
- Page 8 • Tap Done to open the list of results before it appears automatically. 4. Pick the street from the list. Menu Troubleshooting Enter the house number: 1. Tap House number. Back Next 2. Enter the house number on the keyboard. www.prestigio.com...
- Page 9 GPS position. • Around destination: The POI will be searched Menu Troubleshooting around the destination of the active route. • Along route: The POI will be searched not Back Next around a given point but by the size of the www.prestigio.com...
- Page 10 Order by name or Order by detour button. Menu Troubleshooting Tap the desired POI in the list. The map appears with the selected point in the Back Next middle. Tap Navigate to from the Cursor menu. The www.prestigio.com...
-
Page 11: Map Screen
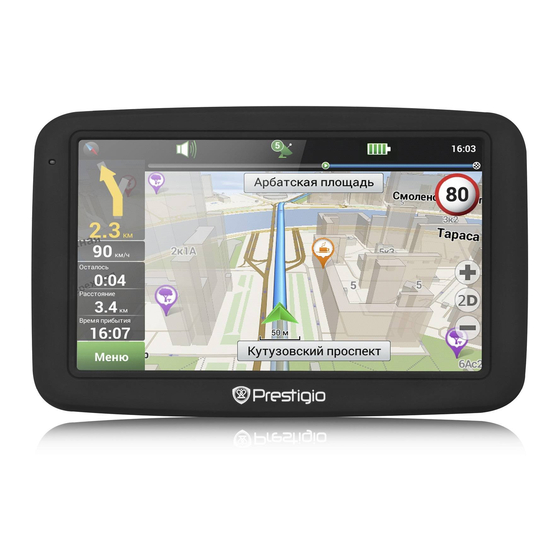
Navigation Map screen The most important and most often used screen of Prestigio GeoVision is the Map screen. The map looks similar to a conventional road-map. The blue arrow represents your current position, and the green line shows the recommended route. -
Page 12: Specifications
Specifications MSB2531A Cortex A7, 800 MHz RAM 128 MB + 4 GB Flash Micro SDHC/SDXC ≤ 32GB 5” touch LCD, 480*272 1050 mAh 137.5*88.5*12.5 mm (H*W*D) 170 g Menu Troubleshooting Back Next www.prestigio.com... -
Page 13: Troubleshooting
Use the adaptor to supply power or charge the battery. There is no sound. Turn up the volume or turn on the sound output. There is no picture. Adjust the brightness of the LCD. Menu Troubleshooting The unit can’t receive satellite signals or can’t orient. Make sure to use the unit out of room; if in the Back Next www.prestigio.com... -
Page 14: Safety Instructions
Safety instructions • To reduce the risk of electric shock, do not remove the cover (or back). Only PRESTIGIO certified technicians are qualified to repair your device. • The manufacturer should not hold responsibility for the damage caused by any substitutions...


Need help?
Do you have a question about the GEOVISION 5055 and is the answer not in the manual?
Questions and answers