Table of Contents
Advertisement
Advertisement
Table of Contents

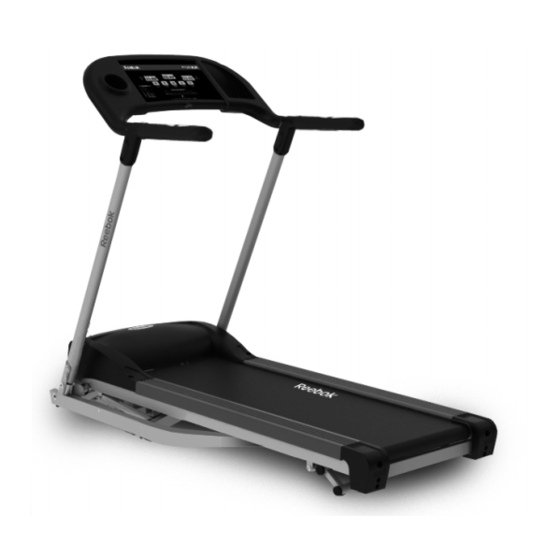
Summary of Contents for Reebok edge 2.2 series
- Page 3 Dear Customer, We are pleased, that you have chosen a Reebok Fitness Equipment. This quality product has been designed for in-home use and has been tested and certified according to the European Norm EN 957-1/6. Please carefully read the instructions prior to assembly and first use and be sure to keep the instructions for reference and maintenance.
- Page 4 Reebok products are recyclable. At the end of its useful life please dispose of this article correctly and safely (local refuse sites). Advice The owner’s manual is only for the customer reference. Reebok can not guarantee for mistakes occurring due to translation or change in technical specification of the product.
- Page 5 Precautions Before assembling or using the treadmill, please read the following instructions carefully. They contain important information for use and maintenance of the equipment as well as for your personal safety. Keep these instructions in a safe place for maintenance purposes or for ordering spare parts. Product-Scope: This product is made for home use only and tested up to a maximum body weight of 110 ...
- Page 6 Product-Preparation: Follow the steps of the assembly instruction carefully. Product-Preparation: Only use suitable tools for assembly and ask for assistance if necessary. Product-Preparation: Only use original Reebok parts as delivered (see checklist). Product-Preparation: Tighten all adjustable parts to prevent sudden movement while training. ...
- Page 7 Check List...
-
Page 8: Fold Up And Transport
Fold up and Transport... -
Page 12: Correct Use
Correct Use Correct biomechanical position: Please refer to the picture above. Running straight on the treadmill is made easier by focusing on a fixed object in front of you in the room. Run as if you wanted to approach the object. Always keep a distance which you can reach the console housing. - Page 13 Lock Pin...
-
Page 14: Deck Lubrication
DECK LUBRICATION: The walking belt has been pre-lubricated at the factory. However, it is recommended that the walking board be checked periodically for lubrication to ensure optimal treadmill performance. Please ensure the lubrication of the running belt is checked every 4-6 weeks after the initial 100 miles/kilometers of use. Every 30 days or 30 hours of operation lift the sides of the walking belt and feel the top surface of the walking board as far as you can reach. -
Page 15: Running Belt Adjustment
RUNNING BELT ADJUSTMENT This information forms part of the self maintenance and must be carried out periodically by the user* Proper maintenance is very important to ensure your treadmill is always in top working condition. Improper maintenance could cause damage or shorten the life of your treadmill and exceed the LIMITED WARRANTY coverage. -
Page 16: Exploded View
Exploded view... - Page 22 Spare Part List Part No. Part name Quantity Console housing upper Console housing lower Computer insert holder Console Console housing plastic sheet Safety key base Safety key Overlay Handlebar Upright –left Upright –right Handle pulse sensor Power plate Power Switch Power switch breaker Electric outlet Φ38 handle bar end cap...
- Page 23 Motor holder Driving Belt Motor hood Motor cover lower Two section frame tube cap Two section frame tube bushing Main Frame cross tube Transformer OD25X10mm End cap- insde Running belt Side rail Rear end cap – left Rear end cap – right Running Deck M4X15 Screw M8X43 Allen head cap bolt...
- Page 24 Plastic Washer Φ12X24X1.5 Washer Φ8X20.5X2 Curve Washer Cushion Side rail guider Φ6.4X18x1.5 Washer...
- Page 25 COMPUTER INSTRUCTION CALORIES/PULSE DISPLAY STOP BUTTON SPEED DOWN BUTTON ENTER/MODE BUTTON SPEED UP BUTTON START BUTTON SPEED/DISTANCE DISPLAY TIME DISPLAY...
-
Page 26: Buttons And Functions
BUTTONS AND FUNCTIONS START button Press the button to start the computer or start the program. The initial speed of 0.8 km/h / 0.5 mph STOP button Press to stop exercise during workout time. Press to quit preset program and function values after completing a single program. -
Page 27: Power On
POWER ON After connecting the power cord switch the power button on. The LCD screen will light up. SAFETY KEY The safety key must be inserted into the slot on the console in order to operate the treadmill. Always insert the safety key and attach the clip to your clothing at your waist before beginning your workout. - Page 28 DISTANCE: Press SPEED UP/ DOWN to preset the distance target values and press START. The distance will count down from preset target value. While distance counts down to 0 (zero), speed goes down to 0 (zero) by 0.5 km/h per second (when the preset target is reached).
- Page 29 PROGRAM 5 – 15 MINUTES PRESET SPEED Select the desired program by pressing the UP/DOWN button. Press ENTER/MODE to confirm the program. Press START to begin your exercise. TIME: Accumulates and displays workout time from start of exercise. DISTANCE: Accumulates and displays workout distance from start of exercise. PULSE: Detects and displays current heart rate.
- Page 30 Heart Rate diagram You can calculate the target-heartrate for your training as follows: Maximum heartrate = 220 minus age For the different trainingtargets you should train with the following percentage of your maximum heartrate: Health/Fat Burning: 50 – 70% of your max. heartrate Fitness/Bodyshaping: 70 –...
- Page 31 Technical support: tel: 0044 (0) 800 440 2459 e-mail: techsupport@rfeinternational.com Advice The owner’s manual is only for the customer reference. Reebok can not be held responsible for mistakes occurring due to translation or change in technical specification of the product.


Need help?
Do you have a question about the edge 2.2 series and is the answer not in the manual?
Questions and answers
what is the reference number for the 3 pronged mosfet on the controller board
what is the mosfet value(three prong) on the controller board for reebok edge 2.2 fault no voltage reading