Table of Contents
Advertisement
Advertisement
Table of Contents

Related Manuals for XK x250


Summary of Contents for XK x250
- Page 2 X250-28 X250-27...
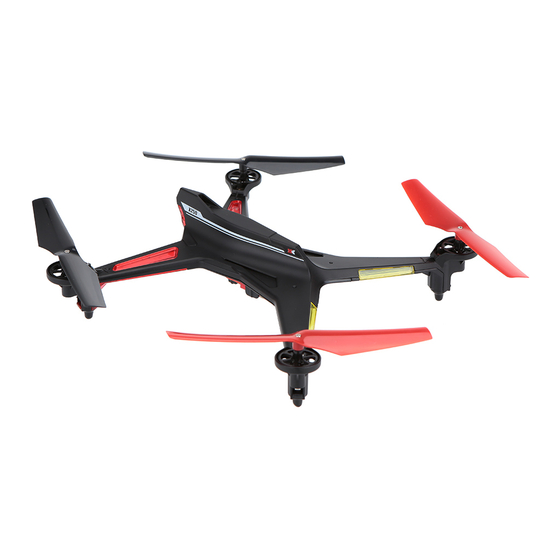
- Page 3 All instructions, warranties and other collateral documents are subject to change at the Thank you for choosing this XK product. This is a four-axis quadcopter that can fly sole discretion of our company. For the latest information please visit our company outdoors.
- Page 4 4. The Charge LED indicator will change to Red to show the battery is charging. The Battery charger included with the X250 has been designed to safely charge the 5. When fully charged the charge indicator on the charger will change to Green.
- Page 5 Connect the battery up and place the quadcopter on a flat level surface. The X250 LED’s will flash fast and then slow to a blink to show the quadcopter is ready bind to the handset.
- Page 6 4. Advance the throttle slowly to rise the X250 off the ground. good battery connection 5. When the LiPo battery power starts to gets low, the LED’s on the X250 will begin to blink indicating that it’s to time to land and recharge.
- Page 7 1. Check and replace any damaged Quadcopter has problems with 1. Damaged rotor(s) rotor(s) inconsistent left/right manoeuvres 2. Damaged motor(s) 2. Check and replace and damaged motor(s) Replace the main rotors Strong vibrations on the quadcopter Rotors damaged Quadcopter drifts after trim Gyro/Accelerometer is out of Perform the Gyro/Accelerometer adjustment during hover...
- Page 8 X250-01 XK250 LIPO BATTERY 780MAH 3.7V X250-02 XK250 MOTORS & GEAR (4) X250-03 XK250 SCREW SET X250-04 XK250 BEARING SET (4) X250-05 XK250 ALUMINIUM MOTOR SHAFT X250-06 XK250 MAIN GEAR SET (4) X250-07 XK250 PCB BOARD X250-08 XK250 PROPELLER SET (4)
Need help?
Do you have a question about the x250 and is the answer not in the manual?
Questions and answers
i NEED TO KNOW THE POLARITY OF THE BATTERY CONNECTOR ON THE DRONE AS I AMNOT USING THE ORIGINAL BATTERY