Advertisement
Table of Contents
- 1 Contents
- 2 Obsidian Series 750D Full-Tower PC Case
- 3 Removing the Side Panels
- 4 Installing the Motherboard
- 5 Installing the Power Supply (PSU)/PCI-E/PCI Cards
- 6 Installing a 5.25" Drive/Devices (ODD)
- 7 Installing a 3.5" HDD/2.5" SSD/2.5" SSD into Tool-Free Expandable SSD Cage
- 8 Removing the from and Bottom Dust Filters
- 9 Attach Case Fan Cables to Motherboard Headers
- 10 Installing the from I/O Connectors
- 11 How to Remove the SSD Caddy/Hdd Cage
- Download this manual
OBSIDIAN SERIES
®
750D
Obsidian Series
750D Full-Tower PC Case
®
INSTALLATION GUIDE
GUIDE D'INSTALLATION
INSTALLATIONSHANDBUCH
n
n
GUIDA DI INSTALLAZIONE
GUÍA DE INSTALACIÓN
n
n
安装指南
インストールガイド
n
n
Corsair Components Inc
© 2013 Corsair Components, Inc.
Landing Parkway
All rights reserved. Corsair, the sails logo and Obsidian Series are registered trademarks of Corsair
Fremont • California •
• USA
in the United States and/or other countries. All other trademarks are the property of their respective
owners. Product may vary slightly from those pictured. // rev AB
corsair com
Advertisement
Table of Contents

Related Manuals for Corsair 750D


Summary of Contents for Corsair 750D
- Page 1 Corsair Components Inc © 2013 Corsair Components, Inc. Landing Parkway All rights reserved. Corsair, the sails logo and Obsidian Series are registered trademarks of Corsair Fremont • California • • USA in the United States and/or other countries. All other trademarks are the property of their respective owners.
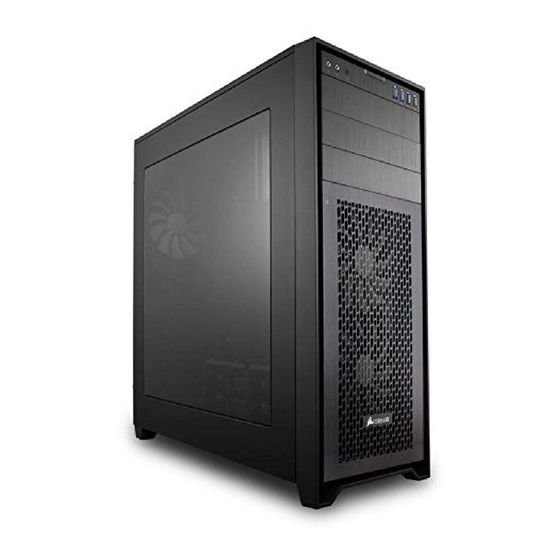
- Page 2 The 750D has a clean, elegant exterior La structure extérieure du boîtier 750D, Das 750D-Gehäuse besitzt ein sauberes, Il modello 750D ha un esterno sobrio ed that dispenses with arbitrary plastic nette et élégante, souligne l'harmonie de elegantes Äußeres, das auf die willkürlich...
- Page 3 ワーPCケースをお買い求めいた torre completa para PC 750D Full Tower だき有難うございます。 Obsidian Series 750D. ® La serie 750D muestra un diseño elegante 750D 拥有简洁大方的外壳, 用户再也不用为因 750Dは、ヘアライン加工を施したアルミ素材 y de líneas limpias, que prescinde de 750D 任意添加塑料附件影响拉丝铝制和脱氧钢组件美 とスチール素材が美しい、余分な装飾を取り払 complementos plásticos a favor de la 观而烦恼。在坚固耐用的外壳之下是拥有充足空...
- Page 4 Guía de instalación Accessory Kit Guide d installation Zubehörkit Kit accessori Kit de accesorios Kit d accessoires OBSIDIAN SERIES ® 750D Maximum GPU length Longitud máxima del GPU Top slots Ranuras superiores Lower slots Ranuras inferiores Maximum CPU Altura máxima...
- Page 5 CONTENTS CONTENU LIEFERUMFANG CONTENUTO CONTENIDO 包装内零组件 パッケージの内容 MBD/HDD screws Long fan screws Short fan screws SSD/ODD screws SSD pan HDD tray screws Motherboard Cable ties head screws stando s Vis MBD/Disque dur Vis de ventilateur Vis de ventilateur Vis SSD/Lecteur Vis du plateau Attaches de câble longues...
- Page 6 (x2) USB 3.0, (x2) USB 2.0, Cu e/Microfono, Alimentazione/Reset (x3) Ventiladores Corsair AF140L incluidos (x2) USB 3.0, (x2) USB 2.0, altavoces/micrófono, botón de encendido/reini- (x3) Вентиляторы Corsair AF140L, входят в комплект поставки 随附 (x3) Corsair AF140L 风扇 (x2) USB 3.0, (x2) USB 2.0, наушники/микрофон, питание/сброс...
- Page 7 OBSIDIAN SERIES 750D FULL-TOWER PC CASE OBSIDIAN SERIES 750D FULL-TOWER PC CASE ® ® Built-in cable routing cutouts with grommets Removable front and bottom low restriction dust filters Panneaux découpés pour le routage des Filtres anti-poussière amovibles à restriction, câbles intégré avec œillets avant et inférieur...
- Page 8 (see your motherboard’s manual for guidance). > Align the motherboard with the stando s in the case. Note: Corsair recommends removing both side panels and setting > Secure with the included screws (MBD/HDD screws). them aside when building your system to avoid accidental damages.
- Page 9 Installing the power supply (PSU) Installing the PCI-E/PCI cards > Remove thumbscrews and corresponding slot cover(s). > Seat the PSU on the bottom of the case. > Install the add-on card and secure with thumbscrews. > Align holes and secure the PSU with screws. Note: PSU can be installed in either fan up or fan down orientations.
- Page 10 Installing a 5.25" drive/devices (ODD) > Remove the front panel 5.25" drive bay cover. > Insert the ODD into the drive bay until the tool-free latch clicks, securing the drive. > To remove, push the tool-free tab to release the ODD drive and remove. Installation d'un lecteur/périphérique Installation eines 5,25-Zoll-Laufwerks/Gerätes (ODD) Instalación de una unidad/dispositivos...
- Page 11 Installing a 3.5" HDD/ 2.5" SSD Installing a 2.5" SSD into tool-free expandable SSD cage > Remove the tool-free 3.5" HDD tray. > Pull down the tab and place the SSD into > Insert the HDD into the HDD tray. the tool-free cage until you feel it secure.
- Page 12 Removing the front and bottom dust filters > To remove the front panel dust filter, first remove the solid front panel by pushing the top corners of the aluminum cover. > The front solid panel will pop out for access to the front dust filter. >...
- Page 13 Attach case fan cables to motherboard headers Installing the front I/O connectors > See your motherboard’s manual for front panel header locations and pin-outs. > See your motherboard’s manual for fan header locations. Branchement des câbles du ventilateur sur les Conecte los cables de ventiladores de la caja a los Installation des connecteurs E/S avant 拆除前Instalación de los conectores de E/S frontales...
- Page 14 How to remove the SSD caddy How to remove the HDD cage > Locate and remove the two screws securing the > To remove the SSD caddy, locate the center tab to the right cage to the base on the bottom of the case. of the caddy and then pull the tab in and lift to release the caddy.
Need help?
Do you have a question about the 750D and is the answer not in the manual?
Questions and answers