Advertisement
Quick Links
REMOTE CONTROL MANUAL
REMOTE CONTROL MANUAL
Before using your air-conditioner, please read this
operating instruction carefully and keep it
for future reference.
CONTENT
PRECAUTIONS ...................1-2
USING THE REMOTE
CONTROL UNIT .....................3
OPERATION ........................4-9
Thank you for
purchasing our
Room Air Conditioner.
468040197/02
Advertisement

Related Manuals for Airwell RC7


Summary of Contents for Airwell RC7
- Page 1 REMOTE CONTROL MANUAL REMOTE CONTROL MANUAL CONTENT PRECAUTIONS ....1-2 USING THE REMOTE CONTROL UNIT .....3 OPERATION ......4-9 Thank you for purchasing our Room Air Conditioner. Before using your air-conditioner, please read this operating instruction carefully and keep it for future reference. 468040197/02...
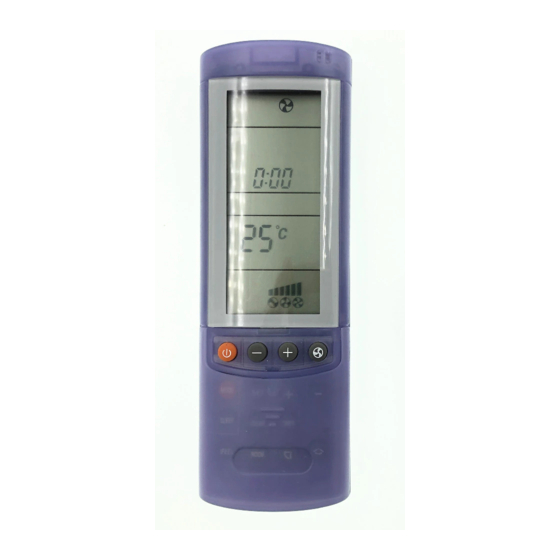
- Page 2 PRECAUTIONS PRECAUTIONS DISPLAY Information are displayed when the remote control unit is switched on. Operation Mode Automatic Heating Cooling Fan only Dehumidification (dry) Displayed when data trasmitted Or remote control unit lock Shows the type of timer Clock (hours and minutes) Displayed when the timer on is set and activated Displayed when the timer off is set and activated Displayed in Sleep Mode Operation...
- Page 3 TEMPERATURE SETTING BUTTONS TRANSMITTER SENSOR - (cooler) Press this button to decrease the Atemperature When you press the set temperature. sensor inside the buttons of the remote + (warmer) Press this button to increase the remote control unit control unit, the set temperature.
- Page 4 USING THE REMOTE CONTROL UNIT USING THE REMOTE CONTROL UNIT HOW TO INSTALL BATTERIES OPERATION WITH THE REMOTE CONTROL UNIT Remove the lid in the rear part of the remote control unit. Insert two AAA alkaline batteries of 1,5 V-DC. Make sure the batteries point in the direction marked in the battery compartment.
- Page 5 OPERATION OPERATION 4. Press the FAN SPEED button to select the fan HOW TO SET THE PRESENT TIME speed. 5. Press the FLAP buttons and adjust the air Press the SET button for five seconds. The flow direction as desired(see adjustment of time indication alone flashes.
- Page 6 OPERATION OPERATION AUTOMATIC OPERATION DEHUMIDIFYING (DRY) 1. Set the MODE selector to AUTO 1. Set the MODE selector switch to “DRY” 2. Press the ON/OFF button and switch the air 2. Press the ON/OFF button and switch the air condioner ON. condioner ON.
- Page 7 OPERATION OPERATION ADJUSTING THE FAN SPEED SLEEP MODE AUTOMATIC The SLEEP mode enables you to save energy. 1. Set the MODE selector to cool, dry or heat. Simply set the FAN SPEED selector to the 2. Press the SLEEP button. position .
- Page 8 OPERATION OPERATION I FEEL TEMP FUNCTION OPERATION SETTING THE TIMER There are four timers that can be selected on Press button IFEEL to activate the IFEEL function. Thermometer sign will appear on the the remote control.Two daily timers (designated LCD operation display .
- Page 9 OPERATION OPERATION 3. Press the + or - (HOUR) button until the ADJUSTING THE AIR FLOW DIRECTION desired value is displayed. 4. Press the SET button to activate the timer. HORIZONTAL (manual) The horizontal air flow can be adjusted by moving the vertical vanes to the left or right.
- Page 10 OPERATION OPERATION Use the FLAP button on the remote control to adjust the position of the flap. If you move the NOTES flap by hand, the factual flap position and the flap position on the remote control may no longer Some functions of remote controller will match.
Need help?
Do you have a question about the RC7 and is the answer not in the manual?
Questions and answers