Table of Contents
Advertisement
Quick Links
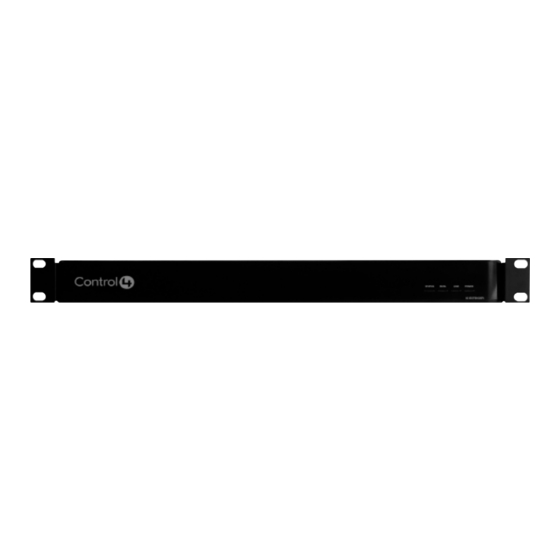
IO Extender
Installation Guide
Supported Model
• C4-IOX-E-B IO Extender
Introduction
The Control4® IO Extender opens up a whole world
of options in the Control4 system to control home
theaters, video devices, motion sensors, and other
devices that use infrared (IR), serial, contact, and
relay connections. The IO Extender serves well as
the companion to the Home Controller HC-1000
to expand output capability; in addition, the IO
Extender provides flexible options for mounting in an
equipment rack (1U) or on a wall.
To mount the unit on the wall, remove the optional
feet to use the keyholes on the bottom of the unit.
These keyholes are designed to fit the screw spacing
found on a standard U.S. double-gang box.
To mount the unit in a rack, install the included
rack mount ears and install the device in the rack.
The device can be mounted with the front facing
outward, or optionally, it can be mounted on the
equipment rack's rear rails with the rear of the device
facing outward for easier access to the input and
output connectors. The rack mount ears can be
mounted to the bottom of the device with the ears at
the front (for front rack mounts), or alternatively, with
the ears at the back (for rear rack mounts).
™
Box Contents
• IO Extender
• Power Cord
• 6 IR Emitters
• 4 Pluggable Contact/Relay Connectors
• 1U Rack Mount Ears
• Warranty Card
Warnings
WARNING! To reduce the risk of electrical
shock, do not expose this apparatus to rain or
moisture.
AVERTISSEMENT! Pour réduire le risque de
choc électrique, n'exposez pas cet appareil à la
pluie ou à l'humidité.
WARNING! This CLASS I apparatus must
be connected to an AC mains socket outlet
that has a protective earthing connection
(i.e., third-prong ground conductor). DO
NOT DEFEAT THE PROTECTIVE EARTHING
CONNECTION!
Requirements and Specifications
Prior to installing this product, ensure that: Ethernet
network wiring is in installed and functioning.
The IO Extender specifications include:
Model Number
Network
Display
Power Requirements
Power Consumption
Operating Temperature
Storage Temperature
IR Out
IR Capture
Contacts
Relays
C4-IOX-E-B
10/100 BaseT Ethernet
LED indicators front and back
100-240 VAC, 50/60 Hz, 30 W,
0.55 A
Max: 102 BTUs/hour
32˚ - 104˚ F (0˚ - 40˚ C)
-4˚ - 149˚ F (-20˚ - 65˚ C)
5V, 27mA max/output
0-60KHz
DC - 36V maximum operation (low
voltage)
The available current for 12V
contact outputs is 1.25A maximum,
shared across all outputs.
AC - 36V, 2A
DC - 24V, 2A
Maximum operation (low voltage)
1
Advertisement
Table of Contents

Related Manuals for Control 4 C4-IOX-E-B


Summary of Contents for Control 4 C4-IOX-E-B
-
Page 1: Box Contents
• 1U Rack Mount Ears • Warranty Card Installation Guide Warnings WARNING! To reduce the risk of electrical shock, do not expose this apparatus to rain or moisture. AVERTISSEMENT! Pour réduire le risque de choc électrique, n’exposez pas cet appareil à la pluie ou à l’humidité. WARNING! This CLASS I apparatus must Supported Model be connected to an AC mains socket outlet that has a protective earthing connection (i.e., third-prong ground conductor). DO • C4-IOX-E-B IO Extender NOT DEFEAT THE PROTECTIVE EARTHING Introduction CONNECTION! The Control4® IO Extender opens up a whole world Requirements and Specifications of options in the Control4 system to control home theaters, video devices, motion sensors, and other Prior to installing this product, ensure that: Ethernet devices that use infrared (IR), serial, contact, and network wiring is in installed and functioning. relay connections. The IO Extender serves well as The IO Extender specifications include: the companion to the Home Controller HC-1000 to expand output capability; in addition, the IO... -
Page 2: Back View
to identify the device. ™ Power LED—Blue light indicates AC power is present. The device turns on immediately after power is applied to the device. Back View IO Extender Figure 2. Back View Installation Guide Dimensions H x W x D: 1.59” (40.4 mm) x 16.84” (427.7 mm) x 6.44” (163.4 mm, including connectors) Weight 4.8 pounds/2.18 kgs Power plug port—AC power receptacle for an IEC Shipping Weight 6.8 pounds/3.084 kgs 320 power cord. Serial Out—Four (4) serial output ports for DB9 Accessories Available for Purchase (receivers, disc changers, etc.). IR Output—Eight (8) IR output ports, 3.5 mm. • C4-CBLIR-BULK, IR Emitters, 5 pack Ethernet—One (1) RJ-45 port for a 10/100 BaseT • C4-CBLIRF-BULK, IR Emitters with optical Ethernet connection. feedback, 5 pack Reset Button—Recessed Reset button. -
Page 3: Configure The Io Extender In Composer
Flat Surface network connection to use all output ports as Place the device on a flat surface, and connect the designed. When connected, the IO Extender devices. can access web-based media databases and the Controller. Mount on a Wall - New Construction Connect the IO Extender to the network: To The device can mount to a 2-gang backbox. connect using an Ethernet connection, plug the data cable from the home network connection • Mount the 2-gang backbox. into the IO Extender RJ-45 port (labeled • Hang the device on the two (2) screws in the wall “Ethernet”). box front side up. Power up the IO Extender: Plug the IO Extender • Connect the devices at the bottom of the device. power cord (provided) into the IO Extender power plug port and then to an electrical outlet. -
Page 4: Connect To The Relay Ports
makes use of Pluggable Terminal Block connectors— Figure 6. Contact for Voltage Source (e.g., Motion removable slot retention tabs to lock in individual Sensor) wires. To connect a device to the Pluggable Terminal Block: Insert one (1) of the wires required for your device into the appropriate opening in the Pluggable Terminal Block you reserved for that NOTE: +12V and GND are used to power the device (see Figure 5). Motion Sensor. SIG and GND are used to Insert the wire as follows: detect the state of the Contact in the Motion • If using solid core wire, push the wire into the Sensor. hole below the slotted retention tab, and ensure that it’s tightly secured. Figure 7. Contact for Dry Contact (e.g., Door Contact • If using stranded wire, push the slotted retention tab in using a small flat-blade screwdriver. Insert Sensor) the wire into the hole below the tab, and then release the tab to secure the wire (see Figure 5). Figure 5. Connect to Terminal Block Figure 8. Contact for Self-Powered Voltage Device Connect to the Relay Ports EXAMPLE: If you add a Motion Sensor, connect its wires to the following Contact openings—power input The IO Extender provides eight (8) Relay ports. to +12V output signal to SIG, and ground connector to GND. See “Connect to a Contact Port” or “Connect For most applications, attach one (1) wire to the to the Relay Ports” in the next sections to learn how common terminal, and the other to the normally open to connect the devices. -
Page 5: Regulatory/Safety Information
Identification Button Figure 10. Relay Port: Normally Closed To reset to the network defaults, on the front of the device power cycle the IO Extender and hold the Identification button until the Data, Link, and Power LEDs are solid blue; immediately release the button. If during the boot sequence, the Status LED stays Orange, press and hold the Identification button Connect to the Serial Ports until the LED blinks Blue, and then release it. The IO Extender provides four (4) DB9-style serial Regulatory/Safety Information ports that use the RS-232 protocol. Connect a device to the IO Extender—for example, a receiver or disc To review regulatory information for your particular changer—by aligning the pins, inserting the plug and Control4 products, see the information located on tightening the screws. Serial ports support many the Control4 website at: http://www.control4.com/ different baud rates. All ports support Odd, Even and regulatory/. No Parity and hardware flow control. Warranty Set Up IR Emitters Your system may contain third-party products that Go to http://www.control4.com/warranty for details. are controlled with IR commands. About This Document To control a device that only recognizes IR commands, complete the following setup: Part number: 200-00141, Rev. M 08/17/2012...
Need help?
Do you have a question about the C4-IOX-E-B and is the answer not in the manual?
Questions and answers