
Related Manuals for Pakedge Device & Software wap-c3n


Summary of Contents for Pakedge Device & Software wap-c3n
-
Page 1: Quick Start
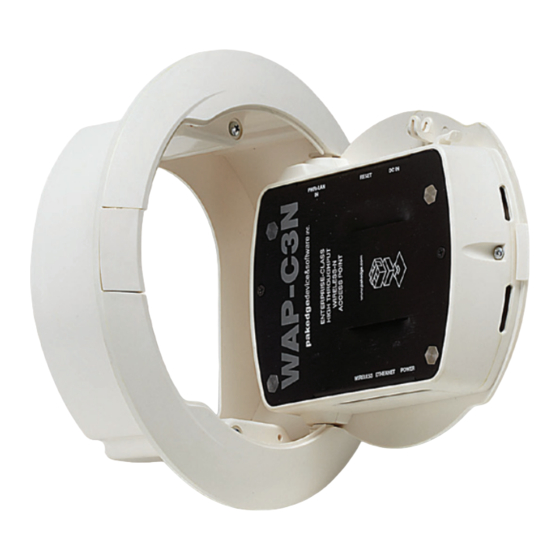
WAP-C3N Enterprise-Class, Ultra High Throughput In-Ceiling Wireless-N Access Point and Client Bridge QUICK START Installation Quick Guide – Version 1.0... - Page 2 A. WAP-C3N Default Settings 1. Wireless Access Point mode 2. IP Address for Access Point Mode-192.168.1.250 3. Username/Password- pakedge/pakedgea 4. SSID- Pakedge1 5. Power Output- High 6. Security- Disabled B. Hardware Installation (NOTE: The installation steps listed below are highly abridged.
- Page 3 4. Connect the cat5e/6 cable to the Power- over-Ethernet port (PWR+LAN IN) of the WAP-C3G and route the cable as shown. NOTE: If the cable is not routed in this fashion, the cable could be damaged and the unit may not function properly. WAP-C3N INSTALLATION QUICK GUIDE...
- Page 4 It does not need any particular configuration to be functional. The Wireless Access Point can be configured through its website. To access the WAP-C3N website, you will need an Ethernet adapter and a web browser such as Internet Explorer.
- Page 5 Interface Card (NIC). You will then see the this screen: 2. Select Internet Protocol Version 4 (TCP/IPv4) and then click on the Properties button. This will allow you to configure the TCP/IP settings of your PC/ Notebook. WAP-C3N INSTALLATION QUICK GUIDE...
- Page 6 Ensure that the IP address and subnet mask are on the same subnet as the device. For example: Wireless Access Point IP address: 192.168.1.250 PC IP address: 192.168.1.10 PC subnet mask: 255.255.255.0 4. Click on the OK button to close this window, and once again to close LAN properties window. WAP-C3N INSTALLATION QUICK GUIDE...
- Page 7 To access the other modes, click on Properties, under the System tab then select the mode desired. For further information and details beyond the Quick Start Guide, please refer to the User Manual on our website- http://www.pakedge.com/usermanual.php WAP-C3N INSTALLATION QUICK GUIDE...
- Page 8 F. Technical Support Please visit our website for up-to-date support information: 1163 Triton Dr. Website: www.pakedge.com Foster City, CA 94404 Email: support@pakedge.com Visit Us At: www.pakedge.com © Pakedge Device & Software Inc. 2010 – All Rights Reserved...
Need help?
Do you have a question about the wap-c3n and is the answer not in the manual?
Questions and answers