Drayton Lifestyle Dual Channel Installation And User Instructions Manual
Programmer
Hide thumbs
Also See for Lifestyle Dual Channel:
- Installation and user instructions manual (15 pages)

Related Manuals for Drayton Lifestyle Dual Channel


Summary of Contents for Drayton Lifestyle Dual Channel
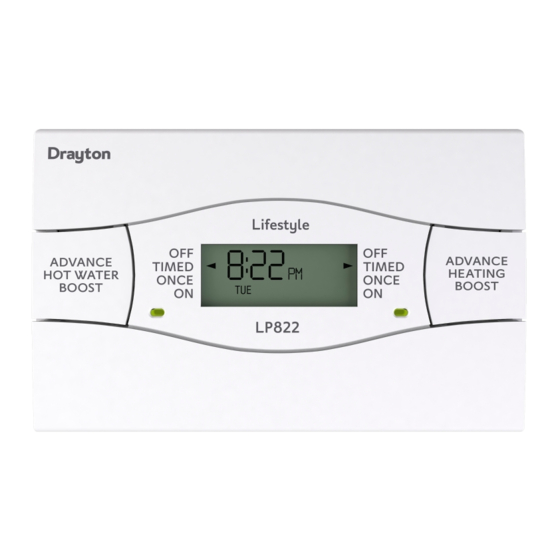
- Page 1 Lifestyle Dual Channel Programmer for heating hot water Installation and User Instructions DUAL CHANNEL 06490197001 ISSA...
-
Page 2: Installation Instructions
INSTALLATION INSTRUCTIONS PLEASE NOTE: INSTALLATION MUST ONLY BE CARRIED OUT BY A QUALIFIED ELECTRICIAN OR HEATING ENGINEER. MAKE SURE MAINS INPUT HAS A 3 AMP FUSE. The Lifestyle Programmer conforms to the essential requirements of these Directives: 2004/108/EC – Electromagnetic compatibility 2006/95/EC –... - Page 3 WIRING THE WALLPLATE For surface wiring, snap out the cable entry strip on the bottom edge of the wall-plate. Lifestyle units are double-insulated and need no earth connection, but an earthing continuity (loop) terminal is provided for convenience. Internal wiring PRIOR TO MOUNTING THE PROGRAMMER SELECT THE PROGRAM SETTING The Universal Programmer is selectable, which means it must be set to the customer’s requirements as part of the installation...
- Page 4 L = Linked times. I = Independent times 1 = 24-hour program. 7 = 7-day program No header = 5/2-day program. P = Pumped G = Gravity Plug in the unit and tighten the securing screws. Check the mains input has a 3A fuse, and switch on the mains. ALWAYS SWITCH OFF THE MAINS BEFORE REMOVING THE UNIVERSAL PROGRAMMER –...
- Page 5 USER’S INSTRUCTIONS If the engineer has set your program and timings – you won’t need to do anything else. Just keep this guide in a safe place for future reference. INTRODUCTION The Lifestyle Programmer will automatically control your central heating and hot water by switching them on and off at times that suit you.
- Page 6 SWITCHING WEEKDAYS WEEKENDS ON 1 – start of first timed period 6.30am 7.00am OFF 1 – end of first timed period 8.30am 9.00am ON 2 – start of second timed period* 12.00pm 12.00pm OFF 2 – end of second timed period* 12.00pm 12.00pm ON 3 –...
-
Page 7: Switching On And Off
DAY-TO-DAY VARIATIONS Sometimes you might need to change the way you use your central heating or hot water temporarily – perhaps due to an unusually cold day, or exceptional demand for hot water. Here’s how to do it – without affecting your program. Switching on and off On the front of the programmer there are two Advance/Boost buttons –... - Page 8 THE 24-HOUR PROGRAM This is the simplest program – every day’s the same. Just follow the sequence, setting the central heating times first – then the hot water. Want to leave a timing as it is? Just press SET? and move on to the next one.
- Page 9 Press SET?, and you’ll see OFF1, the end of your first central heating period. Adjust this in the same way, press SET?, then repeat the procedure for ON2, OFF2, ON3 and OFF3. Set the hot water When you press SET? after setting OFF3 for the central heating, the display will ask ‘SET HW PROG?’...
- Page 10 These instructions are for setting your central heating and hot water independently, with the same timings for weekdays and different ones for the weekend. If your settings are linked, then CH and HW won’t appear in the display and you’ll only need to go through the weekday and weekend phases once.
- Page 11 Set weekday hot water When you press SET? after setting OFF3 for the central heating, the display will ask ‘SET HW MON to FRI PROG?’ . Press YES, then set your times in the same way. Remember, in this mode you can have different times to your central heating if you wish.
- Page 12 THE 7-DAY PROGRAM This is where you can have different timings for every day of the week, if necessary. Just follow the sequence, setting weekdays first. Want to leave a timing as it is? Just press SET? and move on to the next one.
- Page 13 Press YES, and you’ll see ON1, the start of your first central heating period. Adjust it in 1-minute steps using the – and + buttons. If the – and + buttons are held down, the time changes in 10-minute steps. Press SET?, and you’ll see OFF1, the end of your first central heating period.
-
Page 14: Setting The Clock
Set weekend SAT SUN Press YES, and alter the central heating and hot water times in the same way. Set each day If, after you’ve set OFF3 for your weekend hot water, you want to fine-tune Saturdays or Sundays, press SET? until you find the first day you want to adjust –... - Page 15 Press the SET? button twice and you’ll see SET CLOCK?. CLOCK? Set the hour Press YES once, and then the hour will start to flash. Use the – and + buttons to set the hour, checking for AM and PM. Set the minute Press SET?, and the minutes will start to flash.
- Page 16 Set the year Press YES and the year will start to flash. Use the – and + buttons to adjust. Set the month Press SET? and the month will start to flash. Use the – and + buttons to adjust. Set the day Press SET? and the day will start to flash.
Need help?
Do you have a question about the Lifestyle Dual Channel and is the answer not in the manual?
Questions and answers
On heating what is the differnce between timed and once on he settings
The TIMED setting allows the heating to turn on for up to three periods a day based on the programmed schedule.
The ONCE setting turns the heating on for one continuous period from the start of the first ON time (ON1) to the end of the last OFF time (OFF3).
This answer is automatically generated