Table of Contents
Advertisement
Quick Links
Register your product and get support at
www.philips.com/welcome
READ THESE INSTRUCTIONS CAREFULLY BEFORE USING THE MACHINE.
CHECK ON WWW.PHILIPS.COM/SUPPORT TO DOWNLOAD THE LATEST USER MANUAL
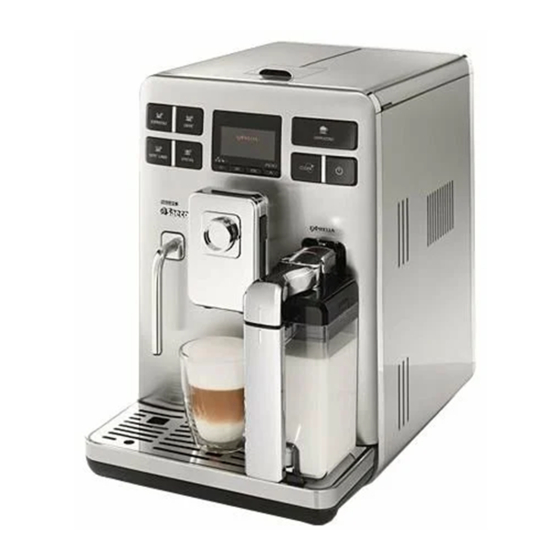
Type HD8854 / HD8856
INSTRUCTIONS
E S P R E S S O &
P R E S S
CAPPUCCINO
P E R F E T TO
by Philips Saeco
DTP number: B001
Advertisement
Table of Contents


Need help?
Do you have a question about the HD8854 and is the answer not in the manual?
Questions and answers