
Subscribe to Our Youtube Channel
Related Manuals for Baja motorsports BA49


Summary of Contents for Baja motorsports BA49
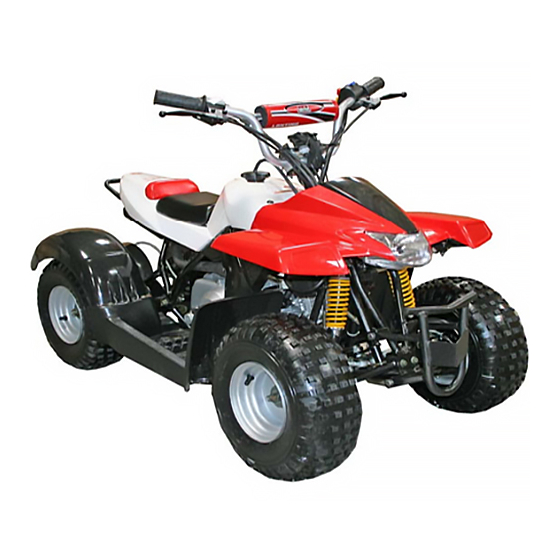
- Page 1 Set-up Instructions BA49 ATV Removal from crate Remove cardboard carton from metal frame. 2. Remove metal crate. REVA 080707...
- Page 2 Parts and Hardware Handlebar cover Side panel hardware Front bumper Left side panel Battery strap Upper handlebar clamps Front wheel covers Lower handlebar clamps Handlebar hardware Front wheel Front wheel hardware Handlebar Upper handlebar clamps Lower handlebar clamps 3. Attach handlebars to steering stem using 8mm bolts (QTY 4) and handlebar clamps.
- Page 3 Front wheels 5. Attach wheel cover. 4. Attach left and right front wheels to hub using 8mm nut (QTY 3 per side). Torque nut to 20ft.lbs. Front bumper and Side panel place metal receiving clip here 6. Attach front bumper to frame using 8mm 7.
- Page 4 Battery Installation WARNING The following procedure is very dangerous and should be performed with utmost care and attention. Wear protective eye wear, rubber gloves, and have water available should electrolyte come in contact with skin or eyes. KEEP ALL CHILDREN AWAY FROM THE AREA WHILE THIS PROCEDURE IS BEING PERFORMED.
- Page 5 Battery Installation Preparing the battery: · Place battery on level surface. Remove sealing tape from top. (see figure 20) · Take the electrolyte container out of the plastic bag. · Place electrolyte container upside down with the sealed silver mouths of the electrolyte bottles in line with the six filler holes of the battery.
- Page 6 Battery Installation 3. Charging rate: Charge battery @ 0.7 Amps for 5 ~ 10 hours. • After charging is complete, press down firmly with both hands to seat the caps. (Do not pound or hammer.) The battery is now sealed. (see figure 25) •...
- Page 7 Gas and Oil 9. Fill engine with correct amount of oil. Refer to owners manual for oil type and quantity. 10. Fill gas tank as specified in Oil Cap owners manual. Gas Cap 11. Refer to owners manual for proper CAUTION starting instructions.
Need help?
Do you have a question about the BA49 and is the answer not in the manual?
Questions and answers