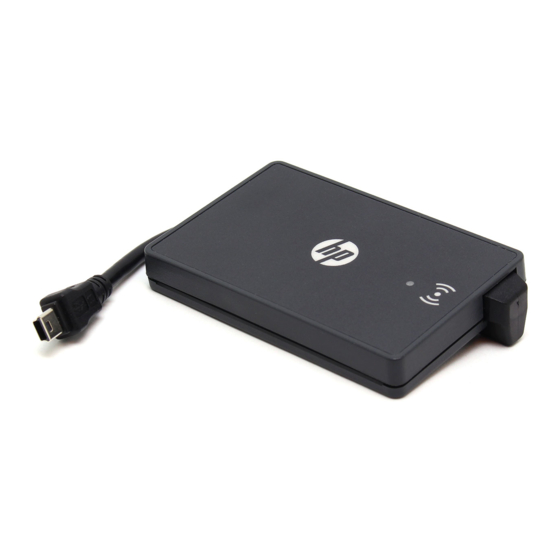
Summary of Contents for HP CZ208A
- Page 1 HP Multi-Protocol Proximity Card Reader CZ208A Installation Instructions SUMMARY The HP Multi-Protocol Proximity Card Reader is intended for use with HP JetAvantage Private Print and HP Access Control solutions.
- Page 2 The information contained herein is subject to change without notice. The only warranties for HP products and services are set forth in the express warranty statements accompanying such products and services. Nothing herein should be construed as constituting an additional warranty.
- Page 3 Table of contents HP Multi-Protocol Proximity Card Reader CZ208A Installation Instructions ............1 Hardware Integration Pocket (HIP) installation option ..................2 External USB port installation option ........................4...
- Page 5 ● Hardware Integration Pocket (HIP) installation option ● External USB port installation option HP Multi-Protocol Proximity Card Reader CZ208A components: HIP 1 Faceplates, light beige and dark gray HIP 1 Type-A USB Cable External Type-A USB Cable HIP 1 Type-B USB Cable...
- Page 6 With the HIP cover removed, a Type-B USB socket is visible: Select the appropriate HIP 1 USB cable and HIP 1 cover — dark or light color — to match the printer. HP Multi-Protocol Proximity Card Reader CZ208A Installation Instructions...
- Page 7 Connect the USB cable to the Proximity Card Reader module. Attach the Proximity Card Reader module to the underside of the HIP 1 cover. Align the LED of the reader module with the window on the cover. Attach the USB cable to the USB socket in the HIP. Hardware Integration Pocket (HIP) installation option...
- Page 8 The red LED light indicates “Good” or “Connected” status. NOTE: The card reader will not be “Active” or “Ready to use” with HP Access Control until an Agent file has been installed on the print device. External USB port installation option If a print device does not have a Hardware Integration Pocket (HIP), you can use the External USB port installation option.
- Page 9 The HP Multi-Protocol Proximity Card Reader CZ208A can be attached to an available USB communication port on the port faceplate on the back of the printer. Place the card reader so that its cable does not interfere with opening any doors on the printer.
- Page 10 Secure the cable with the supplied adhesive cable guides. Power on the device. NOTE: The card reader will not be “Active” or “Ready to use” with HP Access Control until an Agent file has been installed on the printer. NOTE:...


Need help?
Do you have a question about the CZ208A and is the answer not in the manual?
Questions and answers