Table of Contents
Advertisement
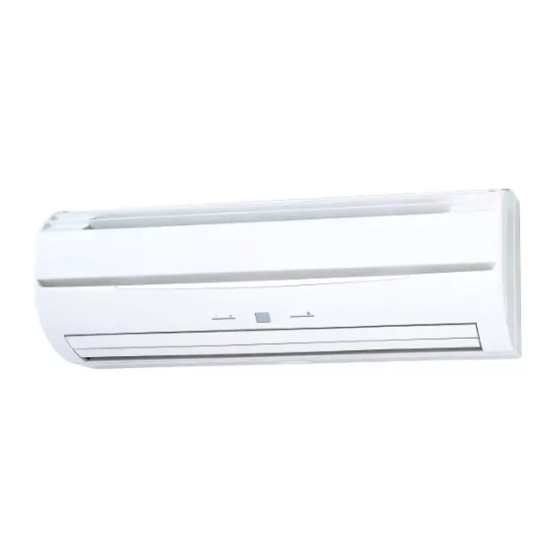
ASYA04GACH/ASHA04GACH
ASYA07GACH/ASHA07GACH
ASYA09GACH/ASHA09GACH
ASYA12GACH/ASHA12GACH
ASYA14GACH/ASHA14GACH
TM
INSTALLATION MANUAL
INDOOR UNIT (Wall Mounted Type: EEV internal)
INSTALLATIONSANLEITUNG
INNENGERÄT (wandmontierter Typ: EEV intern)
MANUEL D'INSTALLATION
APPAREIL INTÉRIEUR (Type montage mural : interne EEV)
MANUAL DE INSTALACIÓN
UNIDAD INTERIOR (Tipo montado en pared: EEV interna)
Únicamente para personal de servicio autorizado.
MANUALE DI INSTALLAZIONE
UNITÀ INTERNA (tipo montato a parete: EEV interno)
A uso esclusivo del personale tecnico autorizzato.
ΕΓΧΕΙΡΙΔΙΟ ΕΓΚΑΤΑΣΤΑΣΗΣ
ΕΣΩΤΕΡΙΚΗ ΜΟΝΑΔΑ (Επιτοίχιος Τύπος: ΗΕΒ εσωτερικά)
Μόνο για εξουσιοδοτημένο τεχνικό προσωπικό.
MANUAL DE INSTALAÇÃO
UNIDADE INTERIOR (Tipo mural: modelo interno com EEV)
РУКОВОДСТВО ПО УСТАНОВКЕ
ВНУТРЕННИЙ МОДУЛЬ (настенного типа: внутренний электронный расширительный клапан)
Только для авторизованного обслуживающего персонала.
İÇ ÜNİTE (Duvara Monteli Tip: EEV dahili)
For authorized service personnel only.
Nur für autorisiertes Fachpersonal.
Pour le personnel agréé uniquement.
Apenas para técnicos autorizados.
MONTAJ KILAVUZU
Yalnızca yetkili servis personeli için.
PART NO. 9373370192
Advertisement
Table of Contents

Related Manuals for AirStage ASYA04GACH


Summary of Contents for AirStage ASYA04GACH
-
Page 1: Installation Manual
INDOOR UNIT (Wall Mounted Type: EEV internal) For authorized service personnel only. INSTALLATIONSANLEITUNG INNENGERÄT (wandmontierter Typ: EEV intern) Nur für autorisiertes Fachpersonal. MANUEL D’INSTALLATION ASYA04GACH/ASHA04GACH ASYA07GACH/ASHA07GACH APPAREIL INTÉRIEUR (Type montage mural : interne EEV) ASYA09GACH/ASHA09GACH Pour le personnel agréé uniquement. ASYA12GACH/ASHA12GACH MANUAL DE INSTALACIÓN... -
Page 2: Table Of Contents
INSTALLATION MANUAL This mark indicates procedures which, if improperly performed, CAUTION might possibly result in personal harm to the user, or damage to PART NO. 9373370192 property. VRF system indoor unit (Wall mounted type: EEV internal) Read carefully all security information before use or install the air conditioner. CONTENTS Do not attempt to install the air conditioner or a part of the air conditioner by yourself. -
Page 3: Accessories
2.3. Accessories 3. INSTALLATION WORK Correct initial installation location is important because it is diffi cult to move unit after it is WARNING installed. For installation purposes, be sure to use the parts supplied by the manufacturer or other prescribed parts. 3.1. -
Page 4: Installing The Unit
Fig. B 3.3. Installing the unit Wall hook bracket Center mark WARNING Install the air conditioner in a location which can withstand a load of at least 5 times the weight of the main unit and which will not amplify sound or vibration. If the installation location is not strong enough, the indoor unit may fall and cause injuries. -
Page 5: Pipe Installation
Installation method of Drain cap Screws (4 position) ● Please put the heat insulation inside all along. ● Use a hexagonal wrench (4mm at opposite side) to insert the drain cap, till the drain cap contacts the tip of drain cock. No gap No gap Push... -
Page 6: Flare Connection (Pipe Connection)
4.3.3. Pipe connection CAUTION Install heat insulation around both the gas and liquid pipes. Failure to do so may CAUTION cause water leaks. Use heat insulation with heat resistance above 120 °C. (Reverse cycle model only) Be sure to install the pipe against the port on the indoor unit correctly. If the centering In addition, if the humidity level at the installation location of the refrigerant piping is is improper, the fl... -
Page 7: Electrical Wiring
Refer to the table for the breaker specifi cations of each installation condition. Perform 5. ELECTRICAL WIRING the power crossover wiring within the range of the same refrigerant system. When the crossover wiring is done, make a connection for indoor units to satisfy conditions A and B below. -
Page 8: Unit Wiring
WARNING 5.3. Unit wiring Use ring terminals and tighten the terminal screws to the specifi ed torques, otherwise, abnormal overheating may be produced and possibly cause heavy damage inside the unit. • Before attaching the cable to terminal block. 5.3.1. Power supply cable Tightening torque 200 mm M4 screw... -
Page 9: Field Setting
(6) Set the switches on the PCB. 6. FIELD SETTING 1 Indoor unit address Rotary switch (IU AD × 1)...Factory setting “0” There are 3 methods for address setting by FIELD SETTING as follows. Rotary switch (IU AD × 10)...Factory setting “0” Set by either of the methods. -
Page 10: Custom Code Setting
3 Remote controller address DIP switch setting 3-wire type Set the DIP switch SET 4 SW3 referring to the Table C. Rotary switch (RC AD SW)...Factory setting “0” Controller PCB When connecting multiple indoor units to 1 standard wired remote controller, set the address at RC AD SW in sequence from 0. -
Page 11: Connecting The Wired Remote Controller (If Necessary)
6.4.1. Button name and function (2) Others Indication pattern Indicator Name Indication pattern OPERATION indicator lamp (Green) Function number; tens place (0.5s ON/0.5s OFF) TIMER indicator lamp (Orange) Function number; ones place (0.5s ON/0.5s OFF) FILTER indicator lamp (Red) Setting number: (0 to 9) (0.5s ON/0.5s OFF) (Example) Function : 31, Setting number : 2 1 cycle 12 sec OPERATION... -
Page 12: External Input And External Output (Optional Parts)
● Dry contact terminal ([CNA02], [CNA04]) 6.6. External input and external output (Optional When a power supply is unnecessary at the input device you want to connect, use the Dry parts) contact terminal ([CNA02], [CNA04]). P.C.B Controller PCB Dry contact CNA02 terminal Ch 1... -
Page 13: Installing The Control Unit
● When function setting is “Forced stop” mode. (3) Connection methods [In the case of “Edge” input] • Wire modifi cation Connector Input signal Command Remove insulation from wire attached to wire kit connector. Remove insulation from fi eld supplied cable. Use crimp type insulated butt connector to OFF →... -
Page 14: Finishing
(2) Install the cable clamp and piping cover. (2) Temporarily fasten the connection cable along the connection pipe with vinyl tape. (Wrap to about 1/3 the width of the tape from the bottom of the pipe so that water does not enter.) Power supply cable Connection cable –... -
Page 15: Test Run
8. TEST RUN 10. ERROR CODES If you use a wired type remote controller, error codes will appear on the remote control- 8.1. Test run using Outdoor unit (PCB) ler display. If you use a wireless remote controller, the lamp on the photodetector unit will output error codes by way of blinking patterns.
Need help?
Do you have a question about the ASYA04GACH and is the answer not in the manual?
Questions and answers