Sign In
Upload
Download
Table of Contents
Contents
Add to my manuals
Delete from my manuals
Share
URL of this page:
HTML Link:
Bookmark this page
Add
Manual will be automatically added to "My Manuals"
Print this page
×
Bookmark added
×
Added to my manuals
Manuals
Brands
Taski Manuals
Scrubber
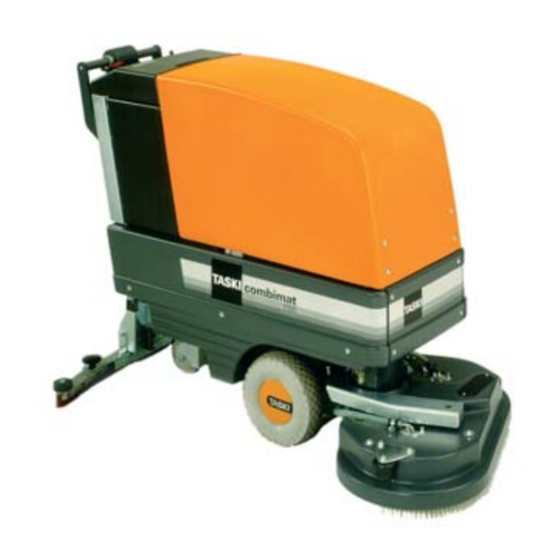
combimat 1400
Instructions of use
Taski combimat 1400 Instructions Of Use
Hide thumbs
1
Table Of Contents
2
3
4
5
6
7
8
9
10
11
12
13
14
15
16
17
18
19
20
21
22
23
24
25
26
27
28
29
30
31
32
33
34
35
36
37
38
39
40
41
42
43
44
page
of
44
Go
/
44
Contents
Table of Contents
Bookmarks
Table of Contents
Table of Contents
Safety Instructions
Overview
Machine Installation
Beginning Work
End of Operation
Finishing Work
Cleaning the Recovery Tank
Charging Batteries
Service, Maintenance and Care
Squeegee Adjustment
Malfunctions
Technical Data
Accessories
Recommended Chemicals
Transport
Disposal
Index
EU Declaration of Conformity
Advertisement
Quick Links
1
Table of Contents
2
Overview
3
Machine Installation
4
Beginning Work
5
Service, Maintenance and Care
6
Malfunctions
7
Technical Data
8
Accessories
Download this manual
ATTENTION!
Do not use the machine, before you have read and understood the
instructions of use.
Keep the instructions of use carefully in an easily accessible place so that they
can be referred to at any time.
Instructions of use
combimat
1400,1500,1600,1700,1800
Table of
Contents
Previous
Page
Next
Page
1
2
3
4
5
Advertisement
Table of Contents
Need help?
Do you have a question about the combimat 1400 and is the answer not in the manual?
Ask a question
Questions and answers
Related Manuals for Taski combimat 1400
Scrubber Taski swingo 855B Power Instructions Of Use
(212 pages)
Scrubber Taski combimat 1600 Instructions Of Use
(44 pages)
Scrubber Taski combimat 1800 Instructions Of Use
(44 pages)
Scrubber Taski 1700 Instructions Of Use
(44 pages)
Scrubber Taski CO150.5 Translation Of The Original Instructions Of Use
(10 pages)
Scrubber Taski ergodisc 165 Instructions For Use Manual
(21 pages)
Scrubber Taski swingo 1650 Translation Of The Original Instructions Of Use
(10 pages)
Scrubber Taski swingo 1650 Conversion Procedure
Wet cell conversion (2 pages)
Scrubber Taski swingo 755 Instructions Of Use
(198 pages)
Scrubber Taski Diversey ULTIMAXX 1900 Instructions For Use Manual
(546 pages)
Scrubber Taski ULTIMAXX 1900 Manual
(87 pages)
Scrubber Taski Combimat swingo 3500 Instructions For Use Manual
(36 pages)
Scrubber Taski Combimat swingo 2500 Instructions For Use Manual
(36 pages)
Scrubber Taski swingo 455E Instructions For Use Manual
(8 pages)
Scrubber Taski swingo 2500 Manual
(11 pages)
Scrubber Taski AERO 3500 micro Technical Manual
(149 pages)
This manual is also suitable for:
Combimat 1500
Combimat 1600
Combimat 1800
1700
Table of Contents
Print
Rename the bookmark
Delete bookmark?
Delete from my manuals?
Login
Sign In
OR
Sign in with Facebook
Sign in with Google
Upload manual
Upload from disk
Upload from URL


Need help?
Do you have a question about the combimat 1400 and is the answer not in the manual?
Questions and answers