Table of Contents
Advertisement
Quick Links
Advertisement
Table of Contents

Subscribe to Our Youtube Channel
Related Manuals for Doro phonoeasy 631


Summary of Contents for Doro phonoeasy 631
- Page 1 Doro PhoneEasy ® Quick Start Guide English...
-
Page 2: Congratulations On Your Purchase
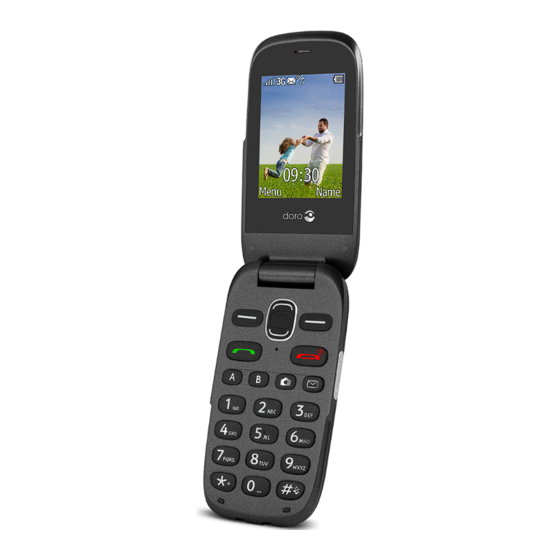
Also features great sound as well as direct memories, SMS button and safety functions. For more information about accessories or other Doro products please visit www.doro.com. Complete manual For the complete user guide please visit www.doro.co.uk/Support/... - Page 3 OVERVIEW Earpiece 12. Right selection button Left selection button 13. Arrow buttons Microphone 14. Camera lens Call button 15. Loudspeaker Speed dials 16. Assistance button Voice mail 17. Volume control International prefix / 18. Headset socket Symbols 19. Charging socket Input method/Silent 20.
-
Page 4: Installation
The items supplied with your phone might vary depending on the software and accessories available in your region or offered by your service provider. You can obtain additional accessories from your local Doro dealer. The supplied accessories provide the best performance with your phone. -
Page 5: Get To Know Your Phone
4. Insert the battery by sliding it into the battery compartment with the contacts facing downwards to the right. 5. Replace the battery cover. Note! Take care not to scratch or bend the contacts on the cards. 2. CHARGING CAUTION Only use batteries, charger and accessories that have been approved for use with this particular model. -
Page 6: Startup Wizard
Attempts: # shows the number of PIN attempts left. When no more attempts remain, PIN blocked is displayed. The SIM card must now be unlocked with the PUK code (Personal Unblocking Key). 1. Enter the PUK code and confirm with OK. 2. -
Page 7: Selection Buttons
Selection buttons During a call the selection buttons have multiple functions. The current key function is shown above the selection button on the display. Enter text Select character • Press a numerical key repeatedly until the desired character is shown. Wait a few seconds before entering the next character. -
Page 8: Make A Call
4. CALLS Make a call 1. Enter the phone number including the area code. Delete with Clear. 2. Press to dial. Press Abort to cancel dialling. 3. Press to end the call. Tip: For international calls, always use + before the country code for best operation. -
Page 9: Add Contact
Retrieving and dialling 1. Press Alternatively, press Menu Call log. â 2. Use to select: = Received call = Dialled call = Missed call 3. Press to dial. 5. PHONEBOOK Add contact 1. Press Menu Phonebook -New contact- Add. â â... -
Page 10: Speed Dial
ICE (In Case of Emergency) First responders can access important information such as medical information from the victim’s phone in case of emergency. In the event of a trauma, it is critical to have this information as early as possible to increase the chances of survival. -
Page 11: Assistance Button
6. ASSISTANCE BUTTON CAUTION When an assistance call is activated the phone is pre-set to handsfree/speakerphone mode. Do not hold the device near your ear when the handsfree mode is in use, because the volume may be extremely loud. The assistance button allows easy access to contact your predefined help numbers (Number list) should you need help. -
Page 12: Create And Send Text Messages (Sms)
7. MESSAGES Create and send text messages (SMS) 1. Press Menu Messages Create new SMS. â â â 2. Write your message, then press To. 3. Select a recipient from Phonebook. Alternatively, select Enter number to add recipient manually and press Done. 4. -
Page 13: Take Photos
8. CAMERA To get sharp photos, wipe the lens clean with a dry cloth. Take photos 1. Press shortcut Alternatively press Menu Camera Camera. â â 2. Press to take photo. 3. Press Options or Back (if you do not make any selection the picture is saved). -
Page 14: Set The Time And Date
9. SETTINGS Set the time and date 1. Press Menu Settings General Time & date: â â â • Set time to enter the time (HH:MM). • Set date to enter the date (DD/MM/YYYY). 2. Press OK to confirm. Tone setup 1. -
Page 15: Safety Instructions
10.SAFETY INSTRUCTIONS CAUTION The unit and the accessories can contain small parts. Keep all of the equipment out of the reach of small children. The mains adapter is the disconnect device between the product and mains power. The mains socket outlet must be close to the equipment and easily accessible. - Page 16 Pacemakers The Health Industry Manufacturers Association recommends that a minimum separation of 15 cm be maintained between a handheld wireless phone and a pacemaker to avoid potential interference with the pacemaker. Persons with pacemakers: • Should always keep the phone more than 15 cm from their pacemaker when the phone is turned on.
-
Page 17: Care And Maintenance
Protect your hearing WARNING Excessive exposure to loud sounds can cause hearing damage. Exposure to loud sounds while driving may distract your attention and cause an accident. Listen to a headset at a moderate level, and do not hold the device near your ear when the loudspeaker is in use. -
Page 18: Warranty
As a matter of precaution, we recommend disconnecting the charger during a thunderstorm. Batteries are consumables and are not included in any guarantee. This guarantee does not apply if batteries other than DORO original batteries are used. 13.COPYRIGHT AND OTHER NOTICES Bluetooth is a registered trademark of Bluetooth SIG, inc. - Page 19 Doro does not provide a warranty for or take any responsibility for the functionality, content, or end-user support of third-party apps provided with your device. By using an app, you acknowledge that the app is provided as is.
-
Page 20: Specifications
Declaration of Conformity Doro hereby declares that Doro PhoneEasy 631 conforms to the ® essential requirements and other relevant regulations contained in the Directives 1999/5/EC (R&TTE) and 2011/65/EC (RoHS). A copy of the Declaration of Conformity is available at www.doro.com/dofc. - Page 24 PhoneEasy 631 (1081) English Version 2.0 0700 ©2014 Doro AB. All rights reserved.
Need help?
Do you have a question about the phonoeasy 631 and is the answer not in the manual?
Questions and answers