Advertisement
Quick Links
Advertisement

Related Manuals for 3xLogic VSX-1.3MP-PIR1


Summary of Contents for 3xLogic VSX-1.3MP-PIR1
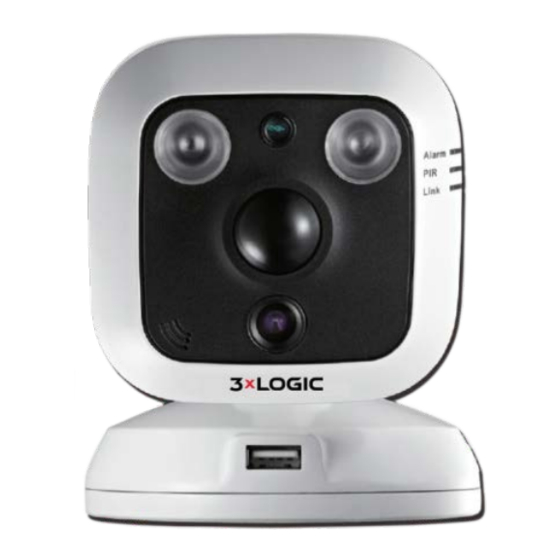
- Page 1 Quick Reference Guide How to Setup the VSX-1.3MP-PIR1 on Wi-Fi. VSX-1.3MP-PIR1 Camera...
- Page 2 Quick Reference Guide To properly set up the VSX-1.3MP-PIR1 on Wi-Fi the following steps need to be taken. NOTE: Default IP address for the VSX-1.3MP-PIR1 camera is: 192.0.0.6 1 - Connect the VSX-1.3MP-PIR1 camera via the NIC interface directly to the NVR, programming laptop or network switch.
- Page 3 Quick Reference Guide 5 - Login to the camera's user interface by clicking on the Web Settings button ( NOTE: The default user: admin with password: 12345. Page 3...
- Page 4 Quick Reference Guide 6 - Click the Advanced Configuration button ( , then click the Network button then click the TCP/IP button 7 - Select wlan from the Select NIC drop down list . Assign your IP address. ...
- Page 5 Quick Reference Guide 8 - Click the Wi-Fi tab ( and find your wireless SSID. 9 - Enter the Security Mode and Encryption Type 10 - Enter your wireless network security key 11 - The camera can now be disconnected from the programming PC\NVR 12 - Set up the appropriate IP scheme in the NVR (if changed for programming).
- Page 6 Quick Reference Guide The VSX-2MP-PIR1 is now configured and accessible as one of the Cameras ( currently installed on your network. Page 6...