Table of Contents
Advertisement
Quick Links
Advertisement
Table of Contents

Subscribe to Our Youtube Channel
Related Manuals for IQAir Cleanroom H 13


Summary of Contents for IQAir Cleanroom H 13
- Page 1 C l e a n r o o m H 13 User Manual Swiss Made...
-
Page 2: Important Safety Instructions
The IQAir Group reserves the right to change specifications contained in this document at any time and without prior notice. © 2002-2013 The IQAir Group. All rights reserved. IQAir is the registered trademark of The IQAir Group. EvenFlow is a trademark of The IQAir Group. IQAir systems and filters are protected under U.S. -
Page 3: Table Of Contents
2. 1 Unpacking 2. 2 Choosing a Suitable Location 2. 3 Connecting to Power Chapter 3 – The IQAir® System’s Components 3. 1 Description of Housing Components 3. 2 Description of Removable Components 3. 3 How the IQAir System Works Chapter 4 –... -
Page 4: Chapter 1 - Air Cleaning Systems And Indoor Air Quality
3. Ensure the IQAir system can clean enough air to cope with your room size. The actual hourly air volume cleaned by the system should be at least double the air volume of your room. If the rate at which pollutants enter the room air is high or the indoor air quality requirements are stringent, the hourly air delivery of the system needs to exceed the room air volume several times. -
Page 5: Chapter 2 - Setting Up
2.1 Unpacking To unpack the IQAir system, open the top of the box and remove the square styrofoam pad which contains all accessories and product literature. Lay the box on its side, hold the system by the handle and pull it out of the box. -
Page 6: Choosing A Suitable Location
Do not use the IQAir system when the power cord becomes damaged. The power cord may be replaced with an approved cord with a two-pole plug. -
Page 7: Chapter 3 - The Iqair® System's Components
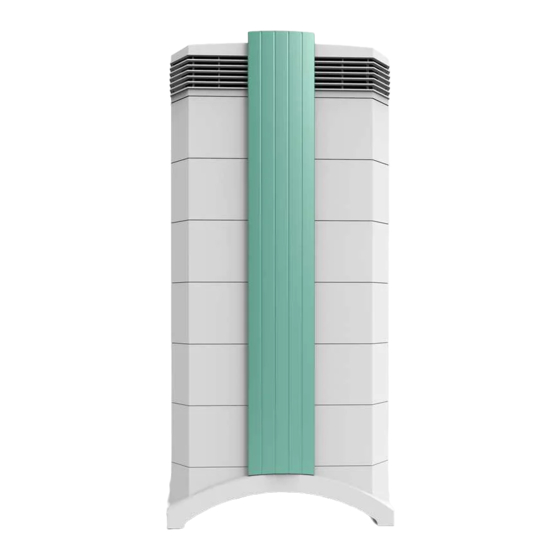
3.1 Description of Housing Components The IQAir system features a modular tower design in which all important filtration and air moving components are positioned vertically in-line, i.e. stacked on top of another. Air is drawn into the system at the base, and passes through several filter stages to be returned to the room via the diffuser on top of the system. -
Page 8: Description Of Removable Components
3.2 Description of Removable Components The IQAir system features a modular housing design which enables the easy replacement of all filters in a matter of seconds. The illustration below shows all the removable components. For more details on how to re pla ce filters, please refer to Chapter 6 –... -
Page 9: Chapter 4 - Using The Control Panel
Power Key The Power key switches the IQAir system on and off. When the system is switched off, the fan stops to run, but the system will remain connected to the power supply (standby mode). The standby mode allows for automatic timer start-up. -
Page 10: Control Panel Locking Function
The filter has reached the end of its estimated life span. 4. Red (blinking): The filter has passed its estimated life span and should be replaced immediately. The IQAir system’s effectiveness is likely to have been reduced dramatically, either due to a reduction in airflow (particle filters are clogged) or a reduction in filter efficiency (gas phase filter is saturated). -
Page 11: Air Exchange Rates In Differently Sized Rooms
Any air cleaner can only be effective if it filters a sufficient amount of air in an indoor environment. For general air cleaning purposes, the IQAir system should be able to filter the room air volume at least twice every hour on the set fan speed to achieve a significant air quality improvement. -
Page 12: Filter Life Monitor
4.4.2 Filter Life Monitor The IQAir system is equipped with an electronic Filter Life Monitor that calculates the remaining life of the sys tem’s filters. Thanks to the Filter Life Monitor, the user does not have to guess when filters need to be replaced or replace them at fixed intervals (which rarely correspond to the actual amount of use). -
Page 13: Setting The Auto Timer
Chapter 4 – Using the Control Panel 4.4.3 Setting the Auto Timer The Auto Timer Menu allows the setting of a Timer ON period, which is defined by a START time and a STOP time. For the Timer ON period, a fan speed can be selected in the Timer ON Fan Speed Menu (see 4.4.5). -
Page 14: Day-Of-The-Week Timer
Chapter 4 – Using the Control Panel 4.4.4 Day-of-the-Week Timer The Day-of-the-Week Timer allows the deactivation of the Timer ON period on certain days of the week. In its default setting the Timer ON period is enabled on all seven days of the week. This is indicated by stars below the abbreviations of the days. -
Page 15: Timer Information In The Control Panel
Chapter 4 – Using the Control Panel 4.4.6 Timer Information in the Control Panel The IQAir control panel shows the timer status without the need to access the T imer related menus. Timer Deactivated Display’s Main Window Timer LED System on Standby: The first line shows the model name and the second line shows the word “Standby”. -
Page 16: Time & Day Setting
Chapter 4 – Using the Control Panel 4.4.7 Time & Day Setting When the IQAir system is first connected to the power, the day and time displayed will be incorrect and will have to be set for the timer function to work properly. -
Page 17: Changing Airflow Units
Note: The air delivery (airflow units) displayed in this manual are examples only and will vary according to model. 4.4.10 Language Setting The Language Menu allows you to change the IQAir system’s display language. The languages from which you can choose will depend on the model and the country of purchase. -
Page 18: Chapter 5 - Using The Remote Control
To switch the IQAir system on with the remote control, press any one of the speed control keys marked with 1 through 6. The system will start at the fan speed of the pressed key. To switch the IQAir system off, press the OFF key. -
Page 19: Replacing The Battery Of The Remote Control
Chapter 6 – Replacing Filters The IQAir system is equipped with a Filter Life Monitor which is designed to assist you in determining when a filter needs to be replaced. If the air pollution in your environment is very high, there is a possibility that the filter may not be effective throughout the displayed life time and may have to be replaced earlier than indicated by the Filter Life Monitor. -
Page 20: Opening And Closing The Housing
The stacked housing elements are held together by two locking arms that latch into the diffuser. To open the system, follow the steps below. 1. Disconnect the IQAir system from the power supply before at temp ting to open the system. -
Page 21: Replacing The Hyperhepa Filter (F2)
Chapter 6 – Replacing Filters 4. Remove the filter clamps that secure the 5. Turn the frame over so it is upside down. 6. With the palm of the hand, press down on filter in the frame by pulling these out of the filter and loosen the frame. -
Page 22: Discarding Used Filters
To expedite your service request, please have the following information ready when contacting us: 1. IQAir model, shell number and serial number (found at the base of the unit and on the certificate of performance) 2. Your details (name, address, phone number, e-mail) 3. -
Page 23: Chapter 8 - Anti-Tampering Kit Instructions
Chapter 8 – Anti-Tampering Kit Instructions Chapter 8 – Anti-Tampering Kit Instructions Your IQAir system comes with two anti-tampering features designed to prevent unauthorized tampering with the system: • The arm-locking fixture prevents unauthorized access to the system’s replacement filters. - Page 24 Chapter 8 – Anti-Tampering Kit Instructions Now the other side. 5) Insert the flat-head 4) Reinsert the face plate screwdriver into the small and press it in completely. opening on the side of the display control panel. 7) Disconnect the ribbon 8) Insert two of the larger 6) Loosen and lift out the cable from the control...
-
Page 25: Chapter 9 - Iqair® Optional Accessories
Chapter 8 – IQAir® Optional Accessories Chapter 9 – IQAir® Optional Accessories IQAir advanced air cleaning systems can be complimented with a range of special IQAir accessories. Ask your authorized IQAir dealer for details. InFlow™ VMF™ Powder-coated stainless-steel Complete ducting adapter kit for the... -
Page 26: Technical Specifications
Technical Specifications Technical Specifications: IQAir® Cleanroom H13 General Specifications Power requirements 100-120 V, 50/60 Hz Energy consumption, 6 fan speeds* 27, 53, 92, 121, 154, 215 Watt; Standby: <1 Watt Dimensions H 32" x W 15" x D 16" (H 82 x W 38 x D 41 cm) Weight, system incl. - Page 27 Notes:...
- Page 28 Swiss Made www.iqair.com...
Need help?
Do you have a question about the Cleanroom H 13 and is the answer not in the manual?
Questions and answers