Table of Contents
Advertisement
Advertisement
Table of Contents

Subscribe to Our Youtube Channel
Related Manuals for Q Acoustics 1000i


Summary of Contents for Q Acoustics 1000i
- Page 1 1 00 i Series User Manual and Product Specifications...
- Page 3 Important Information- Please Read Carefully This symbol indicates that there are important operating and CAUTION! maintenance instructions in the literature accompanying this unit. RISK OF ELECTRIC SHOCK DO NOT OPEN TO REDUCE THE RISK OF ELECTRIC SHOCK DO NOT REMOVE COVER (OR BACK) This symbol indicates that dangerous voltage constituting a risk of NO USER-REMOVEABLE PARTS INSIDE electric shock is present within this unit.
-
Page 4: Unpacking Your Loudspeakers
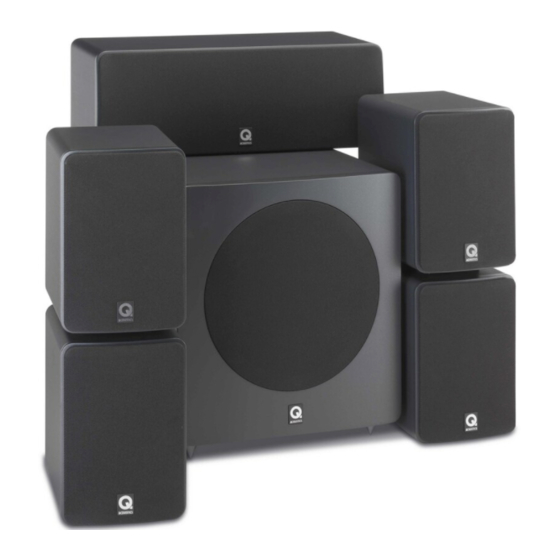
DO NOT connect your loudspeaker terminals to the mains supply. Introduction DO NOT expose your loudspeakers to excessive cold, heat, humidity or The Q Acoustics 1000i series is a range of loudspeakers designed to meet sunlight. the highest expectations of dedicated 2-channel audiophiles and discerning movie enthusiasts. - Page 5 Preparation Spikes are sharp. Exercise care! Never place a spiked loudspeaker where it can cause damage! Always move your loudspeakers by lifting them - never drag them! Fitting the Floor Stand and Spikes- 1030i and 1050i Sand Filling the 1030i Place a soft cloth or towel on the The lower chamber of the 1030i can be filled with sand to aid stability and floor.
- Page 6 1030i and 1050i An optional bracket designed specifically to wall mount the Q Acoustics The 1030i and 1050i loudspeakers should be positioned at least 200mm 1010i, 1020i and 1000Ci is available from your dealer. Floor stands for the from a back wall and 500mm from the side walls.
- Page 7 Connecting Passive Loudspeakers Terminals and Connectors Loudspeaker Cables he 1020i, 1030i and 1050i are bi-wireable. A bi-wireable crossover has Specialist loudspeaker cables will offer a higher standard of four terminals. The upper pair of terminals connects to the treble (HF) reproduction than general purpose ‘bell’...
- Page 8 Connecting Passive Loudspeakers Connecting the 1010i and 1000Ci Stereo Connections RIGHT LEFT AMPLIFIER SPEAKER SPEAKER Standard Connections Each loudspeaker is provided with a cable guide so you can dress the cables neatly. The 1010i, 1020i, 1030i and 1050i and 1000Ci have the RIGHT SPEAKER LEFT SPEAKER guide fitted at the bottom of the crossover terminal panel.
- Page 9 1000i Subwoofer Preliminaries Level Control Unpack the subwoofer following the guidelines given earlier. The subwoofer is set to the voltage in your area. If you move to an area Phase with a different voltage, take the unit to a qualified technician to have the Switch voltage changed.
- Page 10 CENTRE LS INPUT on the subwoofer using a suitable RCA interconnect. Push the plugs firmly home to ensure a good contact. If you wish to connect the 1000i Sub to a preamplifier or a spare line output AV AMPLIFIER SUB.
- Page 11 1000i Subwoofer - Operation As always the final settings should be determined by listening. You Switching On should listen to a wide range of music at different volume settings while Check that all system connections are properly and securely made.
- Page 12 5.1 Home Theatre Connections Home Theatre Connections The Front Speakers are bi-wired. This is the preferred mode of connection provided the crossover network supports bi-wiring. The Centre and Surround channel speakers are conventionally wired. 6.1 and 7.1 connections are the same as 5.1 CENTRE connections with the addition of the extra effects channel/s.
- Page 13 Home Theatre Topics Placement: The Front and Centre speakers should be in line. If this is not possible, consult your processor manual for guidance on adjusting relative centre/front delay times. If you have a 5.1 system, the listening seat can be closer to the rear wall. As always, be prepared to experiment. CENTRE Bass Management: AV processors offer the choice of ‘Large’...
-
Page 14: Care And Cleaning
Active Loudspeakers & Subwoofers: 2 years from the date of purchase stain with a cloth lightly moistened with water, white spirit or isopropyl During the warranty period Q Acoustics will, at its option, repair or alcohol depending on the stain. Then lightly buff with a cloth to remove replace any product found to be faulty after inspection by the company any residue of the cleaning agent. - Page 15 Q Acoustics 1000i Series Specifications Passive Loudspeakers 1010i 1020i 1030i 1050i 1000Ci 2-way reflex 2-way reflex 2-way reflex 2-way reflex 2-way reflex Enclosure type: 100 mm 125 mm 165 mm 2 x 165 mm 2 x 100mm Bass Unit (mm):...
- Page 16 www.qacoustics.co.uk...
Need help?
Do you have a question about the 1000i and is the answer not in the manual?
Questions and answers