Advertisement
Advertisement
Table of Contents

Related Manuals for Iqinvision IQeye 3 SeriesIQ030S


Summary of Contents for Iqinvision IQeye 3 SeriesIQ030S
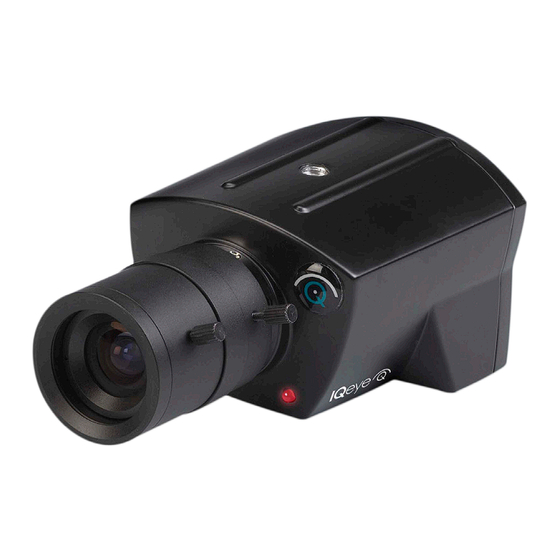
- Page 1 IQeye 3 Series ™ IQ030S, IQ031S, and IQ032S Quick Install Guide...
-
Page 2: Getting Started
Getting Started 1. Plug the IQeye camera into the network. 2. The IQeye 030S, 031S, and 032S cameras are powered via the Ethernet using an IEEE 802.3af power source. NOTE: The IQeye 03 Series camera can only be powered with a standard IEEE 802.3af PoE injector or PoE switch. - Page 3 2. Click “Scan for IQeye cameras on my network” to find IQeye cameras (Figure 1). Figure 1 The detected cameras will be displayed in the IQfinder window (Figure 2). Highlight a camera from the list and click the “Assign IP” button to edit the selected camera’s IP settings.
- Page 4 3. The “Assign IP” window allows the IP Address, Subnet, and Gateway of the camera to be changed. It also allows the camera to be configured to DHCP. Click the “Apply” button after making the desired changes (Figure 3). NOTE: Changing between a static IP address and DHCP will cause the camera to reboot. Figure 3...
- Page 5 4. To view a camera, double click a camera entry or highlight a camera in the list and click the “Web Page” button (Figure 4). Figure 4...
- Page 6 5. The “Live” page will be displayed through the default browser (IE recommended). It is also possible to open Internet Explorer and enter the IP address of the IQeye camera in the address field of the browser. If prompted, install the Active X control (Figure 5). Figure 5 6.
- Page 7 7. To prepare the camera to serve the H.264 stream, select H.264 from the video drop-down (Figure 6). To view the H.264 stream full screen (without “Live” page controls), double click on the video area. Double click on the video image again to return back to the “Live”...
- Page 8 901-0261 Rev A 33122 Valle Road San Juan Capistrano, CA 92675-4853 USA phone +1 949 369 8100 fax +1 949 369 8105 www.iqeye.com...
Need help?
Do you have a question about the IQeye 3 SeriesIQ030S and is the answer not in the manual?
Questions and answers