DeLonghi EAM4000 Series Instruction Manual
Super automatic espresso maker
Hide thumbs
Also See for EAM4000 Series:
- Instruction manual (108 pages) ,
- Instruction manual (25 pages)
Table of Contents
Advertisement
Quick Links
Super Automatic Espresso
Maker
Instruction Manual
EAM4000 Series
Máquina de Espresso Súper
Automática
Manual de instrucciones
Series EAM4000
Para cualquier información, le rogamos que se ponga en contacto con nuestro departamento de Atención al Cliente al + 1-800-
Per qualunque domanda, contattare il nostro Ufficio assistenza clienti al numero 1-800-322-3848
(Solo Negli Stati Uniti) lunedì – venerdì: 8:30 – 5:00 (EST), o visitare il nostro sito dedicato all'indirizzo
Any questions, please call our Customer Service Department at
1-800-322-3848 (U.S. Only)
Monday – Friday: 8:30 – 5:00 (EST) or visit our web site at
www.delonghi-espresso.com
Des questions? Veuillez appeler notre service à la clientèle au
ou visitez notre site Web consacré à
www.delonghi-espresso.com.
322-3848 (U.S. Solamente)
De Lunes a Viernes: 8:30 – 5:00 (Hora del ESTE) o visite nuestro sitio en
www.delonghi-espresso.com.
www.delonghi-espresso.com.
Cafetière à espresso super
1-888-335-6644
automatique
Mode d'emploi
Série EAM4000
Macchina per caffè
Superautomatica
Manuale d'istruzioni
Serie EAM4000
Advertisement
Table of Contents

Related Manuals for DeLonghi EAM4000 Series


Summary of Contents for DeLonghi EAM4000 Series
- Page 1 Super Automatic Espresso Cafetière à espresso super Maker automatique Instruction Manual Mode d’emploi EAM4000 Series Série EAM4000 Máquina de Espresso Súper Macchina per caffè Automática Superautomatica Manual de instrucciones Manuale d'istruzioni Series EAM4000 Serie EAM4000 Any questions, please call our Customer Service Department at 1-800-322-3848 (U.S.
-
Page 2: Table Of Contents
2: Table of Contents: • Thank You and De’Longhi Introduction • Product Registration • Introduction • Features and Benefits • What is Crema? • Machine Description (User Components) • Control Panel Description • Indicator and Warning Lights • Important Safeguards •... -
Page 3: Thank You And De'longhi Introduction
Now that you’ve discovered us, we think you’ll agree, that each and every De’Longhi appliance is truly a “Living Innovation”. Get to know us better…visit us at www.delonghi.com for our full line of products. 4: Product Registration (U.S. -
Page 4: What Is Crema
Instant Reheat Function The instant reheat function heats the core of the machine, ensuring that it maintains an ideal temperature for brewing. Patented Cappuccino System Frother This special frothing system includes a chamber that mixes steam and milk to create a rich creamy froth. It’s perfect for making the ideal cappuccino, latte or any other frothy milk espresso / coffee beverage. -
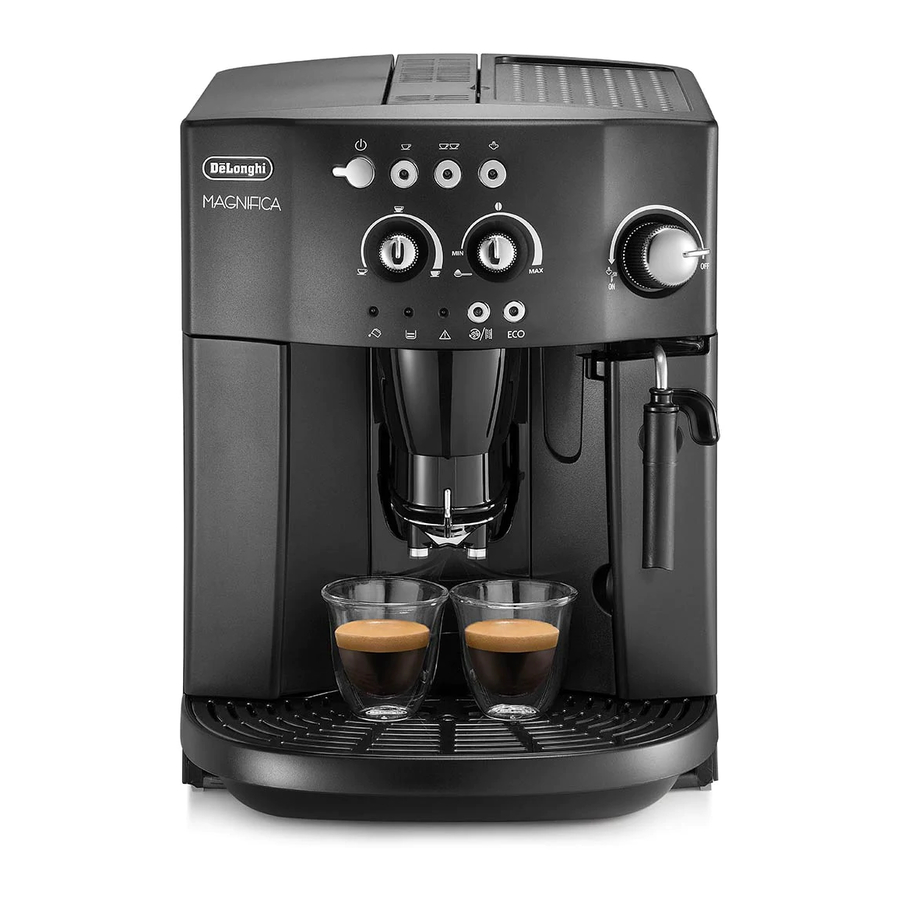
Page 5: Machine Description (User Components)
7: Machine Description (User Components) A. Cup Warmer L. Ground Coffee Container Lid B. Steam Control Dial M. Brewing System C. Steam Spout N. Power Cord D. Patented Cappuccino System Frother O. Removable Milk Frother Body (Milk Frother) P. Removable Steam Nozzle E. -
Page 6: Control Panel Description
8: Control Panel Description: 1. On / Off Button Description: Turns the machine on and off. 2. 1-Cup Button Description: When pressed the machine will only delivery 1 cup of espresso / coffee. When illuminated, shows that you selected the 1-cup option by pressing the 1-Cup Button. 3. -
Page 7: Indicator And Warning Lights
Warning Lights: Note: Also refer to “Troubleshooting” section of manual for more details. IMPORTANT: If a warning light illuminates to signal a problem, first review this section or the “Troubleshooting” section of the manual to see if the problem can be easily resolved. Then, if the problem still persists, call our customer service department at 1-800-322-3848. -
Page 8: Important Safeguards
10. Used Coffee Container Warning Light ( Red ) Description: When illuminated steadily, tells you that the used coffee container is full (needs to be emptied), missing or improperly positioned. Note: The used coffee container will need to be emptied after about 14 single cups (or 7 double cups). What to do if this light appears: •Check the used coffee container by removing it. -
Page 9: Before First Use
7. Do not operate any appliance with a damaged cord or plug or after the appliance malfunctions, or has been damaged in any manner. For any service related issues, please contact our customer service department at 1-800-322-3848. (U.S. Only) 8. The use of accessory attachments is not recommended by the appliance manufacturer, it may result in fire, electric shock or injury to persons. -
Page 10: Checking The Water Hardness
10: Checking the Water Hardness The machine was released from the factory with a specific pre-set setting for water hardness. To change that setting, please follow the instructions below step by step. 1. After removing the “Water Hardness” test strip from its packaging immerse it completely in the water for a few seconds, then remove it. -
Page 11: Using The Machine For The First Time
coffee grinder has already been pre-set in the factory for the correct delivery of the espresso / coffee. Figure 3 2. If after making the first espresso / coffee the delivery it too fast or too slow (in drops), the grinding coarseness must be adjusted using the coffee grinder dial (Figure 3) located inside the bean container. -
Page 12: Preparing The Espresso / Coffee
Figure 7 11.4 Setting the Espresso / Coffee Flavor Dial 1. Turn the espresso / coffee flavor dial (Figure 9) to set the desired taste of your espresso/coffee from regular, strong to extra strong. 2. Turning the dial clockwise increases the quantity of coffee beans the machine will grind, and therefore makes the taste stronger. - Page 13 Figure 11 • Turned the machine on by pressing the on/off button. • The green lights are on steadily (not flashing). • Set the coffee flavor, coffee quantity and coffee grinder (if using coffee beans) dials to the desired level. 12.1 Preparing Espresso / Coffee (Using Whole Coffee Beans) Note: When using the machine for the first time, 4 to 5 cups of espresso /...
- Page 14 Figure 16 9. Use caution when removing the contents of the used water tray, as they may be very hot. Allow contents to cool, and then remove the used water tray and discard the water. 10. If the machine is not switched off using the button, it will switch itself off and run a brief rinse cycle 3 hours after the last operation.
-
Page 15: Cappuccinos And Lattes)
•Unless pre-heated, do not use cups that are too thick. Figure 17 •Use cups that have been previously heated by rinsing them with hot water. •Use cups that have been previously heated using the cup warmer on top of the machine. 13: Frothing or Steaming (How to Make the Perfect Cappuccino or Latte) -
Page 16: Processing Hot Water
Note: To make a creamier froth, dip the milk frother into the milk and rotate the container with slow movements from the bottom to the top. It is recommended to limit steam delivery to no more than 2 minutes at a time. 11. -
Page 17: Cleaning The Milk Frother
15.3 Cleaning the Drip Tray and Used Water Tray: • The drip tray is fitted with a red level indicator, showing the level of the water inside. • When the indicator is visible, the drip tray and used water tray must be emptied and cleaned. - Page 18 • Carefully clean the inside of the machine by scraping it with a plastic or wooden fork (Figure 25) and then pick up all the residues using a vacuum cleaner (Figure 26) • Replace the brewing system by sliding it onto the supports and the pin at the bottom.
-
Page 19: Troubleshooting
button will illuminate to indicate the start of the decalcification process (the lights remain off to indicate that it is not possible to make espresso / coffee). • Turn the steam control dial half a turn counter-clockwise (Figure 7). The decalcification solution will come out of the milk frother and start to fill the container underneath. - Page 20 Indicator Lights: Description Explanation The machine is not ready to indicator make espresso / coffee (the lights flash. ideal water temperature has not yet been reached). Wait for the indicator lights to illuminate steadily before making the espresso / coffee. The machine is at the right indicator temperature and ready to make...
- Page 21 Warning Lights: Description Explanation Action Fill the water tank as described light is on The water tank is empty or is in section 11.1 of the manual. positioned incorrectly. steadily. Rinse or decalcify the water The water tank is dirty or lined tank.
- Page 22 Warning Lights: Description Explanation Action light is If the service door cannot be The service door is open. closed, check that the brewing flashing. system is inserted correctly. light is on Replace the brewing system. After cleaning, the brewing steadily and system has probably been left out of the machine.
- Page 23 Problems: Possible Cause(s) Solution The espresso / coffee does •The spout is blocked •Scrape the remains of dry coffee not come out of one of with a needle the spouts Turning the steam dial, no •The holes in the spouts •Clean the holes in the milk frother steam comes out of the are clogged...
- Page 24 Problems: Possible Cause(s) Solution No coffee comes out of •No water in water tank •Fill water tank and replace inside machine. coffee spout •No beans or no pre- •Fill bean container with beans or fill ground coffee ground coffee container with pre- ground coffee •The brewing system •Clean the brewing system...
-
Page 25: Limited Warranty And Extended Service Plan
800-865-6330. Residents of Canada: Please contact our toll free hotline at 1-888-335-6644 or log onto our website at www.delonghi.com. Residents of Mexico: Please refer to the Limited Warranty statement for Mexico. Please refer to the back page of the manual for De’Longhi addresses. - Page 26 PROTECT YOUR INVESTMENT WITH DE’LONGHI’S EXTENDED SERVICE PLAN For your convenience and protection an optional extended service plan is available! For a small price you can be sure that your appliance is protected. If your product needs repair two years beyond the manufacturer’s limited warranty, we will fix it at no cost to you.
-
Page 27: Ordering Accessories Or Parts
To order accessories or parts, please either call our customer service department at 1-800-865-6330 Monday – Friday: 8:30 – 5:00 (EST) or visit our site at www.delonghi-espresso.com Technical Information: Rated Voltage / Frequency: 110/120 Volts - 50 / 60 Hz Power: 1150 Watts Water Container Capacity: 60 oz. - Page 28 2: Table des matières : • Remerciements et introduction à De’Longhi • Enregistrement du produit • Introduction • Caractéristiques et avantages • Crema, c’est quoi? • Description de la machine (composants pour l’utilisateur) • Description du panneau de commande • Témoins et avertisseurs lumineux •...
Need help?
Do you have a question about the EAM4000 Series and is the answer not in the manual?
Questions and answers