Dyson ab08 Installation Manual
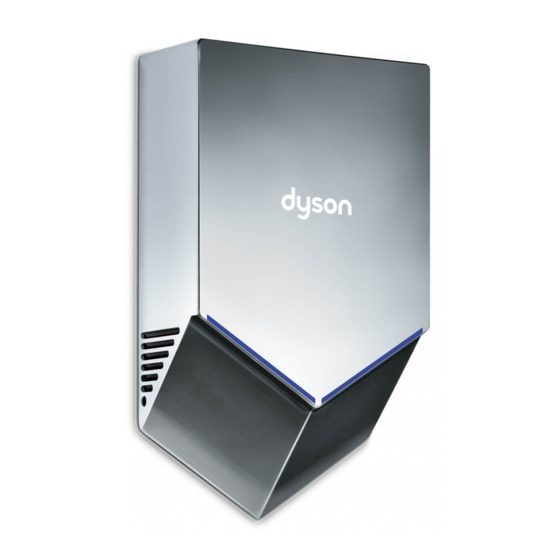
Hand dryer
Hide thumbs
Also See for ab08:
- Installation manual (72 pages) ,
- Installation manual (52 pages) ,
- Owner's manual (73 pages)

Related Manuals for Dyson ab08


Summary of Contents for Dyson ab08
- Page 1 IFS Ltd t/a Intelligent Hand Dryers UK www.intelligenthanddryers.com 0114 286 6394...
- Page 2 Installation Guide Free 5 year guarantee Register your guarantee at www.dysonairblade.com...
-
Page 3: Important Safety Instructions
Ensure no pipe work (gas, water, air) or electrical cables, wires or ductwork are located directly behind the drilling/mounting area. • Dyson recommends the use of protective clothing, eyeware and materials when installing/repairing as necessary. • To avoid damage to the fascia surface during installation, store the fascia in the original packaging... - Page 5 4. If cable entry is to be from the rear, remove is available from Dyson.) 3. Measure the location on the wall. If cable entry the rubber grommet from the rear cable entry is to be from the rear, the electricity supply hole.
- Page 6 Rear cable entry. ● Primary fixing locations (x4). ● Primary fixing locations (x4). Do not use countersunk screws. 4. Mark the location on the wall with a pencil. Fixing the backplate to the wall. 2. Pull the cable through the grommet. Ensure Use the backplate to mark the locations Fit the backplate securely to the wall using the the cable is long enough to route correctly...
- Page 7 Side cable entry. Left right ● Primary fixing locations (x4). REAR VIEW REAR VIEW Do not use countersunk screws. 5th hole for side entry ● Important 1. Ensure you work only on the side of the guide when drilling. Ensure no pipe work Fixing the backplate to the wall.
- Page 8 Connecting to terminal block. Attaching main body. WArning: risk of electric shock! 4. Verify the connections are correct before CAution: Do not overtighten screws. Do not use sealant when fixing proceeding. the unit to the wall. Ensure power is not connected. 5.
Need help?
Do you have a question about the ab08 and is the answer not in the manual?
Questions and answers