Advertisement
Table of Contents
Important Note: More detailed steps appear in the instruction manual. Where appropriate, we have included
the page number for easy reference. If you need to view the full manual at anytime, just visit this item on our
website and click the link to the manual on the Item Details tab.
Basic Setup
1. Remove the projector from the packaging and place it on a stand or table facing the screen or wall you
want to project the picture onto.
2. Remove the lens cover. Connect the power cord to the projector and a wall outlet or extension cord.
3. WHEN USING PROJECTOR AT HIGH ALTITUDES: From the Menu, select Lamp Settings, then
High Altitude. Select On. Please ensure that High Altitude mode is on each time you power on the
projector to make sure the fans cool properly.
Connecting Your Source – Detailed connection instructions begin on page 10 of the manual.
1. To connect to a laptop computer, connect the VGA cable (included) from the monitor output of the
laptop to a VGA input on the projector. This is a blue 15-pin connector on the projector and a similar 15-
pin connector on the laptop.
2. To connect a Mac laptop you'll need a DVI to VGA adapter between the VGA cable and the laptop.
3. To connect a DVD player or other video source, connect the composite video cable (yellow ends)
between the yellow "video in" connector on the projector and a similar video out connector on your DVD
player.
Connecting Audio – Detailed connection instructions begin on page 10 of the manual.
1. This projector has a basic built-in speaker, similar in quality and volume to typical laptop speakers. To
connect a laptop to the projector sound, use the included 1/8" audio cable (green ends) between the
laptop audio output and the projector audio input. Use the buttons on the projector to adjust the volume.
2. For better sound you should connect the audio output from your source to a PA system or portable
stereo. When doing this, the audio does not need to connect through the projector at all. Connect a
suitable cable from your source (laptop or DVD player) to your audio system. If you rented a portable
PA system from ATS, suitable cables and a separate instruction sheet will be included.
Testing and Adjustment – Detailed connection instructions begin on page 11 of the manual.
1. Press the power button on the projector to turn it on. In about a minute an image should start to appear
on your screen as the projector warms up.
2. Move the projector closer to the screen if the image is too large, and farther from the screen if the
image is too small.
3. Adjust the foot on the front of the projector to point the image up or down to match the height of your
screen.
4. Use the menus on the projector to adjust the shape of the image if it is not square with your screen.
5. Turn the lens ring on the front of the projector to adjust the focus until the image is sharp.
6. Turn on your source (laptop or DVD player). The projector will automatically search for a source
connected to one of the inputs, and will display "Searching.." in a small box in the corner of the screen.
Once it finds your source, the image your source is sending should appear on the screen.
Questions? Call 1-815-686-2687 or email atsinfo@atsrentals.com.
For urgent technical support outside of business hours call 1-815-230-1911.
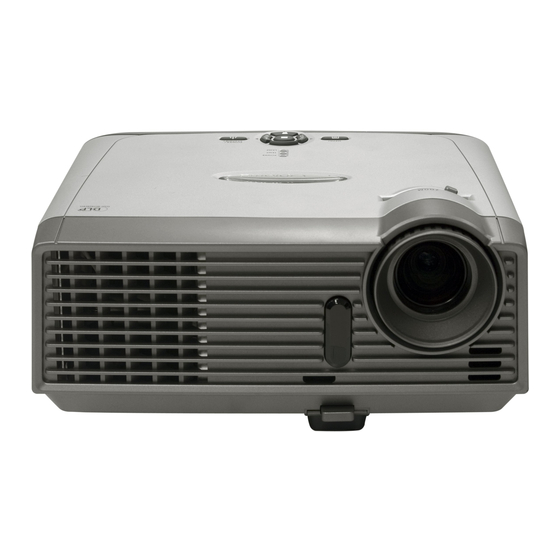
Optoma EP749 Projector
Setup & Troubleshooting Instructions
Page 1 of 2
Advertisement
Table of Contents

Related Manuals for Optoma EP749


Summary of Contents for Optoma EP749
- Page 1 Optoma EP749 Projector Setup & Troubleshooting Instructions Page 1 of 2 Important Note: More detailed steps appear in the instruction manual. Where appropriate, we have included the page number for easy reference. If you need to view the full manual at anytime, just visit this item on our website and click the link to the manual on the Item Details tab.
- Page 2 Optoma EP749 Projector Setup & Troubleshooting Instructions Page 2 of 2 Troubleshooting – Detailed troubleshooting instructions begin on page 32 of the manual. 1. Nothing appears on the screen at all, screen is dark: Make sure the lens cap is removed from the lens.
Need help?
Do you have a question about the EP749 and is the answer not in the manual?
Questions and answers
My projector has a white line running down one side of the image projection what do I do to fix this?
To fix a white line running down one side of the image on an Optoma EP749 projector, you should:
1. Press the "Re-Sync" button on the remote control or control panel to automatically synchronize the projector with the input source.
2. Check all cables and power connections to ensure they are correctly and securely connected.
3. Inspect the connector pins to make sure none are crooked or broken.
If the problem persists after these steps, contact your local reseller or service center.
This answer is automatically generated