Table of Contents
Advertisement
USER´S MANUAL
BedienungSANLEITUNG
MANUEL D`UTILISATION
MANUAL DE USUARIO
INSTRUKCJA OBSŁUGI
MANUALE D' USO
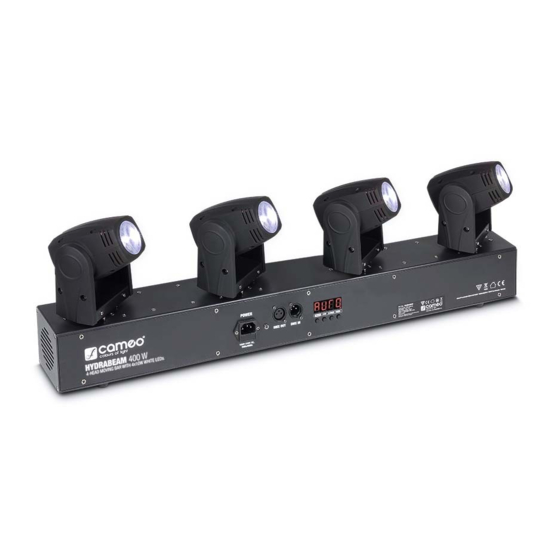
4 HEAD MOVING BAR HYDRABEAM 400
CLHB400W
CLHB400RGBW
1
Advertisement
Table of Contents


Need help?
Do you have a question about the HYDRABEAM 400 CLHB400W and is the answer not in the manual?
Questions and answers