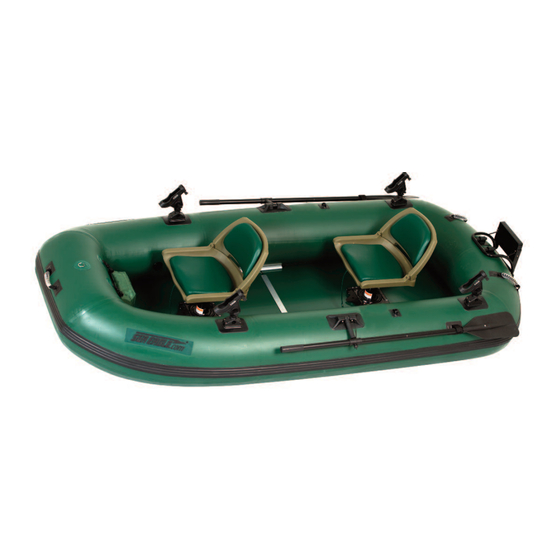
Summary of Contents for Sea Eagle Stealth Stalker 10
- Page 1 Stealth Stalker Sea Eagle Stealth Stalker 10 Instruction & Owner’s Manual For video instructions visit SeaEagle.com/Instructions or scan the QR code below! Sea Eagle Boats Inc. 19 N. Columbia Street, Suite 1 Port Jefferson, NY 11777 1-800-748-8066 March 2015...
- Page 2 Sea Eagle must inspect equipment in order to determine if there is a defect. In the event that an item must be shipped back to us for inspection, Sea Eagle will only reimburse the standard return shipping charge through FedEx, UPS or the U.S.
- Page 3 Gas motors are measured in units of horsepower and are generally built with power, range and speed in mind. The Stealth Stalker 10 is good for use with a 3HP gas motor with a maximum weight of 45 lbs. For the best performance with a motor, we recommend using a 15”...
- Page 4 Just as swimmers have a cardinal rule about not swimming alone, it is strongly advised that you should never go boating alone. Printed in each Sea Eagle is a list of boater safety suggestions.
- Page 5 ONE TIME ASSEMBLY There are some items that require one time assembly. Once installed they may remain in place when the boat is rolled up after use or require partial assembly for use. Not all items desecribed below are included with all boat packages. Floorboards Scotty Rod Holders Locate the floorboards...
- Page 6 ONE TIME ASSEMBLY (continued) Deluxe Fishing Seat Lay out the canopy (OPTIONAL) parts on the floor. The Deluxe Fishing Arrange the canvas top Seat (DFS) has two in- side up and fold ends ternal bladders, two back as shown here. valves and two straps.
- Page 7 OUT port of the pump. each arm of the cluster. The adapter marked number 1 is the only adapter needed for your Sea Eagle. Recessed Adapter Take adapter number 1 The recessed valve from the cluster and adapter is located inside...
- Page 8 3.2 PSI which is battery, plug it into the the operating pressure charger and then plug of your Sea Eagle. PSI the charger into a is marked in red on the household electrical dial. Never turn the dial outlet.
-
Page 9: Assembly & Inflation
ASSEMBLY & INFLATION Choose a flat location to Insert the side struts. roll out the hull and check the area for sharp If any of the side mate- objects that may dam- rial is under the floor- age it. Remove the boat boards, it must be from its bag and roll it pulled out. - Page 10 Replace the ball and loop the shaft into the velcro holder. Your Sea Eagle is ready for launching.
-
Page 11: Optional Accessories
If you’re planning to leave your Sea Eagle outside, be sure to keep it raised up off of the ground. It’s also a good idea to keep it covered so that it is not directly exposed to berries, leaves, rain, sunlight and other elements. -
Page 12: Troubleshooting
Sea Eagle). The first thing you should do when looking for a leak is to actually look at the boat. Visually inspect the boat from a... - Page 13 REPAIRS Although our Sea Eagles are very rugged and tough, you For immediate use may still experience the occasional puncture through use of allow 30 minutes to dry your boat. Fortunately most repairs are fairly easy and only and then inflate the take a few minutes.
- Page 14 REPAIRS (continued) Place the patch on the damaged area and press down firmly. Let the glue cure for not less than 24 hours. If glue does not hold, heat patch with a hair dryer and press firmly until cool. A temperature of 160° degrees will activate the adhesive and from there you can press firmly on...


Need help?
Do you have a question about the Stealth Stalker 10 and is the answer not in the manual?
Questions and answers