Advertisement
Quick Links
Advertisement

Related Manuals for Alto DYNAMATE


Summary of Contents for Alto DYNAMATE
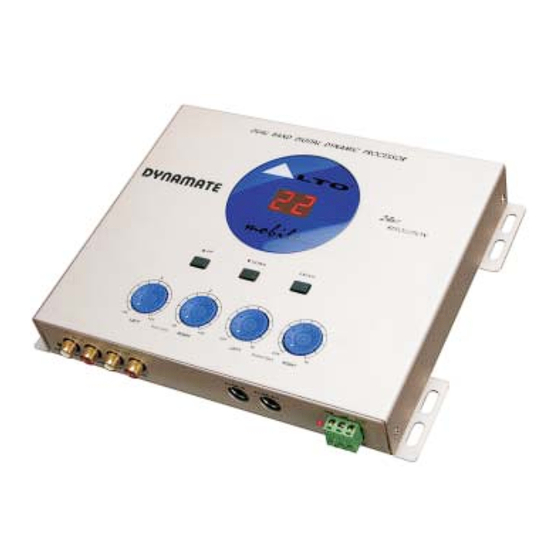
- Page 1 DYNAMATE User's Manual Version 1.5 ---English---...
- Page 2 All safety and operating instructions should be read before the equipment is installed and operated. We recommend that installation be carried out by an authorised mobile electronics installation company. Please contact your local ALTO Mobile distributor for a list of authorised installers in your country.
- Page 3 The DYNAMATE is the result of considerable development work in our R&D centres in Europe and the Far East and is a close cousin of ALTO's professional audio products. We've been designing products for musicians and recording studios for many years - the product you now have in your hands has a fine pedigree.
- Page 4 Once you've had a quick play with it you'll have some idea of what the DYNAMATE can do, but it's worth taking time to understand each of the preset algorithms and the kind of results you can expect. For example, the effect of the processing is in many cases influenced by the level of the input signal across different frequency bands - something that may not have been immediately obvious from your initial experiments.
- Page 5 Introduction is stationary, it really comes into its own when the vehicle is moving. It's then that the full benefits of the dual-band dynamic AGC come into play, helping to compensate for road and engine noise. It does this by dynamically tailoring the sound in much the same way as a sound engineer optimises the recording so that it sounds well-balanced on a small radio as well as a ten thousand-dollar hi-fi system.
- Page 6 Once split into the two separate bands, DYNAMATE applies selective processing to each of the bands before re-combining the bands and applying additional processing. The sound processing covers several forms including gain control, parametric equalization, high- and low-pass frequency filtering and dynamic balancing of the music's energy levels (dynamic companding).
- Page 7 (excess signal level/distortion) of one or both the channels of the input stage. Set the input level so that the LED dots light only very occasionally on musical peaks. DYNAMATE MAX Input level: 15 V...
- Page 8 Turn your amplifier input gains to a low setting (say 25%). Now play some music and increase the ALTO's Input Gains until you see the red dots (next to each digit on the display) begin to flash occasionally on musical peaks. This will in most cases be the optimum setting for the input gains. Note that setting the volume control of your CD player at 75% rather than maximum is done to ensure that the signal output from the player is pure and undistorted.
- Page 9 . Enter Key: While searching using the UP/DOWN keys, the currently selected preset remains active. Once you have decided on a new preset (the preset number is showing on the display), press ENTER and DYNAMATE will apply the new processing algorithm.
- Page 10 Device Initialisation, Preset Selection & Bypass During the device initialisation the display digits will blink and, after a brief time, will show the number of the last loaded preset. You can then scroll through the 64 pre-loaded presets and select an alternative program. During preset scrolling, the display blinks while showing the ID numbers of the various presets.
- Page 11 DYNAMATE Sound Processing Groups DYNAMATE's presets are divided into 8 groups of sound processing algorithms and each of these has 8 variations. The first preset in each group does not make use of the AGC (Automatic Gain Control) element, so it effectively offers an AGC-Bypass mode.
- Page 12 DYNAMATE Sound Processing Groups Presets 33-40: Kick Drum With the "Kick Drum" preset it won't surprise you that the mid-low region is very well in evidence. High and mid frequencies are slightly attenuated. You'll find this well suited to tracks where you want to give extra emphasis to the drums and bass.
- Page 13 Mounting the Unit DYNAMATE has two fixing 'ears' at each side, allowing it to be firmly screwed to a suitable surface. It may be mounted vertically or horizontally. Take care not to mount the unit where it may become wet or subject to damage from items placed in the trunk area.
- Page 14 The terminal marked REM accepts a 12V switched input from the source unit (Cassette or CD player). When the source unit is switched on, a 12V pulse is sent down this line. The DYNAMATE senses this pulse and switches itself on or off.
- Page 15 Optional A-LINK Remote Control An optional remote control unit is available. This uses a proprietary interface/control system and allows presets to be selected from the driver or passenger seat even if the unit itself is installed in the trunk. Connections are made to the A-LINK IN A-LINK OUT terminals.
- Page 16 Output signal cables correctly connected? If there is only sound from one channel, swap the Left and Right channel Input cables at the DYNAMATE - if the fault moves to the other channel then the fault is with the cable or source unit. If the...
- Page 17 (1) year from the original date of purchase. If any defects occur within the specified warranty period that are not caused by normal wear and tear or inappropriate use, ALTO shall, at its sole discretion, either repair or replace the product.
- Page 18 Signal to Noise Ratio 85 dB THD N 0.03 % @ 1KHz 3 dB Conversion: 18 bit a-d and d-a converters Power Supply Type: Servo - controlled, Switching Voltage supply: 11V - 16V DC (negative ground) Remote Control: Alto Mobile A-Link-...
- Page 19 Tel: 886-4-22313737 email: info@altomobile.com Fax: 886-4-22346757 All rights reserved to ALTO Mobile. Due to continued development in response to customer feedback, product features and/or internal/external design may be changed without prior notice. No photocopying, translation or reproduction of any part of this user manual is allowed without prior written permission.Copyright...
Need help?
Do you have a question about the DYNAMATE and is the answer not in the manual?
Questions and answers