Advertisement
Quick Links
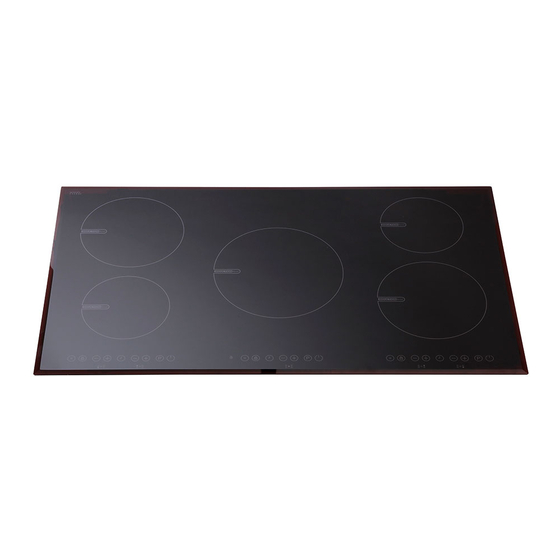
Installation and Operating Instructions
MODEL: INT900
Built-In 5 Zone Induction Hob
(Picture shown for indicative purposes only)
Please read these instructions carefully before attempting to install or use this appliance.
It is advisable to keep these instructions in a safe place for future reference.
Advertisement

Related Manuals for montpellier INT900


Summary of Contents for montpellier INT900
- Page 1 Installation and Operating Instructions MODEL: INT900 Built-In 5 Zone Induction Hob (Picture shown for indicative purposes only) Please read these instructions carefully before attempting to install or use this appliance. It is advisable to keep these instructions in a safe place for future reference.
- Page 2 Introduction montpellier branded appliance . It Thank you for choosing this has been designed to give years of trouble-free use provided it is installed and maintained correctly. Please read these instructions carefully before installing or using your appliance. It is advisable to keep your purchase and installation receipts with these instructions in a safe place for future reference.
- Page 3 Your 2 year Manufacturer's guarantee THIS DOES NOT AFFECT YOUR STATUTORY RIGHTS. Your new montpellier appliance carries a free guarantee which protects you against the cost of repairs during the first 24 months from date of purchase provided that: Any claim is accompanied by evidence of the model reference, model serial number and proof of purchase, such as a Sales Receipt, showing that the appliance was purchased within the 24 months prior to the date of claim.
- Page 4 Description of the Appliance...
- Page 5 CONTENTS: Section 1. Safety Advice Section 2. Installation Section 3. Operating the Appliance Section 4. Maintenance...
- Page 6 Section 1. Safety Advice - Please read this booklet thoroughly before installing and switching on the appliance. The manufacturer accepts no responsibility for incorrect installation and usage. - This appliance is guaranteed for domestic use only. - The appliance is not intended for use by persons (including children of age 8 and above) with reduced physical, sensory or mental capabilities, or lack of experience and knowledge, unless they have been given supervision or instruction concerning the use of the appliance by a...
- Page 7 - Do not use harsh abrasive cleaners or sharp metal scrapers to clean the oven door glass and other surface since they can scratch the surface, which may result in shattering of the glass or damage to the surface. - Do not use steam cleaners when cleaning the appliance. - For induction hobs, metallic objects such as knives, forks, spoons and lids should not be placed on the hob surface since they can get hot.
- Page 8 Section 2. Installation Remove all packaging, protective film and securing tape from the appliance. Position the appliance in a dry atmosphere. The following dimensions are provided as a guide for installation – your installer will carry out the installation in accordance with the current regulations. Your installer will connect the power cable in accordance with the current regulations.
- Page 9 Work-Surface Cut-Out & Position Near Walls continued. Please see the below installation recommendations if your hob is being placed above draws. You must ensure the air gaps are as follows:...
- Page 10 2.2 Securing the Hob Apply the self-adhesive sealing tape all the way around the lower edge of the cooking surface as shown in the diagram below. Now position the hob into the work surface cut-out to secure it into place. 2.3 Electrical Connection This appliance must be ‘hard wired’...
- Page 11 Section 3. Operating the Appliance 3.1. Cookware Suitable for Induction Induction hobs are made from smooth, ceramic glass, the heat comes from a magnetic induction coil which heats the cookware but not the cooking surface. The heat from the cookware is transferred to the food. Pans suitable for induction hob use must be made from magnetisable metal such as cast iron or steel.
- Page 12 3.3. Timer, Power and Cooking Functions Switching the appliance on: Switch the hob on by touching the ON/OFF key . All heater displays show a static “0” and the bottom right dot will blink. If no cooking zone is selected within 20 seconds, the hob will automatically turn off.
- Page 13 Child Lock: After switching on the control, the child lock function can be activated. To activate the child lock, simultaneously operate the increase heat setting key and decrease heat again. “L” meaning setting key , and then operate the increase heat setting key LOCKED will appear in all the heater displays and the control cannot be changed.
- Page 14 Buzzer: While the hob is in operation, the following activities will be signalled by means of a buzzer: · Normal key activation with a short sound signal. · Continuous operation of keys over a longer period of time (10 seconds) with a longer, intermittent sound signal.
- Page 15 Section 4. Maintenance Before any maintenance or cleaning work is carried out, DISCONNECT the appliance from the ELECTRICITY supply and ensure that the appliance is completely cool. 4.1. Cleaning the Hob Surface Clean spillages from the hob surface as soon as possible after use. Always ensure that the surface is cool before cleaning.
- Page 16 Error Codes are as follows: E1: Cooling fan is disabled, call the Repairtech helpline. E3: Supply voltage is over the rated values, turn off the hob and wait until “H” disappears from all zones. Turn the hob back on and continue to use, if the same error appears again, call the Repairtech helpline.
-
Page 17: Important Note
Important Note: This appliance is marked according to the European directive 2002/96/EC on Waste Electrical and Electronic Equipment (WEEE). By ensuring this product is disposed of correctly, you will help prevent potential negative consequences for the environment and human health, which could otherwise be caused by inappropriate waste handling of this product.
Need help?
Do you have a question about the INT900 and is the answer not in the manual?
Questions and answers