Table of Contents
Advertisement
Quick Links
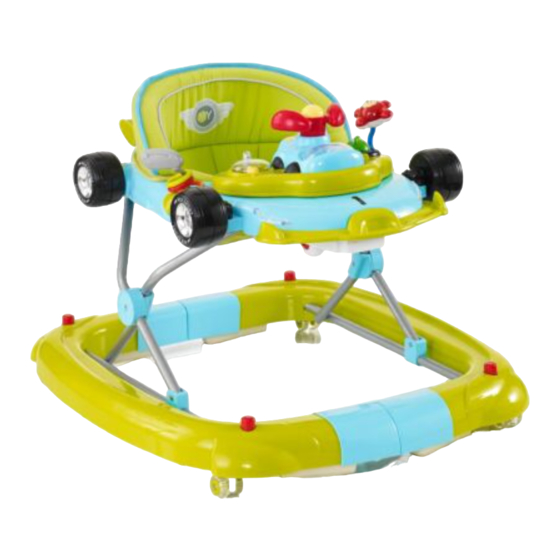
F1 Ace Sport
2-in-1 Baby walker
INSTRUCTIONS: Read the instructions carefully before use and
keep them for future reference. The child may be hurt if you
do not follow these instructions.
BS EN 1273:2005.
This baby walking frame is intended to be used by children who can sit
up unaided, approximately from 6 months. It is not intended for children
who can walk by themselves and weigh more than 12Kg/26.5lbs.
V3
Advertisement
Table of Contents

Summary of Contents for My Child F1 Ace Sport
- Page 1 F1 Ace Sport 2-in-1 Baby walker INSTRUCTIONS: Read the instructions carefully before use and keep them for future reference. The child may be hurt if you do not follow these instructions. BS EN 1273:2005. This baby walking frame is intended to be used by children who can sit up unaided, approximately from 6 months.
-
Page 2: Safety Instructions
Your 3 year warranty Whilst we make and test our products to the highest standards of durability there’s always a small chance of a hiccup! Our promise is to repair, replace or refund a MyChild product that has an identified manufacturing defect from the date of purchase for a full 3 years thereafter at no extra cost. -
Page 3: Battery Disposal
Battery disposal Exhausted batteries should be removed from the product and taken to a recycling facility. You can place batteries marked alkaline in normal household waste, but these are better taken to a recycling facility. Please follow these symbols on batteries, which contain harmful substances: Pb = Battery contains Lead Cd = Battery contains Cadmium Hg = Battery contains Mercury... -
Page 4: Parts Checklist
Welcome Thank you for purchasing the MyChild F1 Ace Sport 2-in-1 Baby Walker. Please read the instructions and warnings carefully before use to ensure safe and satisfactory operation of this product. Your child’s safety is your responsibility. If you have a query with this product or require replacement parts, please contact the MyChild Helpline on 0161 335 2508. - Page 5 Opening and closing the baby walker click 1. To open, or raise the height, ensure 2. To close or lower the height, first ensure that block (A) is in the unlocked position block (A) is unlocked (B) then pull block (B).
- Page 6 Attaching the walker’s rear wheels 4. Insert the two rear wheels into each round hole on either corner at the rear of the walker, ensuring the small plastic block (A) is seated in its hole. Tip: Use the provided wheel pusher tool to press the wheels in (tap the back of the wheel pusher lightly with a hammer if required)
-
Page 7: Fitting The Seat Unit
Fitting the seat unit 7. Lower the walker all the way down and place the walker on a flat level surface. Place the seat unit into the centre of the baby walker. 8. Attach all plastic connectors on the seat unit to the walker body in the following order: A. - Page 8 Attaching the car wheels and rear spoiler WARNING: Assembly by an adult. click 9. Push the wheels on to the axles at each 10. Attach the rear spoiler by pushing the corner of the car body. two uprights on the rear spoiler into the slots at the back of the car body.
- Page 9 Using walker and rocker modes LOCK OPEN OPEN LOCK 12. Grip the sliding blocks at the front of 13. Separate the blocks and repeat the the walker on the walker base and move procedure on the rear of the walker. them in opposite directions as shown.
- Page 10 Electronic toy car 15. Using a Phillips screwdriver, unscrew the battery cover on the underside of the electronic toy car. Insert 2 x 1.5V AA batteries (not supplied) ensuring the correct battery orientation is observed and then reattach the cover, replacing the screw, being careful to avoid overtightening.
- Page 11 Play tray 18. IMPORTANT: Ensure the steering wheel 19. Place the assembled play tray (D) into on the toy car is not turned to the left or the recess on top of the car body. right before placing in the play tray. To remove: Whilst standing behind the Push the electronic toy car (A) firmly into walker, slide your fingers between the toy...
- Page 12 Customerservice@kooltrade.co.uk Imported by MyChild. M34 3QA www.mychildonline.co.uk Tel: 0161 335 2508...


Need help?
Do you have a question about the F1 Ace Sport and is the answer not in the manual?
Questions and answers