
Summary of Contents for oventrop REGTRONIC PE
- Page 1 Operating manual oventrop REGTRONIC PE Microcontroller-controlled temperature difference controller for solar thermal systems Operating manual for REGTRONIC PE 1316BED048-20B-E, 04/2010...
-
Page 2: Table Of Contents
7.2.1 Collector protection 7.2.2 Recooling (Holiday function) 7.2.3 System protection System monitoring 8.1 Sensor monitoring 8.2 Flow monitoring Troubleshooting 9.1 Faults with error messages 9.2 Faults without error messages 10 REGTRONIC PE Specifications 11 Resistance table PT1000 12 Declaration of conformity... -
Page 3: Application Area / Device Features
Exercise caution when installing the temperature sensors! regulations. ◼ Mount the REGTRONIC PE in a location where it will not be subjected to exces- sive operating temperatures (>50 °C) by any external heat sources. For safety reasons, the system should only be operated manually during testing. -
Page 4: Mounting The Device
Mounting the device The controller must only be installed in dry and 3.1 Opening the device non-explosive areas. Mounting the controller on an inflammable Before opening the device, disconnect mains power and ensure that it cannot be surface is prohibited switched back on! The upper part of the housing is locked to the lower part using two latches. -
Page 5: Connections
3.4 Temperature sensor connection The REGTRONIC PE devices use PT1000 precision platinum temperature sensors. Between 2 and 4 sensors will be needed, depending on the functional scope. Mounting / wiring the temperature sensors: ◼... -
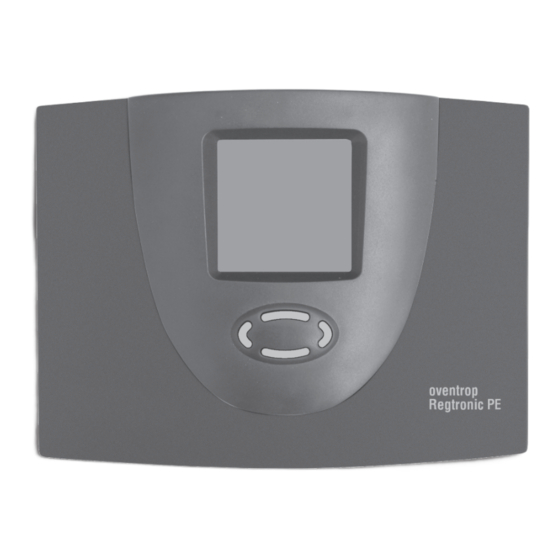
Page 6: Operation
4.2 Operation The REGTRONIC PE can be operated simply and easily by using the four control but- tons. You can use the control buttons to: ◼ Access display values ◼ Make changes to unit settings The icons on the display let you navigate easily through the various control func- tions. -
Page 7: Menu Structure 5.1 "Info" Menu
Menu structure 5.1 "Info" menu The number of values After 60s of inactivity a screensaver showing all measuring points in 2 sec steps will displayed depends on the be activated. The screensaver terminates when a button is pressed. additional functions activated. The Info menu shows the following readings and yield values: Display Can be... -
Page 8: Manual Operation" Menu
5.3 "Manual operation" menu Settings and changes in Automatic operation is switched off during manual operation. The solar pump can this menu must only be be manually switched on and off for servicing and test purposes. carried out by a specialist techni- Automatic operation is reactivated after exiting the menu or after 8 hours have cian. -
Page 9: System Diagram
System diagram 1 collector, 1 storage tank 230V connections Mains phase Neutral conductor - mains and outputs Solar circuit pump supply voltage (switching output 1) Sensor connections Collector sensor Lower storage tank General temp. measuring point... -
Page 10: Controller Functions
Controller functions 7.1 General controller functions The controller compares the temperatures of the various measuring points and charges the storage tank optimally. If the collector temperature exceeds the storage tank temperature, the solar circuit pump is switched on. Monitoring and protective functions ensure safe system operation. -
Page 11: System Protection
7.2.3 System protection To protect system components, the solar circuit pump is switched off if the collector temperature exceeds the collector protection temperature (see 7.2.2) by 10 K. If the temperature drops below this temperature, the controller once again resumes normal operation. -
Page 12: Troubleshooting
Troubleshooting In principle, all system errors can be placed in one of two categories: ◼ Faults that the controller can detect automatically and for which error messages can be shown ◼ Faults that cannot be reported by the controller 9.1 Faults with error messages Error displayed Possible causes Action to take... -
Page 13: Faults Without Error Messages
9.2 Faults without error messages Important: any faults involving the 230 V AC For faults and malfunctions that cannot be displayed, you can use the following ta- mains power supply must only be ble to identify them, plus evaluate the possible causes and sources of such errors. If rectified by a technician! you cannot rectify the fault by using the description below, you will need to contact your supplier or installer. -
Page 14: Regtronic Pe Specifications
10 REGTRONIC PE Specifications Casing Material 100% recyclable ABS casing for wall mounting Dimensions (L x W x H) in mm, 175 x 134 x 56; approx. 360 g weight IP20 according to DIN 40050, IEC 529, VDE Protection class... -
Page 15: Declaration Of Conformity
12 Declaration of conformity We, Prozeda GmbH, hereby declare our sole responsibility for ensuring that the SOLAREG Type 1332 product complies with the following directives: DIRECTIVE 2004/108/EC OF THE EUROPEAN PARLIAMENT AND OF THE COUNCIL of 15 December 2004 on the approximation of the laws of the Member States relating to electromagnetic compatibility and repealing Directive 89/336/EEC Law on the electromagnetic compatibility of equipment (EMC) of 26 February 2008 DIRECTIVE 2006/95/EC OF THE EUROPEAN PARLIAMENT AND OF THE COUNCIL of 12 December 2006...
Need help?
Do you have a question about the REGTRONIC PE and is the answer not in the manual?
Questions and answers
How to reset unit on factory value ?
To reset the Oventrop PE unit to factory settings, access the "Basic Setup" menu within one minute of switching on the device and press the required buttons simultaneously. Only a specialist technician should perform this procedure. Incorrect settings can damage or affect the solar power system.
This answer is automatically generated