Advertisement
Advertisement
Table of Contents

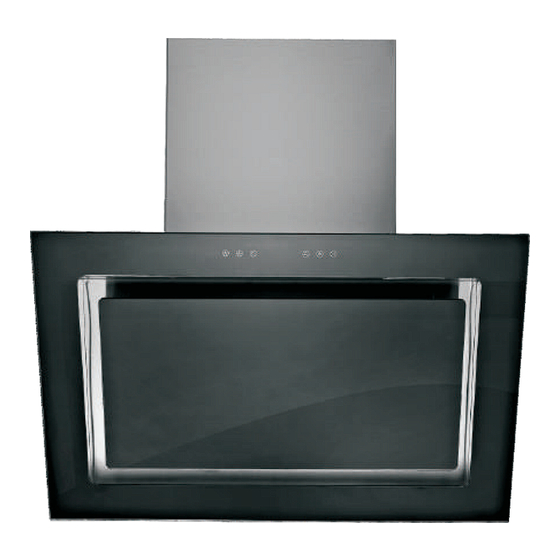
Summary of Contents for Rubine RCH-GEMELLO-RS90
- Page 1 AFTER-SALES SERVICE (Including Spare Part Request) 1800-282-093 603-6286 9000 www.rubine.com.my RCH-GEMELLO-RS90 COOKER HOOD FIAMMA TRADING SDN BHD(330476-P) 9-2, Wisma Fiamma No. 20 Jalan 7A/62A, Bandar Manjalara 52200 Kuala Lumpur, Malaysia Tel: 603-6279 8943 Fax: 603-6279 8942...
-
Page 2: Table Of Contents
READ AND SAVE THESE INSTRUCTIONS MANUAL TROUBLE SHOOTINGS CAUTION: Disconnect the power supply before servicing. CONTENTS STATUS CAUSE AND METHOD OF REPAIRING TOOL The power "+" type If the power supply is damaged,please call supply is Screwdriver TECHNICAL CHARACTERISTICS ..............1 technicians to repair. -
Page 3: Technical Characteristics
Remove the components gently during the cooker hood. Glove carrying out the clearance. TECHNICAL CHARACTERISTICS MODEL NO.: RCH-GEMELLO-RS90 Never wash the TOTAL POWER: control switch with water or other kind of liquid to avoid SPEED MOTOR: 300W the liquid might cause electrical problem to LED Lights:12V d.c / 2×2W... -
Page 4: Installation Requirement
INSTALLATION REQUIREMENT IMPORTANT SAFETY INSTRUCTIONS: 1. Do not install the cooker hood where there are many doors or windows in order to avoid to effecting the exhaust efficiency of the hood caused by air convection. (Fig. 1) 2. Install the cooker hood right above the hob. The recommended distance between the hob Do not connect the air outlet to chimney flues or and the lower edge of the cooker hood is minimum 300mm and maximum 350mm. -
Page 5: Maintenance
MAINTENANCE Step 1: Exhaust pipe Fix the air outlet to the bottom cover with screws. CAUTION: NEVER PUT YOUR HAND INTO THE AREA HOUSING WHILE THE FAN IS Put the exhaust pipe to the air outlet at this Air outlet picture showed . - Page 6 Step 5: OPERATION INSTRUCTION Expanding Tube Drill holes in the wall using a 8 mm drill bit. Use five 5x60 screws to fit the hook on the wall in the screw holes Wood Screw like 1,2,3,4,5. Then put the hood to the hook make sure the hood is fixed and can not be moved! Hook OPERATION INSTRUCTION:...


Need help?
Do you have a question about the RCH-GEMELLO-RS90 and is the answer not in the manual?
Questions and answers