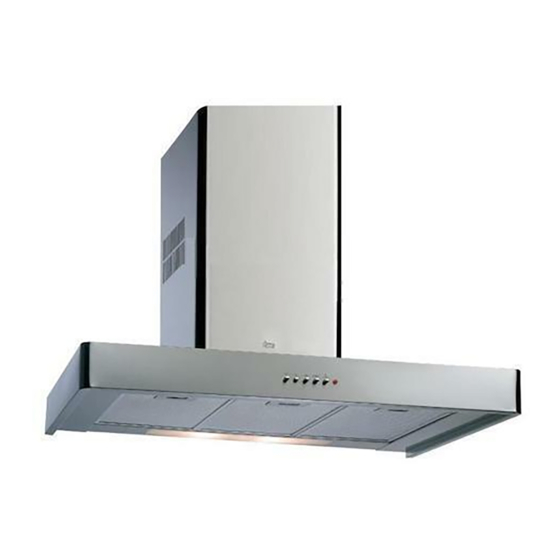
Advertisement
Quick Links
Manual de Instrucciones
C a m panas Extractoras DI-70/DI-90/DI-110
Bedienungsanleitung
Dunstabzugshauben DI-70/DI-90/DI-110
Instructions Manual
Kitchen Hoods DI-70/DI-90/DI-110
Manuel d'instructions
Hottes aspirantes DI-70/DI-90/DI-110
Manual de Instruções
Exaustores DI-70/DI-90/DI-110
Advertisement

Summary of Contents for Teka DI-70
- Page 1 Manual de Instrucciones C a m panas Extractoras DI-70/DI-90/DI-110 Bedienungsanleitung Dunstabzugshauben DI-70/DI-90/DI-110 Instructions Manual Kitchen Hoods DI-70/DI-90/DI-110 Manuel d’instructions Hottes aspirantes DI-70/DI-90/DI-110 Manual de Instruções Exaustores DI-70/DI-90/DI-110...
- Page 2 • For repairs please contact the nearest TEKA Technical Assistance Service, and • Avoid connecting appliance always use genuine spare parts. Repairs...
- Page 3 Instructions for use Index You may control the kitchen hood by Page operating the controls as shown in the diagram. Description of the appliance Instructions for use Cleaning and maintenance Problem solving Sizes and specifications Accessories supplied Installation Active carbon filters Description of the appliance Switch on the extractor fan a few minutes On/ Off Push button, speed selector,...
- Page 4 the tap or using special anti-grease products. Cleaning and maintenance They can also be washed in a dishwasher. In this case, it is advisable to stack them During cleaning and maintenance work, vertically to avoid food residues to stick to make sure the safety instructions set out them.
- Page 5 Frequency ( Hz) 214211DI 220-240 2x40 / 250 800 m 234211DI 110-127 2x40 / 280 750 m TEKA INDUSTRIAL S.A. reserves the right to make changes and corrections to its products as it deems necessary, without altering their basic characteristics.
- Page 6 8) Mount the tubecovers, attaching the lower Accessories supplied one to the support (H) as per the detail in figure 1. Lift the upper tubecover up to the desired 150/125 mm reduction. height and mark its shape on the wall. Remove Anti-recoil valve.
- Page 7 FIG.1 FIG. 2...


Need help?
Do you have a question about the DI-70 and is the answer not in the manual?
Questions and answers