Table of Contents
Advertisement
Quick Links
Advertisement
Table of Contents

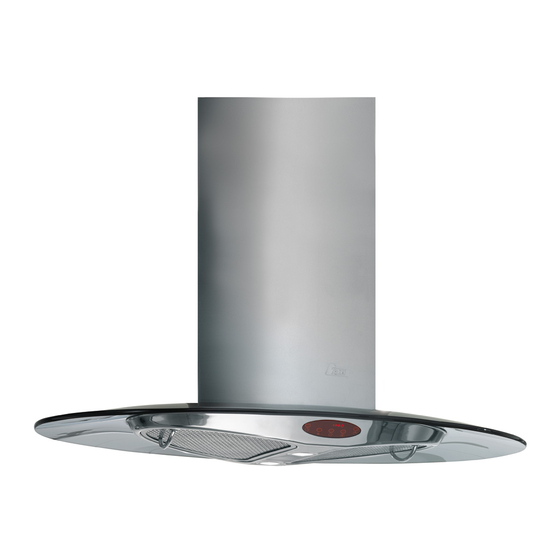
Summary of Contents for Teka DX series
- Page 1 Manual_DX.qxd 12/01/2005 17:02 Page 1 Manual de Instrucciones C a m panas Extractoras DX Bedienungsanleitung Dunstabzugshauben DX Instructions Manual Kitchen Hoods DX Manuel d’instructions Hottes aspirantes DX Manual de Instruções Exaustores DX...
- Page 2 • Once the kitchen hood has been installed, • For repairs please contact the nearest ensure that the feed cable to the network is TEKA Technical Assistance Service, and not in contact with any live metal edges. always use genuine spare parts. Repairs or modifications effected by unqualified •...
- Page 3 Manual_DX.qxd 12/01/2005 17:03 Page 15 Instructions for use Index Page You may control the kitchen hood's workings by operating the controls as shown in the Description of the apparatus diagram. Instructions for use Programming timer Cleaning and maintenance Timer Problem solving Light Sizes and specifications Reduce speed...
- Page 4 Manual_DX.qxd 12/01/2005 17:03 Page 16 the tap or using products specially designed Cleaning and maintenance for fats. They can also be washed in a dishwasher. In this case, it is advisable to When cleaning and doing maintenance, stack them vertically to avoid food residue make sure the safety instructions set out sticking to them.
- Page 5 Motor Volume Frequency (Hz) 214621DX 220-240 2x20 / 250 800 m 234621DX 110-127 2x20 / 250 730 m TEKA INDUSTRIAL S.A. reserves the right to make changes and corrections to its products as it deems necessary, without altering their basic characteristics.
- Page 6 Manual_DX.qxd 12/01/2005 17:03 Page 18 8) Adjust the decorative glass part (U), fixing it Accesories supplied softly to the body of the bell using the screws 150/125 mm reduction. provided with the glass. Anti-recoil valve. 9) Mount the tubecovers, attaching the lower one to the support (H) as per the detail in figure Supports for tubecover.
- Page 7 Manual_DX.qxd 12/01/2005 17:03 Page 19 FIG. 1 FIG. 3 FIG. 2...


Need help?
Do you have a question about the DX series and is the answer not in the manual?
Questions and answers