Advertisement
Quick Links
Advertisement

Related Manuals for Jetview JE-900 series

Summary of Contents for Jetview JE-900 series
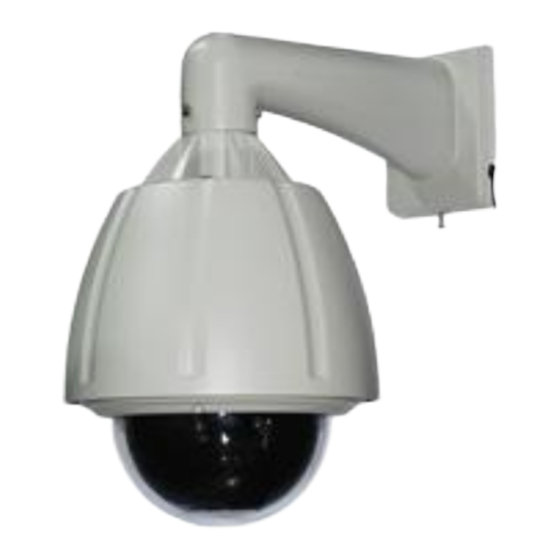
- Page 1 JE-900 series PTZ Camera Operation Guider...
- Page 2 I、 Connecting diagram 1-1 For the high speed dome camera with alarm function (JE-900H) 1-2 For the low spped dome camera without alarm function (JE-900L, IR800)
- Page 3 For the AC adaptor, the best way is put it into the alarm mounting for insuring enough power to feed the camera II、 JE-900 series PTZ camera General Functions (exclude camera module) Adopting multi-functional high-performance DSP design with stable performance Integrated design with compact structure and high reliability...
- Page 4 The special inherent code and it's function Code Functions Code Functions Set left position Exit Menu Set right position Activate Alarm Function Cruising between two point with L-Speed Disable Alarm Function Cruising between two point with M-Speed Preset Position Restore Cruising between two point with H-Speed Begin L/R limit position setup 360 °...
-
Page 5: Setup And Running Of Tour Group
Preview Preset Positions The function can command the camera to quickly return to the preset position you set. Enter the number you need to preview, Press the “PREVIEW” key, then the dome camera returns to the preset position. Example: Preview Preset position No.2 a. -
Page 6: Setup And Scan Between Two Points
The code 140, 141, 142 is special for setup and run a tour group “142” + “PREVIEW” key for command the camera to tour. “140” + “PREVIEW” key for programming a tour group. “141” + “PREVIEW” key for exiting the setup. For Example, Program a tour in order to scan 1→2→5→3→4→6 preset (preset 1, 2, 3, 4, 5, 6, was set successfully). - Page 7 For low speed dome camera(JE900L series) Key “160 + PREVIEW” key to activate the function for setup of left/right limited positions Control the dome camera by joystick, moves it to the right direction and reaches the desired point as a right limiting position, then Key “131 + PREVIEW”...
- Page 8 Setup, Activate and Exit alarm function The diagram of alarm connecting is as following. With the alarm function, the camera auto tours up to 4 areas where need to motion, once the one of alarm sensors is triggered, the camera will rapid run and stay toward the where motion detected.
- Page 9 Connection sketch for Alarm input with Usual-open detector How to operate alarm function Step 1: Setup at alarm preset positions. Setup preset position 1 for alarm 1 Setup preset position 2 for alarm 2 Setup preset position 3 for alarm 3 Setup preset position 4 for alarm 4 Step 2: Setup an alarm cruising group.
- Page 10 Enter “147+ preview” on keyboard controller to enable the alarm function, Enter number “148+ preview” on keyboard controller to disable the alarm function, Attention: a. Alarm input must be ON/OFF input signal, any other type of input signal (such as power voltage etc) is possible to damage the unit.
- Page 11 IV、 Protocol, Baud Rate and Camera ID setup It is important to know how to setup the protocol, baud rate and camera, the camera can be controlled by controller that is both of them with same protocol, baud rate and camera ID 4-1 For the low speed series(JE900L) There are two Dip-switches on the circuit board, SW1 8 bit switches for setup the camera ID and baud rate, SW2 6 bit switches for setup protocol, the setup diagram is as below:...
- Page 12 001011 011100 101101 111110 001100 011101 101110 111111 001101 011110 101111 001110 011111 110000 001111 100000 110001 010000 100001 110010 010001 100010 110011 4-2 For the high speed series(JE900H) There are two Dip-switches beside inside cover, SW1 8 bit switches for setup the camera ID and baud rate, SW2 4 bit switches for setup protocol (1, 2) and Baud Rate(3, 4).
-
Page 13: Specification
00001001 00101000 01000111 00001010 00101001 01001000 00001011 00101010 01001001 00001100 00101011 01001010 00001101 00101100 01001011 00001110 00101101 01001100 00001111 00101110 01001101 00010000 00101111 01001110 00010001 00110000 01001111 00010010 00110001 01010000 00010011 00110010 01010001 00010100 00110011 01010010 00010101 00110100 01010011 00010110 00110101 01010100 00010111... - Page 14 Scan between 2 points Power Supply DC14~30V(2A), AC18~30V (2A) operation temperature 0º C~40º C/ -40º C~60º C (with heater/fan) ≤95% non-condensing Relative humidity Power consumption Protocol Pelco-D and Pelco-P Communication System RS485Bus General Baud Rate(RS485) 2400bps, 4800bps, 9600bps Dwell time at each position 1~255 adjustable Camera address range 1-255...
- Page 15 Power consumption Protocol Pelco-D and Pelco-P Communication System RS485Bus Baud Rate(RS485) 2400bps, 4800bps, 9600bps Dwell time at each position of tour 1~255 adjustable Address range of the speed dome 1-255 Fan/ Heater Working range >50 º C or < -5 º C VI、...
Need help?
Do you have a question about the JE-900 series and is the answer not in the manual?
Questions and answers