Table of Contents
Advertisement
Advertisement
Table of Contents

Related Manuals for Gato Audio DIA-400S


Summary of Contents for Gato Audio DIA-400S
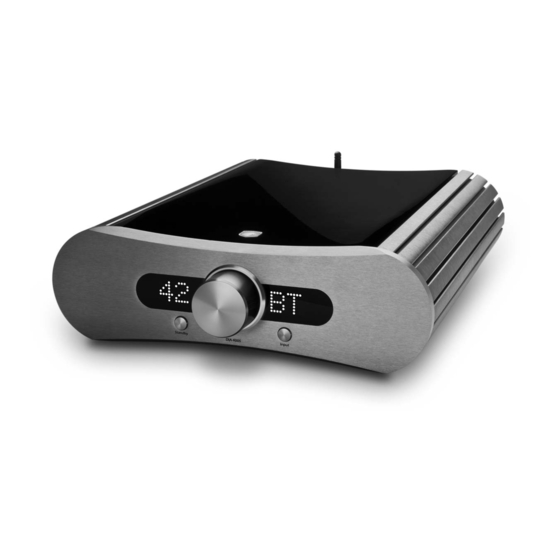
- Page 1 DIA-400S Integrated Amplifier/DAC User Manual...
-
Page 2: Table Of Contents
Gato Audio DIA-400S - Integrated Amplifier/DAC Contents Contents Don’t be a stranger Package contents Safety fi rst! About the amplifi er General design Class-D Output Stage Analogue Input Stage D/A Converter USB Versatility Connectivity LED Display Setting up your amplifi er... -
Page 3: Don't Be A Stranger
Don’t be a stranger Thank you for purchasing the Gato Audio DIA-400S. We are absolutely confi dent that it will bring you many hours of listening pleasure. We hereby cordially invite you to join the Gato Audio family by registering your product online. You may also consider signing up for our newsletter to receive information about exciting new products, events and technical updates. -
Page 4: Safety First
Gato Audio DIA-400S - Integrated Amplifier/DAC Safety first! Mains plug and cable: • Insert the mains plug fully into the mains outlet socket • Do not use any mains cable other than the one provided with this amplifi er • Do not defeat the ground connection •... -
Page 5: About The Amplifier
Connectivity We had our eye on versatility and connectivity when designing the DIA-400S. The amplifi er off ers not only a wide range of digital and analogue inputs, but also line outputs, a trigger signal for external power amplifi ers, and a confi gurable home theater input. The HT input can turn the amplifi er into a fi xed level power amplifi er for use in a surround setup, without compromising the sonic performance. -
Page 6: Setting Up Your Amplifier
Setting up your amplifier Basic connection Follow these steps for setting up your system in this sequence: 1. Place the DIA-400S as per the instructions on page 4 2. Connect inputs to the amplifi er 3. Connect your loudspeakers to the amplifi er 4. -
Page 7: Connecting To A Bluetooth Device
Connecting an Apple iPhone to USB Like the Apple iPad it is possible to stream music from an iPhone to the USB port of the DIA-400S. The procedure is exactly the same as for the iPad, however it is only possible for iPhones with IOS 7 and later. -
Page 8: How Does It Work
Press either of the buttons again to exit display dimming mode. Sample rate read-out The DIA-400S can read and display the sample rate of the USB, RCA, OPT and BT digital input channels. The DIA-400S can be set to display this in two diff erent ways:... -
Page 9: Direct
Home Theater direct To disable the function, press and hold the Input button on the front panel of the amplifi er for 4 seconds. The amplifi er remembers this setting in standby mode and when the DIA-400S is switched off . -
Page 10: Rc-3 Remote Control
Gato Audio DIA-400S - Integrated Amplifier/DAC RC-3 remote control The RC-3 is an infrared remote control for the Gato Audio DIA-400S. How to insert/replace the battery The RC-3 runs on a standard CR2032 3 V button battery. 1. Remove the small lid on the bottom side of the remote 2. -
Page 11: Installing Usb Driver
Windows PC Installation and Set-Up Before you are able to stream audio from USB on your Windows PC the fi rst time, you will have to install the Gato Audio USB driver. A CD-ROM with a USB driver is supplied with the DIA-400S, but we recommend to go online to www.gato-audio.com and download the latest driver for your specifi c Windows version. -
Page 12: Mac Installation And Set-Up
Gato Audio DIA-400S - Integrated Amplifier/DAC After the installation, follow these steps to setup Windows to stream to your Gato Audio device: Click Start open Control panel Select Hardware & sound click on Sound Select Gato Audio DIA-400 as... -
Page 13: Usb Audio Troubleshooting
User Manual USB audio troubleshooting USB audio devices have stronger requirements for both USB hardware and software than other USB devices. The following section describes the most common issues that may rise and their possible solutions. Known hardware issues and possible solutions A faulty hardware component, e.g. -
Page 14: Make It Last
Make it last! Please apply simple common sense to maintain the sound quality and lifespan of your new Gato Audio amplifi er. Here are a few guidelines: • Regular care: wipe the surfaces carefully by using a clean soft dry cloth •... -
Page 15: Technical Specifications
User Manual Technical specifications Output power 2x 400 W / 8 Ω - 2x 800 W / 4 Ω Frequency response 20 Hz-20 kHz - 0.5 dB, and 2 Hz-70 kHz - 3 dB Total Harmonic Distortion < 0,01% at rated power Signal to noise ratio >... - Page 16 Gato Audio Marielundvej 28 DK-2730 Herlev Denmark Phone: +45 4095 2205 www.gato-audio.com hello@gato-audio.com...
Need help?
Do you have a question about the DIA-400S and is the answer not in the manual?
Questions and answers