Table of Contents
Advertisement
Quick Links
Advertisement
Table of Contents

Summary of Contents for August DVB500
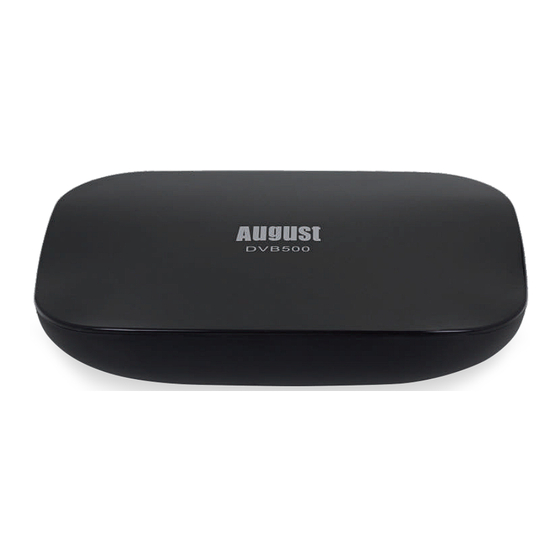
- Page 1 DVB500 Android and DVB-T2 Box Décodeur DVB-T2 Android August International Ltd Empfängt DVB-T und DVB-T2 (H.265) United Kingdom Decoder DVB-T2 Android Telephone:+44 (0) 845 250 0586 www.augustint.com Sintonizador DVB-T2 y Android...
-
Page 2: Part Names And Functions
1. Part Names and Functions 1.3 Back Panel 1.1 Front Panel RF IN RF OUT DC IN AV OUT OPTICAL RESET 3. RF in (antenna input) 7. Audio Optical out 4. RF Loop through Port 8. Network interface 5. Power DC in 9. -
Page 3: Remote Control
1.4 Remote Control 1.4.2 TV Mode (Live TV) 1.4.1 General 1 Power 13 TV/Sys 1 Power 16 - Yellow Button 2 - Red button 14 - Mute 2 - Image Ratio 17 - TV Settings 3 - Green button 15 - Blue button 3 - Channel Information 18 - Channel List 4 - Subtitle... -
Page 4: Hdmi Connection
1) Switch off both the DVB500 and your TV. 2.1 HDMI Connection 2) Connect the DVB500 to your TV using the provided AV cable. 1) Switch off both the DVB500 and your TV. 3) Turn your TV and the DVB500 on. -
Page 5: Ethernet Connection
2.4 Wi-Fi Connection If you are unable to connect to the internet using a wired connection, the DVB500 is able to connect wirelessly to your router. Please note that, for video streaming, an internet bandwidth of at least 2Mbps is recommended. -
Page 6: Unit Operation
3. Unit Operation 3.1 HDMI Settings To set the HDMI resolution: 1) Select settings from the home screen. 2) Select HDMI from the settings menu. 3) Select the correct resolution for your TV. 4) Select OK to confirm. Note: The setting changes are automatically cancelled after 15 seconds unless confirmed. - Page 7 4.1 TV Setup 2) Select Signal Check. If there are no channels saved to the DVB500, it will ask you to scan. Selecting yes will launch the search menu. To access the search menu to scan once channels have been saved, press menu and select SEARCH.
-
Page 8: Program Menu
5. Program Menu 5.2.2 Schedule a Recording or Reminder To schedule a recording or reminder from the EPG: The Program Menu gives access to the settings for saved channels, 1) Select the channel that the program is on in the left EPG window the PVR, EPG and recordings. -
Page 9: System Menu
To set your password: 1) Select Set Password from the System Menu. The DVB500 can be set to record what you are watching for a set 2) Enter the current password. Default password is 0000. - Page 10 Smart Apps are pre installed apps that display the news and weather, Selecting Device Info from the Settings Menu displays information on speed up the DVB500 and give access to Miracast and Media Center. the Android version, Internet connection and Firmware currently installed on the DVB500.
-
Page 11: Warranty
Directive 1999/5/EC. The declaration of conformity original purchase. In the unlikely event of any defect arising due to may be consulted at August International Ltd, Unit 5 Swains Mill, Crane faulty materials or workmanship, the unit will be either replaced or Mead, Ware SG12 9PY, England.


Need help?
Do you have a question about the DVB500 and is the answer not in the manual?
Questions and answers