Table of Contents
Advertisement
Quick Links
Advertisement
Table of Contents

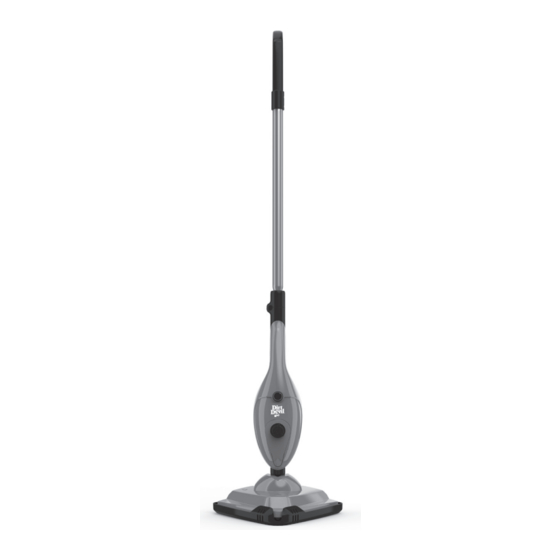
Summary of Contents for Dirt Devil SM08
- Page 1 MULTI-FUNCTION STEAM CLEANER (5-in-1 and 11-in-1) USER GUIDE DDS04-E01/DDS04-P01...
-
Page 2: Basic Safety Precautions
• Only Dirt Devil recommended the appliance in a safe way and cloths and accessories should understand the hazards involved. be used with this steamer. This •... - Page 3 WARNING DON'TS CONTINUED... • Don’t unplug the steamer by pulling touch the steam jet (there is a risk on the power cord. of scalding). • Don’t attempt to remove blockages • Don’t use the steamer with with sharp objects as this may incorrect voltage as this may result cause damage to the steamer, in damage or injury to the user.
-
Page 4: Product Registration
Guarantee Registration Be sure to register your product online at www.DirtDevil.co.uk Hint: Attach your sales receipt to this User Guide. Verification of date of purchase may be required for warranty service of your Dirt Devil product. ® For quick reference, please record your product information below. - Page 5 TABlE OF CONTENTS Let's talk safety Overview Before use Assembly How to Care & Maintenance Troubleshooting Guarantee...
- Page 6 Handle Quick cord release hook Quick cord Handle release button release hook Handheld handle Handheld steam trigger (hidden) On / off and steam control dial Power indicator Water tank cap Accessory fl oorhead Water tank (Part of unit) release button Floorhead Carpet glider...
- Page 7 We reserve the right to make changes to technical and design specifi cations in the interest of continuous product improvement. x1 Window Squeegee x1 Window Squeegee © Dirt Devil. x1 Measuring Cup x1 Measuring Cup x1 Hose x1 Hose x1 Metal Brush...
-
Page 8: Before You Begin Cleaning
CAUTION The steamer head gets very hot during use. Always switch off the steamer before emptying the water tank or changing the cleaning pads/accessories. BEFORE yOU BEGIN CLEANING 1. Test for colour fastness in a small hidden area of upholstery/fabric to check for colour removal before use. -
Page 9: Assembling Your Steamer
off the cleaning ASSEMBLING yOUR STEAMER Push the main body Push the handle into Stand the steamer down into the main body until it upright by pushing the fl oorhead until it clicks clicks into place. main body forward to into place. -
Page 10: Fill The Water Tank
FILL THE WATER TANK 1. Remove fl oorhead and 2. Do not fi ll directly from tap 3. Replace cap, align tabs handle and place steamer on or over sink. Keep steamer and twist clockwise to fl at surface. Twist water tank on fl at surface. - Page 11 CLEAN HARD FLOORS 1. Place the microfi bre pad 2. Plug into mains, turn dial 3. To steam your fl oors twist on the fl oor white side facing to ‘ON’; the amber light will the steam control dial to up.
- Page 12 USE THE MACHINE AS A HANDHELD 1. Push handle release 2. Press accessory release 3. Push concentration nozzle button and lift handle to button and lift steamer to into steamer until it clicks remove. release fl oorhead. into place. 5. Twist the steam control dial 6.
- Page 13 CAUTION Always allow tools and accessories to cool down before removing. ATTACH THE ACCESSORIES ATTACH THE BRUSHES 1. Small tools can be attached via the concentration nozzle. Push together to click into position and secure. ATTACH THE ACCESSORy HOSE 1. Push the accessory 2.
- Page 14 CAUTION Always allow tools and accessories to cool down before removing. USE THE ACCESSORIES CONCENTRATION NOZZLE SMALL BRUSH GROUT BRUSH Use to remove soap scum in Ideal for any surface from Lifts embedded dirt from in baths and shower enclosures tiles, sinks, toilets and oven between tiles.
- Page 15 CAUTION Always switch OFF the steamer when fi tting and removing the microfi bre cleaning pads. USE ON CARPETS REFRESHING CARPETS 1. Place the microfi bre 2. With microfi bre 3. Plug into mains, turn 4.Twist the steam pad on the fl oor pad attached, push dial to ‘ON’...
-
Page 16: Emptying The Water Tank
EMPTyING THE WATER TANK 1. Remove fl oorhead and 2. Empty any excess water handle and place steamer on over the sink. fl at surface. Twist water tank cap anti clockwise and lift to remove. IMPORTANT: Don’t use bleach or fabric softener when washing the microfi bre cleaning pad. IMPORTANT: Never remove the water tank cap with the product upright as water could leak out –... -
Page 17: Clearing Blockages
CLEARING BLOCKAGES IMPORTANT: Turn dial on steamer to ‘OFF’ position, switch off at mains and unplug safely. Allow to fully cool down before performing maintenance or troubleshooting checks. 1. Push the fl oorhead release 2. Use a small thin object 3. - Page 18 Problem Solution Is there an Check the ‘This pack contains’ panel on the box to make sure the accessory missing? part is included with your steamer. Why does my Check the on/off control dial position. steamer have no Check the amber light is illuminated. power? The plug may not be fully pushed into the electrical socket.
- Page 19 LIMITED GUARANTEE It’s quick and easy to register for your free 1 year guarantee online at www.DirtDevil.co.uk. Please retain your original receipt for proof of purchase. Please make a note of the serial number and model number of the product before calling. 7 19...
- Page 20 Dirt Devil. 2 Colmore Square, 38 Colmore Circus, Queensway, Birmingham, B4 6BN. EEC Statement of Compliance: Manufacturer/EEC importer: Vax Ltd trading as Dirt Devil, hereby on our own responsibility, declare that the DDS04-E01/DDS04-P01 series is manufactured in compliance with the following Directives: Safety: 2006/95/EC Low Voltage Directive.


Need help?
Do you have a question about the SM08 and is the answer not in the manual?
Questions and answers