Table of Contents
Advertisement
Advertisement
Table of Contents

Related Manuals for Freeform F40


Summary of Contents for Freeform F40
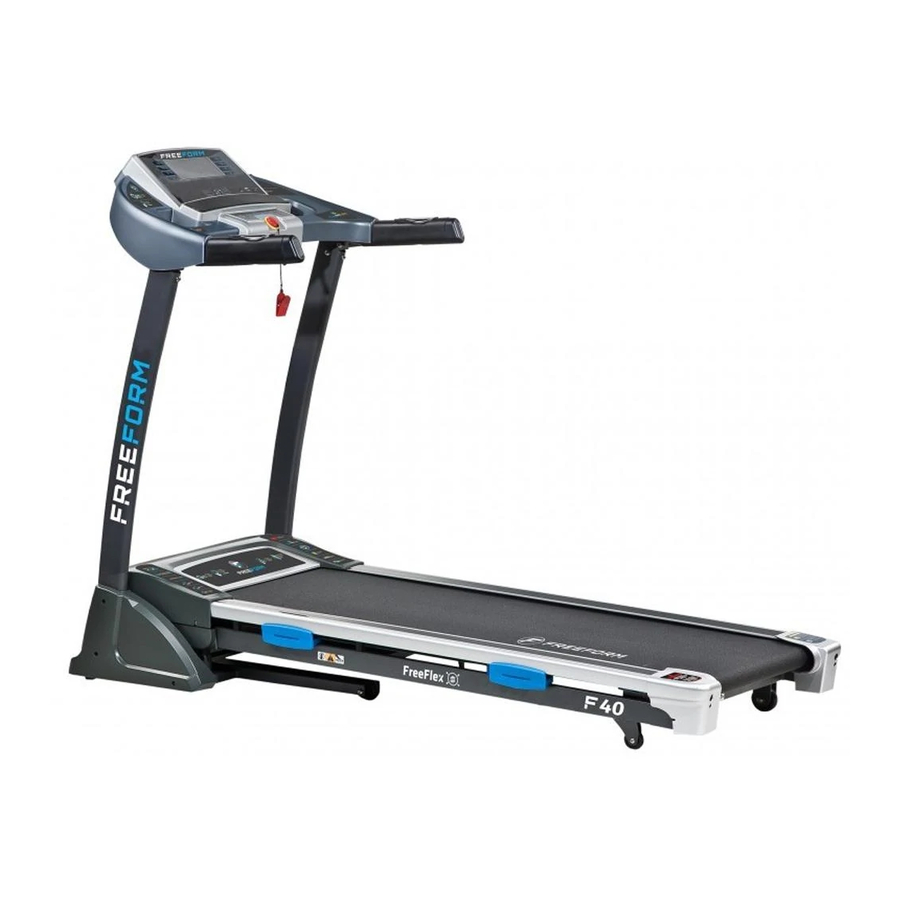
- Page 1 F40 Treadmill Operating Instructions Manual Special tips: Please read this operation manual carefully before installation and operation. Save this manual for future reference. Product may vary slightly from the item pictured due to model upgrades.
-
Page 2: Important Safety Instructions
IMPORTANT SAFETY INSTRUCTIONS WARNING - Read all instructions before using this treadmill. It is important your treadmill receives regular maintenance to prolong its useful life. Failing to regularly maintain your treadmill may void your warranty. Danger To reduce the risk of electric shock disconnect your treadmill from the electrical outlet –... -
Page 3: Important Electrical Information
IMPORTANT ELECTRICAL INFORMATION WARNING! 1) NEVER use a ground fault circuit interrupt (GFCI) wall outlet with this treadmill. Route the power cord away from any moving part of the treadmill including the elevation mechanism and transport wheels. 2) NEVER operate treadmill on Generator or UPS power supply. 3) NEVER remove any cover without first disconnecting AC power. -
Page 4: Fixing Tools
Warning: Now here we suggest that you should consult with your physician or health professional before starting your workout, especially for ages above 35 or people with existing health problems. We take no responsible for any accidents or injuries if you don’t following our specification. Treadmill will be carefully assembled and covered the motor shield, then connect to the power. -
Page 5: Assembly Step
Do not connect power before assembly completion Notice: ASSEMBLY STEP 1: Open the carton , take out the above spare parts and put the MAIN FRAME on the level ground. ASSEMBLY STEP 2: Lift up the console (A) and Upright tube (B) towards the arrow direction. - Page 6 ASSEMBLY STEP 4: Use the 5# Allen wrench (65) and M8*15 bolt (70) and , lock the lock washer (95) computer (A) onto the left and right upright tube (B). ASSEMBLY STEP 5: Left & Right upright tube covers(23,24) to the base frame (A) by using wrench w/screw driver (66) M5*12 bolt(86).
-
Page 7: Folding Instructions
FOLDING INSTRUCTIONS Pulling up: Support place A with hand, then pull up as the arrow direction, till hearing the sound that the (B) is locked into the CYLINDER round tube. Pulling down: Pulling Down: Support place A with hand, press the frame slightly, then kick the place B , and base frame... -
Page 8: Grounding Methods
GROUNDING METHODS This product must be grounded. If it should malfunction or breakdown, grounding provides a path of least resistance for electric current to reduce the risk of electric shock. This product is equipped with a cord having an equipment-grounding conductor and a grounding plug. -
Page 9: Window Display
OPERATION GUIDE WINDOW DISPLAY: 1、“SPEED” window: The window will display speed under operation mode, show speed range of : 1.0- 16 KM/H. 2 、 ” DIS./CAL./INCL.” window: Display the running distance, runner’s calories worked out and incline every five seconds in turn. A. -
Page 10: Button Function
BUTTON FUNCTION: 1、“SELECT” Button:Press this button to choose modes circularly “0:00” “15:00”、“1.0”、“50” “ P1- P15…U01-U02-U03 -FAT”(“0:00” is manual model, “15:00” is the time count down, “1.0” is distance count down and “50” calorie count down); when you choose each mode, you can press the speed button and incline button to set value, after that ,press the START button to start this treadmill. -
Page 11: Inner Install Program
5. When setting is finished, press “START” button to start up, the treadmill will run after 3 seconds, press “SPEED+”, “SPEED-”, “INCLINE+”、 “INCLINE –“ to adjust the speed and the incline; press the STOP, the treadmill will stop. INNER INSTALL PROGRAM There are 15 kinds of inner install program from P1-P15 for this machine. -
Page 12: Self-Define Program
SPEED INCLINE SPEED INCLINE SPEED INCLINE SPEED INCLINE SELF-DEFINE PROGRAM Besides 15 inner installed programs, there are 3 user self-define programs: U01, U02, U03 1. User self-define program setting: In the initial situation, press “ program” continually till U01,U02,U03, and the “ time ” window glitter, show the time 15:00, press “... -
Page 13: Safety Lock Function
just for reference, can not be as medicinal data.) 01 male 02 female 10------99 Height 100----200 Weight 20-----150 Underweight ≤ 19 =(20---25) Normalweight =(26---29) Overweight Obesity ≥ 30 SAFETY LOCK FUNCTION: Pull out the safety pulling rope, then the treadmill will stop immediately. All the windows display“―――”... -
Page 14: Exercise Instructions
EXERCISE INSTRUCTIONS 1. The Warm Up Phase This stage helps get the blood flowing around the body and the muscles working properly. It will also reduce the risk of cramp and muscle injury. It is advisable to do a few stretching exercises as shown below. - Page 15 To tone muscle while on your Treadmill you will need to have the resistance set quite high. This will put more strain on our leg muscles and may mean you cannot train for as long as you would like. If you are also trying to improve your fitness you need to alter your training program.
-
Page 16: Walking Belt And Deck Lubrication
CLEANING General cleaning or the unit will greatly prolong the treadmill. Keep treadmill clean by dusting regularly. Be sure to clean the exposed part of the deck on either side of the walking belt and also the side rails. This reduces the build up of foreign material underneath the walking belt. The top of the belt may be cleaned with a wet, soapy cloth. -
Page 17: Exploded Drawing
EXPLODED DRAWING... -
Page 18: Parts List
PARTS LIST Description Specification Q’ty Description Specification Q’ty BASE FRAME BLUE RUBBR CUSHION MAIN FRAME ADJUSTABLE WHEEL INCLINE FRAME CONE-SHAPE CUSHION COMPUTER FRAME FLAT FOOT PAD MOTOR BRACKET WIRE PROTECTOR LEFT UPRIGHT TUBE THREAD AXLE RIGHT UPRIGHT TUBE SPEED SENSOR BOLT M5*16 AC SINGLE WIRE... - Page 19 DC MOTOR SCREW ST4.2*12 INCLINE MOTOR SCREW ST2.9*8 MCB BOARD SCREW ST4.2*50 TRANSFORMER SCREW ST4.2*30 POWER OUTLET PCB BOARD SQUARE SWITCH LOCK WASHER OVERLOAD PROTECTOR LOCK WASHER RUNNING BELT LOCK WASHER MOTOR BELT SPRING WASHER FOAM COVER FLAT WASHER C HANDPULSE WITH INCLINE BIG WASHER C φ10*φ26*2.0...
-
Page 20: Troubleshooting Guide
TROUBLE SHOOTING GUIDE 1. There is no display on screen after the machine is connected to the power source: a: Please check the overload button, if the overload protector button bounce, please press this button; b: Please make sure the power source, overload protector ,the driver and the transformer are connected well;... - Page 21 d: Please change a new driver; e: If are wires are connect well, please reset the button on the driver and start again. 6. E05 display: Over load current protect a: May be the current is too strong, the system protect itself, please restart the machine. b: May be a part of the machine is locked and result in the motor problem, please add the oil to the machine and restart.
Need help?
Do you have a question about the F40 and is the answer not in the manual?
Questions and answers