Table of Contents
Advertisement
Advertisement
Table of Contents

Related Manuals for Led Lenser P6X


Summary of Contents for Led Lenser P6X
- Page 1 Lenser®* Operating Instructions...
-
Page 2: Table Of Contents
Lenser®* Table of Contents General Product Information Product Description Article Scope of Delivery Range of Use Product Properties Important Notes on Safe Use Information Regarding Flashlight Identification Information Regarding Operating Instructions Identification Warranty Completeness Damages Purpose of the System 2.6.1 Standards and Regulations 2.6.2 Intended Use 2.6.3 Target Group Disposal... - Page 3 Lenser®* Thank you We are delighted that you have decided in favour of one of our products. products. In these Operating Instructions you will find notes regarding safety and operation to help you to familiarize yourself with your new product. Carefully read these Operating Instructions prior to using this product.
-
Page 4: General Product Information
• P6X flashlight, • box or blister (packaging) • General safety precautions and warnings, • P6X quick initial start guide, • 1 or 2 battery sets with 2 x AA 1.5 V batteries, • Belt bag, • Wrist strap. Range of Use Suitable for outdoor use. -
Page 5: Important Notes On Safe Use
(printed, data format or in excerpts). Warranty Warranty LED LENSER ensures the safety and proper functioning of the flashlight only under the condition that: • The flashlight is only used according to the intended purpose and operated... -
Page 6: Intended Use
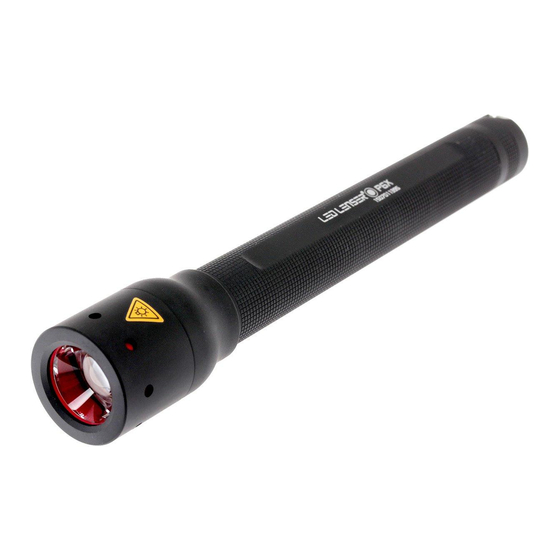
- Part 1: General principles and detailed requirements. 2.6.2 Intended Use The P6X is a powerful flashlight with a light cone that may be focused. It is designed for use in the dark. • The flashlight is suitable for continuous operation. -
Page 7: Safety Notes
Lenser®* 3. Safety Notes Safety Notes Structure Important notes are marked with pictograms and signal words in these Operating Instructions. 3.1.1 Risk of Injuries Markings Signal words, such as DANGER, WARNING or CAUTION designate the grading of a potential risk of injuries. The different triangle symbols emphasize the level of risk optically. - Page 8 Lenser®* 3. Safety Notes Health risk WARNING ACCIDeNT/INJURY RISK FOR CHILDReN Do not permit the flashlight to be operated by children, by persons under the influence of medication or drugs, or by persons with physical or mental disabilities/illnesses, as there is a risk of injury to the eyes and a risk of accidents.
- Page 9 Lenser®* 3. Safety Notes NOTe eLeCTROMAGNeTIC COMPATIBILITY The flashlight meets the requirements of the 2014/30/EC guideline with regard to electromagnetic compatibility. Modifications / Repairs CAUTION DO NOT MAKe ANY MODIFICATIONS/RePAIRS Repairs, additions or modifications to the flashlight are not permitted as these may lead to damages to the flashlight or a risk to persons: Therefore: •...
- Page 10 Lenser®* 3. Safety Notes • Never use new and used batteries/battery packs together. • Only use high-quality batteries of the same type. • Always change all batteries at the same time. ATTeNTION RISK OF SHORT-CIRCUITING In order to avoid the risk of a short-circuit when recharging: •...
-
Page 11: Overview Of Terms And Abbreviations
Lenser®* 4. Overview of Terms and Abbreviations The following technical terms / abbreviations are used in these Operating Instructions: Smart Light Technology Short for Light-Emitting Diode Short for rechargeable battery, i.e. rechargeable energy source Battery pack EN Operating instructions P6X_V.01 | 7/31/2014... -
Page 12: Operation
②. 3. Screw the end cap ③ back into place. Switching the Flashlight On or Off LED LENSER®* P6X The flashlight is operated by pressing the push button on the end cap. The pushbutton can be engaged for constant illumination;... -
Page 13: Using The Lighting Functions
Lenser®* 5. Operation „Click“ „Click“ Using the Lighting Functions The flashlight offers 3 lighting functions: 1 = High Power 2 = Power (normal) and 3 = Low Power (dimmed). 1. In order to use the lighting functions, either press and engage the On/ Off pushbutton ②... -
Page 14: Replacing The Batteries/Battery Pack
1. To remove the battery pack② unscrew the end cap ③. 2. Remove the batteries/battery pack ②, dispose of the AA Alkaline AA Alkaline batteries appropriately and replace, recharge battery LED LENSER®* P6X packs. AA Ni-MH AA Ni-MH CAUTION RISK OF eXPLOSION... -
Page 15: Attaching The Wrist Strap
Automated Functions 5.10.1 Temperature Monitoring The P6X is fitted with a temperature monitoring function (electronic regulation with temperature sensor). This prevents the flashlight from overheating when in use. This may result in a reduction in brightness as soon as the function is activated. -
Page 16: Tests
Lenser®* 5. Operation ATTeNTION DAMAGe TO SURFACeS Solvents can damage surfaces or decompose materials! Therefore: • Do not use any cleaning agents or disinfectants. • Do not use scouring agents. • Do not use gasoline, paint thinners or similar products. ATTeNTION WARRANTY eXeMPTION No warranty will be assumed for damage resulting from the use of... -
Page 17: Technical Data
Lenser®* 6. Technical Data Parameter value Value 1 x High End Power LED Length 165 mm Weight 115 g Batteries 2 x AA LR6 / 2 x NiMH battery packs 1.5 V DC Energy tank*** 8.4 Wh Lighting modes High Power Power Low Power Luminous flux*... - Page 18 ZWEIBRÜDER OPTOELECTRONICS GMBH & CO. KG ® Kronenstr. 5-7 • 42699 Solingen • Germany Tel. +49 212 / 5948 - 0 • Fax +49 212 / 5948 - 200 info@zweibrueder.com • www.zweibrueder.com...
Need help?
Do you have a question about the P6X and is the answer not in the manual?
Questions and answers