Table of Contents
Advertisement
Quick Links
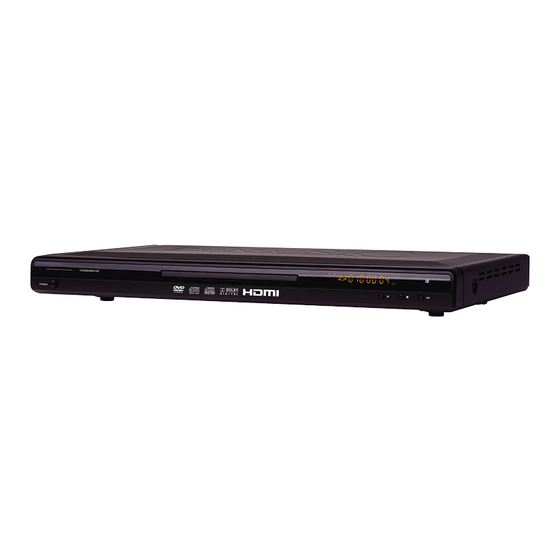
HDMI DVD Player
with 5.1 channel audio output
Instruction Manual
Model TC2536HDMI-DVD
Please read these instructions carefully and retain for future reference.
For assistance during normal working hours (9am-5pm, Mon-Fri) call Oriental Pacific International Ltd.
New Zealand call: 0800 89 85 80 or email: service@orientalpacific.com
Advertisement
Table of Contents

Related Manuals for Transonic TC2536HDMI-DVD


Summary of Contents for Transonic TC2536HDMI-DVD
- Page 1 HDMI DVD Player with 5.1 channel audio output Instruction Manual Model TC2536HDMI-DVD Please read these instructions carefully and retain for future reference. For assistance during normal working hours (9am-5pm, Mon-Fri) call Oriental Pacific International Ltd. New Zealand call: 0800 89 85 80 or email: service@orientalpacific.com...
-
Page 2: Important Safety Information
1.0 Important Safety Instructions When using any electrical apparatus always observe safety regulations and use basic safety precautions to reduce the risk of fire, electric shock and personal injury, including the following Read, Keep and Follow these instructions, heeding all Warnings. CAUTION! This is a class 1 laser product. -
Page 3: Table Of Contents
1.0 Important Safety Instructions (Continued) WARNING! If this apparatus is to be used by a third party, please supply these instructions with it. WARNING! No liability will be accepted for any personal injury or damage caused by failure to follow these instructions. This product incorporates copyright protection technology that is protected by U S patent rights. -
Page 4: Preparations Before Using
2.0 Preparations before using 2.1 Front Panel Open / Close Button 1. Power Button Remote Sensor 2. Disc Tray Stop Button 6. Play / Pause Button LED Display Rear Panel 11 12 13 14 15 Audio Left Output HDMI Out 8. -
Page 5: Hdmi Connection
2.0 Preparations before using 2.3 HDMI Connection HDMI cable (supplied) • When you connect your player to the TV through the HDMI cable, you have to change the video output mode to HDMI mode by pressing [Video] button on the remote control. -
Page 6: Basic Connection
Power Connections: Connect the supply plug into a suitable power outlet socket. You now have basic AV connection. Turn on your TV & DVD Player and switch the TV channel to AV to view the DVD screen. You should see the start-up TRANSONIC logo. -
Page 7: Playing A Dvd
2.5 Playing a DVD Turn on the TV & DVD player. Switch the TV to the HDMI or AV channel. You should see start-up TRANSONIC logo. Press the OPEN/CLOSE button on the DVD Remote (or on the unit itself) Insert a disc label side up Press the OPEN/CLOSE button once again, to close the tray and DVD player will start loading the disc. -
Page 8: Remote Control
3.0 Remote Control 3.1 Remote Control Buttons TC2536HDMI-DVD... -
Page 9: Common Remote Key Descriptions
3.0 Remote Control (continued) 3.2 Common Remote Key Descriptions Press to turn ON and press again to turn the DVD player to standby 1. Standby mode. Press to turn the volume on and press again to turn the volume off. 2. - Page 10 3.0 Remote Control (continued) 19. Random Play the disc in random function. . 20. Open/Close Press to open or close the disc tray. Press to enter or select the number. 21. Number keys Start playing from the desired time. Press GOTO and enter time then press ENTER button to confirm.
-
Page 11: Connection Options
4.0 Connection Options Component & Composite Video System Connections Component Connection Composite Video Connection To TV Video input Yellow White To TV Audio input NOTE: if you change the Video Output setting to YPbPr (P-SCAN) and you do not have a progressive scan supported television you will lose picture. -
Page 12: S-Video Connections
4.0 Connection Options (continued) 4.2 S-Video Connections To TV S-Video input... -
Page 13: Setup Menu
5.0 Setup Menu 5.1 Menu Operation & Navigation Press the SETUP button on the remote to enter the Setup menu. Use the Right or Left Navigate Key to select the menu you wish to enter: o Language Video Audio Rating Misc Use the Up or Down Navigate Key to enter the sub-menu Press the Right Navigate Key to enter the selected the sub-menu... -
Page 14: Video Setup Page
5.0 Setup Menu (continued) 5.3 Video Setup Page Inside the Video setup menu you will find the following sub-menus: Aspect Ratio To set the screen picture size 4:3PS, 4:3LB or 16:9. 4:3PS- Select to display 4:3 images without distortng the picture. in this case, black bands will appear on left and right of screen. -
Page 15: Rating Setup Page
5.0 Setup Menu (continued) 5.5 Rating Setup Page Inside the Rating Setup menu you will find the following sub-menus: Parental control function. Allows the user to select the rating of movie that can Parental Control be played on the unit. Note: This function is available only when the discs have rating encoded on. -
Page 16: Trouble Shooting
6.0 Trouble Shooting Should your DVD player develop a problem, please refer below before requesting service. Symptom Check & Action Check if power cord is connected properly to the power outlet. No Power Check if main power button on the unit is switched on. Make sure the main power button on the unit is switched on. -
Page 17: Specification
7.0 Specification Laser wavelength 650nm Video PAL/AUTO/NTSC Disc format DVD, VCD, MP4, Picture-CD, CD, CD-R, DVD-R Frequency response 20Hz ~ 20KHz (±1dB) ≥ 90dB ≥ 85dB ( 1kHz) Dynamic range ≥ 80dB ( 1kHz) output level : 2.0 + 0/-0.2Vrms Analog (Load impedance : 1.0k Ω... -
Page 18: Warranty Card
Warranty Card This product is guaranteed against faulty materials and workmanship for a period of one year from the date of purchase with proof of purchase. The obligation to the purchaser under this warranty is limited to servicing the unit and replacing defective parts or refund when the product is returned freight prepaid to the retailer with proof of purchase. - Page 19 74-G080618A-AO...
Need help?
Do you have a question about the TC2536HDMI-DVD and is the answer not in the manual?
Questions and answers