Advertisement
Table of Contents
- 1 Safety Notes
- 2 Appropriate Location
- 3 Safety Check before Flying
- 4 Assembly Process of Main Rotor Head
- 5 Assembly Process of Main Frame and Power System
- 6 Assembly Process of Tail Rotor Set
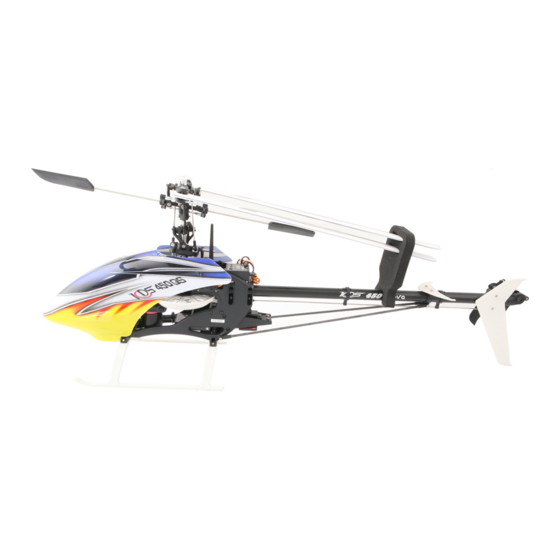
- 7 Equipment Illustration
- 8 Main Rotor Blade Balancing and Correction
- 9 Pitch and Throttle Setting
- 10 Flight Adjustment and Setting
- 11 Parts List
- 12 Regular Maintenance
- Download this manual
Advertisement
Table of Contents


Need help?
Do you have a question about the 450QS and is the answer not in the manual?
Questions and answers
How do you reset the ebar gyro after making repairs? I have a KDS 450 BD flybarless heli
To reset the ebar gyro on a KDS 450 BD flybarless helicopter after making repairs, follow these steps:
1. Power on the transmitter: Ensure the transmitter is turned on and set to the correct model memory with throttle at the lowest position.
2. Connect power to the helicopter: Plug in the flight battery to power the helicopter and the ebar system.
3. Wait for initialization: The ebar unit will initialize. Wait for the lights to stabilize, indicating it's ready.
4. Enter setup mode:
- Press and hold the SET button on the ebar unit until the setup LEDs light up.
- This puts the gyro into setup mode, allowing you to reset and reconfigure settings.
5. Reset settings:
- Use the SET button to cycle through setup steps (e.g., swashplate type, servo directions, endpoints, gyro direction).
- Follow the correct sequence for your model configuration.
- Make any necessary adjustments based on your repairs (e.g., if you replaced servos or realigned components).
6. Exit setup mode:
- When complete, hold the SET button again until the unit exits setup mode and the normal operation LEDs return.
7. Test functions:
- Move the sticks and verify correct servo movements.
- Check gyro compensation directions.
- Ensure all channels respond properly.
8. Perform a test flight:
- Hover the helicopter in a safe area to confirm that the gyro is functioning correctly.
This process resets and reinitializes the ebar system after repairs, ensuring proper flight behavior.
This answer is automatically generated