Table of Contents
Advertisement
Quick Links
Advertisement
Table of Contents

Related Manuals for Prem-I-Air EH0539


Summary of Contents for Prem-I-Air EH0539
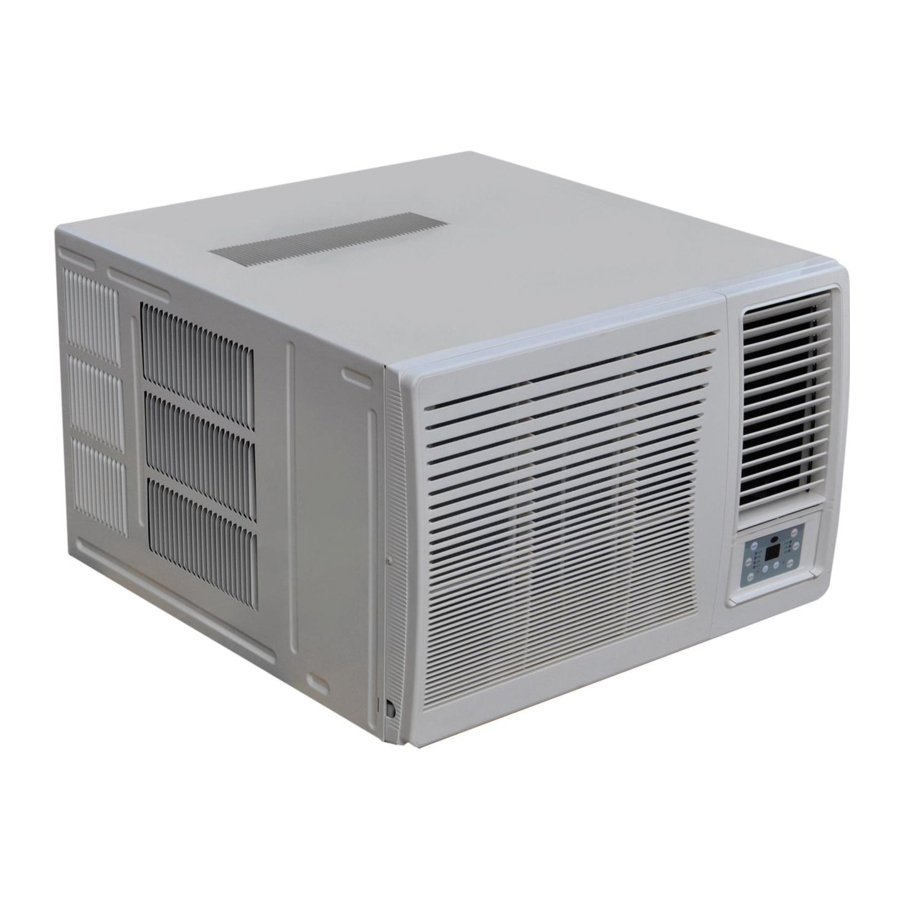
- Page 1 EH0539 9000 BTU DC Inverter Window Air Conditioner with Remote Controller & Timer...
- Page 2 Important These instructions should be read carefully and left with the user of the product for future reference. Before Use You must inspect the appliance including its cable and plug for any signs of damage. If the product is damaged, DO NOT use it and contact your supplier immediately.
- Page 3 Regulatory Information Safety, health and environmental regulations specific to gas R32 Labelling in accordance to Regulation EC 1272/2008 Hazard Pictograms GHS02 GHS04 Signal Word :Danger Hazard Statements H220 Extremely Flammable Gas H280 Contains gas under pressure, may explode if heated Precautionary Statements P210 Keep away from heat/sparks/open flames/hot surfaces- No...
-
Page 4: Installation
Installation This item must be installed by a qualified refrigeration engineer. A FULL SITE SURVEY MUST BE CARRIED OUT PRIOR TO INSTALLATION. It is the responsibility of the installer to ensure the suitability of both the product for the installation and the installation location for the product. Notes The minimum safe distances must be observed when deciding on the installation location. - Page 5 Guide: 1) Remove the sticker from the front panel. 2) Put the unit into the installation hole. ● When installing the unit, it should be Horizontal line slanted slightly down to the back to avoid vibration (as per the diagram) 6~10mm ●...
-
Page 6: Drain Water
Drain water : The drainhose is not included in this product. The drainpan is included in this product. Slide out the chassis from the cabinet. Install the drain pan to the corner of the cabinet with 2 screws. Connect the drain hose to the outlet on the drain pan bottom. Slide the chassis into its original place in the cabinet. -
Page 7: Parts Identification
Parts identification Cabinet Air inlet (behind the louvre front intake grille) Front intake Remote grille control panel Air direction adjustment positioning the vane to discharge the air upwards, downwards or straight out. -
Page 8: Remote Control Operation Procedure
Remote control operation procedure ON/OFF button MODE button +/- button FAN button SWING button SLEEP button TIMER button Introduction for icons on display screen Timer on Timer off Sending signal Auto operation swing operation cool operation sleep operation dry operation lock fan operation set speed... -
Page 9: Introduction For Buttons On Remote Control
Introduction for buttons on remote control Note: ● This is a universal remote control for all models in this series. Not all the functions on the control may be on your unit. Please check before using. ● When the power is connected and the unit is in standby mode you can operate the air conditioner with this remote control. -
Page 10: Introduction For Buttons On Remote Controller
Introduction for buttons on remote controller FAN button Pressing this button can select fan speed circularly as: AUTO, SPEED 1 ( SPEED 2 ( ) , SPEED 3 ( ), SPEED 4 ( ) (unavailable in this air conditioner. Speed 4 is the same with speed 3.). SPEED 1 (equals to low fan speed) SPEED 2 (equals to mid fan speed) SPEED 3 (equals to high fan speed) -
Page 11: Function Introduction For Combination Buttons
Introduction on remote control Note: ● Range of time setting is: 0.5~24h ● The interval between two motions can't exceed 5s, otherwise the remote controller will exit setting status. Function introduction for combination buttons Child lock function Press “+” and “-” buttons simultaneously can turn on or turn off child lock function. When child lock function is started up, LOCK indicator on remote controller is ON. -
Page 12: Control Panel
Control panel Note: If wireless remote controller is lost, open the surface panel and operate manually. POWER BUTTON SIGNAL RECEIVER Operation starts when pressing this button, and stops when pressing this button again. MODE BUTTON SWING BUTTON Select the operation mode, AUTO, COOL, FAN, Activate the automatic air swing function. -
Page 13: Operation Tips
Operation Tips Operation for comfort and economy Reducing excessive sunlight Adjusting the vertical and Do not overcool the room entering the room will horizontal vents will help to temperature. This is not improve the cooling efficiency keep even room good for health and wastes of the unit. -
Page 14: Care And Maintenance
Care and maintenance The air conditioner must be switched off at the mains and disconnected before any maintenance or cleaning. Cleaning unit 1.) Disconnect from the mains before cleaning 2.) Use only a slightly damp clean cloth when cleaning the cabinet. 3.) Do not use any strong detergents or solvents for cleaning this unit. -
Page 15: Troubleshooting Guide
Troubleshooting guide Issue Trouble-shooting ● Check the unit is plugged in and Air conditioner switched on. dose not ● Check the fuse or circuit breaker. operate at all. ● Is air inlet or outlet blocked? Cooling ● Is there any other heat source in the No cooling efficiency is room? - Page 16 Malfunction code Solution Means defrosting status. Please contact professional person to deal with it. Please contact professional person to deal with it. Please contact professional person to deal with it. Please contact professional person to deal with it. Please contact professional person to deal with it. Please contact professional person to deal with it.
-
Page 17: Safety Operation Of Flammable Refrigerant
Model ........ - Page 18 Service Warranty Prem-i-Air guarantees the product free from defects in materials and workmanship for a period of one year. Should this unit be operated under conditions other than those recommended, at voltages other than the voltage indicated on the unit, or any attempts made to service or modify the unit, then the warranty will be rendered void.