Table of Contents
Advertisement
Advertisement
Table of Contents

Related Manuals for Indesit K3C76/BG


Summary of Contents for Indesit K3C76/BG
- Page 1 K3C76/BG Cooker Installation and use...
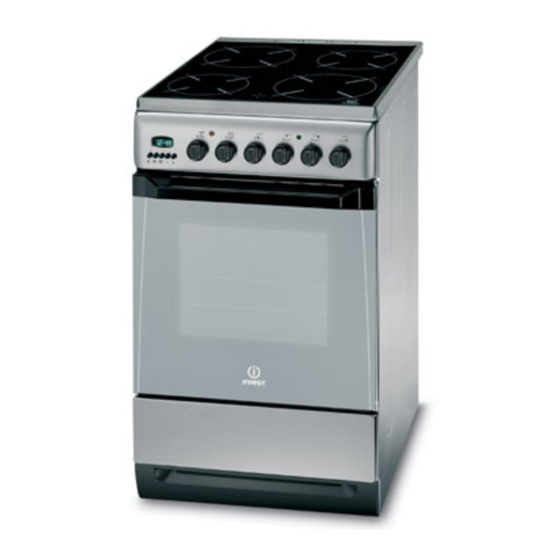
- Page 2 Cooker with new “7 cuochi” oven and ceramic Instructions for installation and use...
- Page 3 Important To maintain the EFFICIENCY and SAFETY of this appliance, we recommend: • call only the Service Centers authorized by the manufacturer • always use original Spare Parts 1 This appliance is intended for non-professional use within the electrical appliances. The following are of particular importance: home.
- Page 4 Installation The following instructions should be read by a qualified Electrical connection technician to ensure that the appliance is installed, The power supply cable since its size depends on the regulated and technically serviced correctly in compliance electric connection (see the following connection diagram). with current regulations.
- Page 5 Oven Dimensions (HxWxD): 34x39x41 cm 73/23/EEC of 19/02/73 (Low Voltage) and subsequent Volume: 54 Litres modifications; 89/336/EEC 03/05/89 (Electromagnetic Max. Oven Power Absorption: 2700 W Compatibility) and subsequent modifications; Innder dimensions of the plate plate warmer: 93/68/EEC of 22/07/93 and subsequent modifications. Width: 44 cm Disposal of old electrical appliances Depth: 42 cm...
- Page 6 How To Use Your Appliance The various features of cooker are controlled through the 1.Convection Mode knobs and buttons located on the control panel. - Position of the “L” knob: - Position of the “M” knob: between 50°C and Max Notice: The first time you use your appliance, we recom- On this setting, the light comes on and the top and bottom mend that you set the thermostat to the highest setting...
- Page 7 4. Ventilation Mode 7. Ventilated Grill Position of the “L” knob: - Position of the “L” knob: - Position of the “M” knob: between 50°C and Max - Position of the “M” knob: between 50°C and Max This combination of features increases the effectiveness Since the heat remains constant and uniform throughout of the unidirectional thermal radiation of the heating ele- the oven due to the fan at the bottom, the air cooks and...
- Page 8 Electronic Cooking Programmer This feature allows you to program the oven or the grill as follows : • delayed start for a specific length of time; The letter “A” will light up reminding you that the length and • immediate start for a specific length of time; end cooking time were programmed in automatic mode.
-
Page 9: Practical Cooking Advice
Practical Cooking Advice The oven offers a wide range of alternatives which allow foods at the end of the cooking process. you to cook any type of food in the best possible way. With When using this function, place the grid on the 2nd or 3rd time you will learn to make the best use of this versatile oven rack from the bottom (see cooking table) then, to pre- cooking appliance and the following directions are only a... - Page 10 on top halfway through the cooking process. a short time, and then to reduce it at a later point. Generally speaking, the more meat there is, the lower the temperatu- Cooking fish and meat re and the longer the cooking time should be.Place the When cooking white meat, fowl and fish use low meat in the centre of the grid and put a spill-tray underneath temperatures.
- Page 11 Practical Cooking Advice Selection Type of Food Rack Position Preheating Thermostat Cooking Knob Setting (Kg) From Oven Time Knob Time Bottom (minutes) Setting (minutes) 1 Covection Duck 65-75 Mode Roast beef 70-75 Roast pork 70-80 Biscuits 15-20 Tarts 30-35 2 Pastry Mode Cakes 20-30 Pies 45-50...
- Page 12 Routine maintenance and cleaning of the oven Disconnect the oven from the source of electricity before performing any maintenance or cleaning. To ensure a long life for your oven, clean it frequently and carefully, keeping in mind that: • Do not use steam equipment to clean the appliance. •...
- Page 15 400V 3N H05RR-F 5x2.5 CEI-UNEL 35363 400V 2N H05RR-F 4x2.5 CEI-UNEL 35363 230V 1N H05RR-F 3x4 CEI-UNEL 35363 • • • • • • • • • • • • • • • • • • • • • • • • • •...
- Page 16 ENERGY LABEL 85/90...
- Page 21 • • • • • • • • • • • • • • • • • • • •...
- Page 24 • • • • • • • • • • • • • • • • • • • • • • • • • • • • • • • • • • • • • • • • •...
- Page 25 Indesit Company SpA Viale Aristide Merloni 47 60044 Fabriano Italy Tel +39 0732 6611 Fax +39 0732 662501 www.merloni.com...