Advertisement
Table of Contents
- 1 Table of Contents
- 2 Safety Information
- 3 Customer Support
- 4 Before You Start
- 5 Assembly Instructions
- 6 User Instructions
- 7 Exercising with Your Cross Trainer
- 8 Cross Trainer Features Explained
- 9 How to Take Care of Your Cross Trainer
- 10 Troubleshooting
- 11 Your Warranty
- 12 Exploded Diagrams and Parts List
- Download this manual
Advertisement
Table of Contents

Summary of Contents for York inspiration cross trainer
- Page 1 28/05/2007 version III...
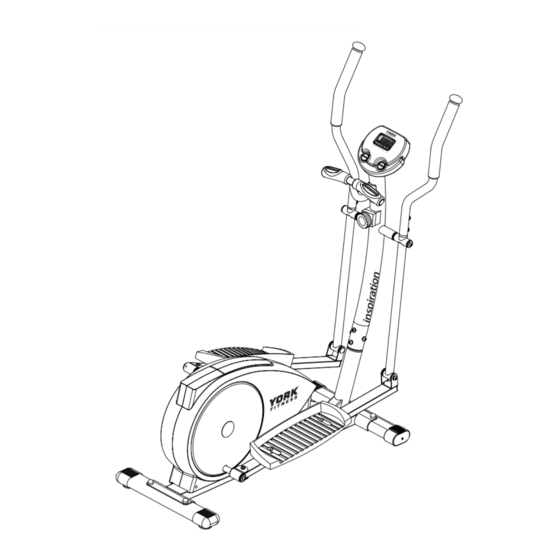
- Page 2 Congratulations on purchasing a cross trainer from York Fitness. You have chosen a high quality, safe and innovative piece of equipment as your training partner and we are certain it will keep you motivated on the way to achieving your personal fitness goals.
-
Page 3: Table Of Contents
contents safety information customer support assembly instructions user instructions - quick start - console display and feedback - button functions - using workout programs exercising with your cross trainer cross trainer features explained how to take care of your cross trainer 14 troubleshooting your warranty exploded diagrams and parts list... -
Page 4: Safety Information
safety information PLEASE READ THIS INSTRUCTION MANUAL BEFORE YOU BEGIN ASSEMBLY. GREAT CARE HAS BEEN TAKEN TO DESIGN THESE INSTRUCTIONS AND FOLLOWING THEM WILL HELP YOU WITH QUICKER ASSEMBLY AND MINIMISE THE RISK OF INJURY YOU ARE RESPONSIBLE FOR YOUR OWN SAFETY - THIS LIST IS NOT EXHAUSTIVE. -
Page 5: Customer Support
Your Serial No. is: Contact Us ENGLAND York Barbell (UK) Ltd. York Way, Daventry, Northants, England NN11 4YB Tel: (01327) 701800 Helpdesk Tel: (01327) 701824 Fax: (01327) 706704 email: helpdesk@yorkfitness.co.uk AUSTRALIA Unit 1, Lot 2, Swaffham Road, Minto, N.S.W. 2566 Australia Tel: (02) 9603 8333 Fax: (02) 9603 8555 email: service@yorkfitness.com.au... -
Page 6: Assembly Instructions
assembly instructions Before you start 1. Prepare your work area - 2. Work with a friend - 3. Open the carton - 4. Unpack the carton it is important you assemble we recommend you have checking any warnings on Make sure you have the product in a clean and someone assist you with the carton and make sure you... - Page 7 2. Attach the stabilisers FIXINGS: FIXINGS: 1. Attach the front and rear stabilisers with the nuts, bolts and washers as shown in the diagram Part 2. Be sure to fit the parts in the same order as the diagram Check the bolts are fully tightened Part by making sure they penetrate through the top of the nut...
- Page 8 4. Attach the footplates FIXINGS: FIXINGS: 1. First attach the support bracket to the Part side of the mount tube 2. Then attach the footplates to the top of the mount tube using the bolts and Part washers shown Part Left Part Left...
- Page 9 6. Attach the moving handlebars FIXINGS: FIXINGS: 1. Slide the pivot rod inside the tube on the front post as shown Part 2. Slide the left and right lower moving arms over this pivot rod Part 3. Secure in place using the bolts and washers as shown 4.
- Page 10 7. Attach the front handle bar FIXINGS: FIXINGS: 1. Attach the front handle bar to the front post using screw, spring washer and flat washer as shown Part Part Part 9. Attach the console FIXINGS: FIXINGS: 1. Insert 2 x AA size 1.5V batteries into the console 2.
-
Page 11: User Instructions
user instructions Quick Start 1. Simply start pedalling and away you go! 2. The values of time, distance and calories will start counting upwards 3. Adjust the resistance level with the large dial Console Display and Feedback Scan Distance Automatically scrolls through the other Distance travelled this session;... -
Page 12: Exercising With Your Cross Trainer
exercising with your cross trainer Always consult your doctor If you experience nausea, dizziness or other abnormal before undertaking a new symptoms during exercise, stop at once and consult exercise regime your doctor Starting your workout Finishing your workout • Slow your elliptical motion to a gradual stop Begin and end each workout with a Warm Up / Down session –... -
Page 13: Cross Trainer Features Explained
cross trainer features explained Adjusting the resistance This cross trainer features a speed independent braking (resistance) system. The resistance is controlled by a magnet, which is moved closer or further away from the flywheel – the closer the magnet is to the flywheel the higher the resistance. The magnet is controlled manually, by twisting the dial. -
Page 14: How To Take Care Of Your Cross Trainer
If you are still having problems with your equipment, please get in note that some fibres used in clothes eg) polyester, create static touch with your local York distributor using the details found in the electricity that may prevent a reliable heart rate reading. Mobile Customer Support section on page 5. -
Page 15: Your Warranty
This warranty does not extend to any product that has been damaged or rendered defective: (a) as a result of accident, misuse, abuse or lack of reasonable care; (b) by the use of parts not manufactured by York Barbell or sold by York Barbell; (c) by modification of the product; (d) as a result of service by anyone else other than York Barbell or an authorised York Barbell warranty service provider. -
Page 16: Exploded Diagrams And Parts List
exploded diagram... - Page 18 parts list...
