Table of Contents
Advertisement
Advertisement
Table of Contents

Related Manuals for JVC UX-T550


Summary of Contents for JVC UX-T550
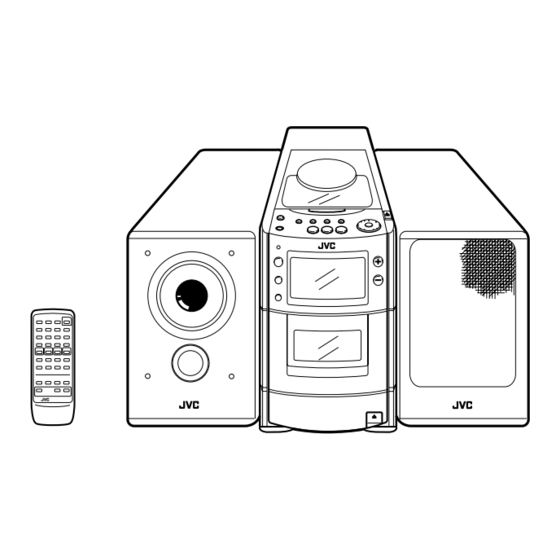
- Page 1 MICRO COMPONENT SYSTEM UX-T550 INSTRUCTIONS For Customer Use: Enter below the Model No. and Serial No. which are located either on the rear, bot- tom or side of the cabinet. Retain this information for future reference. Model No. Serial No.
- Page 2 WARNING The unit contains a built-in lithium battery for memory back-up that must only be replaced by suitably qualified service personnel. For battery replacement, take the unit to your dealer or a JVC service station. IMPORTANT FOR LASER PRODUCTS PRECAUTIONS 1.
- Page 3 SAFETY INSTRUCTIONS “SOME DOS AND DON’TS ON THE SAFE USE OF EQUIPMENT” This equipment has been disigned and manufactured to meet international safety standards but, like any electrical equipment, care must be taken if you are to obtain the best results and safety is to be assured. Do read the operating instructions before you attempt to use the equipment.
-
Page 4: Table Of Contents
Thank you for purchasing this JVC product. Please read these instructions carefully before starting operation to be sure to obtain optimum performance and a longer service life from the unit. CONTENTS Features ... 1 Handling precautions ... 1 Connections ... 2 Power supply ... -
Page 5: Connections
CONNECTIONS ● Do not switch the power on until all connections are completed. Antenna connection and adjustment ● AM (MW/LW) loop antenna adjustment RIGHT LEFT ÓAC IN — DC IN ● Keep the loop antenna away from the unit and install it so that the best reception is obtained. (Do not leave the antenna wire in a bundle.) ●... - Page 6 Speaker cord connection RIGHT LEFT ÓAC IN — DC IN ● The speaker grilles can be removed. ● When removing. 1. Insert your fingers at the top and pull towards you. 2. Also pull the bottom towards you. ● Attaching the speaker grille Connection of external audio units ●...
-
Page 7: Power Supply
In addition, be careful not to make a short-circuit between the plugs. ● When using a car battery, be sure to use the specified car adapter (JVC model CA-R120E) to prevent mishaps or damage resulting from different polarity design. CAUTIONS: Power cord 1.ONLY USE WITH JVC POWER CORD PROVIDED WITH THIS... -
Page 8: Names Of Parts And Their Functions
NAMES OF PARTS AND THEIR FUNCTIONS CD player/General section Front Ÿ! STANDBY MICRO COMPONENT SYSTEM UX-T550 A U T O AUTO REVERSE button and power STANDBY indicator Ÿ AUX button ! Remote sensor section ⁄ Display window 1 Function/Track number display... -
Page 9: Remote Control Unit
VOLUME REMOTE CONTROL RM-RXUT100 SWITCHING THE POWER ON/OFF STANDBY button AUX button MICRO COMPONENT SYSTEM UX-T550 Switching the power on/off ● Switching on: STANDBY The STANDBY indicator goes out. ● The indicator in the display window lights. ● Battery replacement... -
Page 10: Volume, Tone And Other Controls
One touch operation (COMPU PLAY) Even when the power is set to STANDBY, pressing the button shown below switches on the power and selects the source. TAPE BAND TUNER Notes: ● When switching off the power, be sure to press the ●... -
Page 11: Playing Cds
When the required track number button is pressed, the display shows the designated track number and play starts from the beginning of the designated track. VOLUME ⁄ MICRO COMPONENT SYSTEM UX-T550 A U T O T A P E S E L E C T O R AUTO REVERSE... - Page 12 Programmed play (using the remote control unit) ● Up to 20 tracks can be programmed to be played in any required order. The total playing time of programmed tracks is displayed (up to 99 minutes, 59 seconds). (Example: When programming the 2nd track to be played first, and the 6th track next, then the 12th track, etc.) Ÿ...
-
Page 13: Handling Cassette Tapes
CASSETTE PLAYBACK Operate in the order shown STANDBY MICRO COMPONENT SYSTEM UX-T550 A U T O T A P E S E L E C T O R AUTO REVERSE ~ Load a cassette tape. -
Page 14: Radio Reception
2 Select the band using the TUNER/BAND button. 3 To select the requied preset station, turn the MULTI JOG dial. Down STANDBY OPEN MICRO COMPONENT SYSTEM UX-T550 BAND TUNER A U T O T A P E S E L E C T O R Ÿ... -
Page 15: Recording
Synchronized recording with the CD player ● In this system, the CD player starts play when the cassette deck enters the recording mode. Operate in the order shown MICRO COMPONENT SYSTEM UX-T550 A U T O T A P E... -
Page 16: Clock Adjustment
BEAT CUT button (using the remote control unit) When recording an AM broadcast, beats may be produced which are not heard when listening to the broadcast. In such case, set this button after setting the deck to the record mode so that the beats are elimi- nated. -
Page 17: Timer Operations
TIMER OPERATIONS Setting the timer ● The current time must be set before the timer can be used. ~ Press the TIMER/SNOOZE button for 2 seconds or more. Ÿ Set the start time. (Example: To set the timer to 12: 15.) ! Set the stop time. - Page 18 ● When the power is switched on, it is possible to fade in the sound from volume level 0 (zero) to the preset volume. STANDBY VOLUME MICRO COMPONENT SYSTEM UX-T550 A U T O T A P E S E L E C T O R...
-
Page 19: Maintenance
Sleep timer operations (using the remote control unit) A. Use this when you want to fall asleep while listening to a tape, broadcast or CD. 1 Set to the required source and tune (broadcast) or play back (CD or tape). 2 Press the SLEEP button to set the sleep time. -
Page 20: Specifications
SPECIFICATIONS CD player section Type : Compact disc player Signal detection system : Non-contact optical pickup Number of channels : 2 channels Frequency response : 20 Hz - 20,000 Hz Signal-to-noise ratio : 90 dB Wow & flutter : Less than measurable limit Radio section Frequency range : FM 87.5 - 108 MHz...