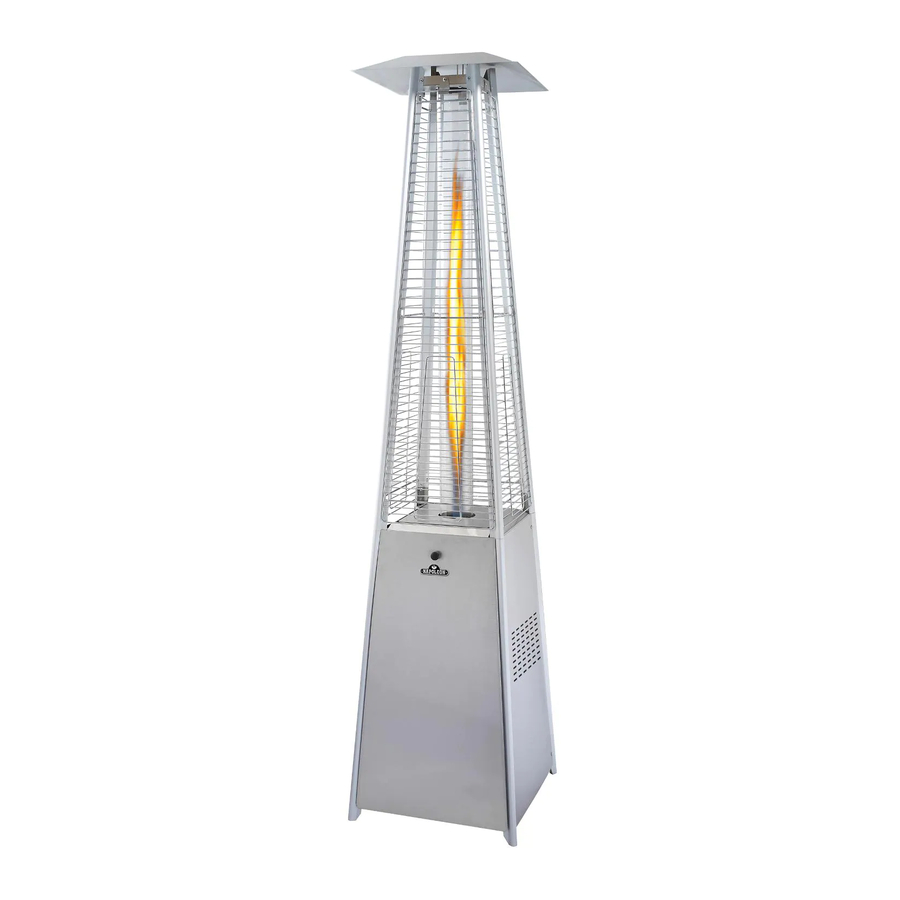
Napoleon PTH31GT User Manual
Bellagio commercial gas patio heater
Hide thumbs
Also See for PTH31GT:
- Manual (41 pages) ,
- User manual (24 pages) ,
- Instructions manual (21 pages)
Advertisement
Available languages
Available languages
Quick Links
WARNING!
For Outdoor Use Only.
WARNING!
Improper installation, adjustment, alteration, service or maintenance can cause property damage,
injury or death. Read the installation, operating and maintenance instructions thoroughly before installing or servicing
this equipment.
DANGER
IF YOU SMELL GAS:
• Shut off gas to the appliance.
• Extinguish any open flame.
• If odor continues, keep away from the
appliance and immediately call your gas
supplier or fire department.
Notice to Installer: Leave these instructions with the gas patio heater owner for future reference.
214 Bayview Dr., Barrie, Ontario, Canada L4N 4Y8 Phone: (705)726-4278
Fax: (705)725-2564 email: care@nac.on.ca web site: www.napoleongrills.com
BELLAGIO COMMERCIAL GAS PATIO HEATER
Do not try to light this appliance without
reading the "LIGHTING" instructions section of
this manual.
Do not store or use gasoline or other flam-
mable liquids or vapors in the vicinity of this
or any other appliance. An L.P. cylinder not
connected for use must not be stored in the
vicinity of this or any other appliance. If the
information in these instructions is not fol-
lowed exactly, a fire or explosion may result,
causing property damage, personal injury or
death.
Napoleon Appliance Corp.,
APPLY SERIAL NUMBER LABEL FROM CARTON
Serial No.
XXXXXX000000
MODEL NO.
PTH31GT
WARNING
N415-0219 AUG19/09
Advertisement

Related Manuals for Napoleon PTH31GT


Summary of Contents for Napoleon PTH31GT
- Page 1 Notice to Installer: Leave these instructions with the gas patio heater owner for future reference. Napoleon Appliance Corp., 214 Bayview Dr., Barrie, Ontario, Canada L4N 4Y8 Phone: (705)726-4278 Fax: (705)725-2564 email: care@nac.on.ca web site: www.napoleongrills.com...
- Page 2 NAPOLEON will not be responsible for the installation, labour or any other costs or expenses related to the re-installation of a warranted part, and such expenses are not covered by this warranty.
- Page 3 WARNING! Failure to follow these instructions could result in property damage, personal injury or death. Read and follow all warnings and instructions in this manual prior to operating this gas patio heater. Safe Operating Practices • Read the entire instruction manual before operating the patio heater. •...
- Page 4 General Information This gas heater is certified under Canadian and American national standards, CSA 2.37a – 2008 and ANSI Z83.26a - 2008 respectively for outdoor patio heaters and must be installed to conform with local codes. When an appliance is for connection to a fixed piping system, the installation must conform with local codes or, in the absence of local codes, with the National Fuel Gas Code, ANSI Z223.1/NFPA 54, Natural Gas and Propane Installation Code, CSA B149.1, or Propane Storage and Handling Code, B149.2.
- Page 5 Propane Cylinder Installation: Set cylinder into hole in bottom shelf. Tighten strap over cylinder to secure it in place. Loop Strapping through slots in bottom shelf and secure over top of propane tank as illustrated Cylinder Connection: Ensure the gas regulator hose is kink free. Remove the cap from the cylinder fuel valve.
- Page 6 Bubbles will indicate a gas leak. Either tighten the loose joint or have the part replaced with one recommend- ed by the Napoleon Customer Care department and have the patio heater inspected by a certified gas installer. If the leak cannot be stopped, immediately shut off the gas supply, disconnect it, and have the patio heater inspected by a certified gas installer or dealer.
-
Page 7: Lighting Instructions
Lighting Instructions WARNING! Never use the heater while it is raining, the glass tube could crack or break causing serious injury. WARNING! Ensure burner controls are in the off position. Slowly turn on the gas supply valve. 1. Turn burner control to ‘LIGHT’ position. - Page 8 Operating The Patio Heater Initial Lighting: When lit for the first time, the patio heater emits a slight odor. This is a normal temporary condition caused by the “burn-in” of internal paints and lubricants used in the manufacturing process and does not occur again.
- Page 9 The burner venturi can be cleaned with a pipe cleaner or venturi brush if debris has accumu- lated. WARNING! Hose: Check for abrasions, melting, cuts, and cracks in the hose. If any of these conditions exist, do not use the patio heater. Have the part replaced by your Napoleon dealer or qualified gas installer. www.napoleongrills.com...
-
Page 10: Troubleshooting
Troubleshooting Problem Possible Causes Solution Low heat / Low flame when For propane - improper lighting procedure. Ensure lighting procedure is followed valve turned to high. carefully. The valve must be in the off position when the tank valve is turned on. Turn tank on slowly to allow pressure to equalize. -
Page 11: Warranty Information
KEEP YOUR RECEIPT AS PROOF OF PURCHASE TO VALIDATE YOUR WARRANTY. Ordering Replacement Parts Warranty Information MODEL: DATE OF PURCHASE: SERIAL NUMBER: (Record information here for easy reference) Before contacting the Customer Care Department, check the NAC Website for more extensive cleaning, main- tenance, troubleshooting and parts replacement instructions at www.napoleongrills.com. - Page 12 www.napoleongrills.com...
- Page 13 Note à l’installateur : Laissez ces instructions au propriétaire du chauffe-patio pour consultation ultérieure. Manufacture par: Napoleon Appliance Corp., 214 Bayview Dr., Barrie, Ontario, Canada L4N 4Y8 Phone: (705)726-4278 Fax: (705)725-2564 email: care@nac.on.ca web site: www.napoleongrills.com...
- Page 14 Les produits NAPOLÉON sont conçus avec des composants et des matériaux de qualité su- périeure, assemblés par des artisans qualifiés qui sont fiers de leur travail. Chaque compos- ant est soigneusement inspecté par un technicien qualifié avant d’être emballé pour garan- tir que vous, le client, recevez le produit de qualité...
- Page 15 AVERTISSEMENT! Si ces instructions ne sont pas suivies, des dommages matériels, des blessures corporelles ou des pertes de vie pourraient s’ensuivre. Lisez et respectez tous les avertissements et les instructions de ce manuel avant de faire fonctionner le chauffe-patio. Pratiques Sécuritaires D’utilisation •...
- Page 16 Information Générale Cet appareil au gaz est certifié selon les normes nationales canadiennes et américaines CSA 2.37a – 2008 et ANSI Z83.26a – 2008 pour les chauffe-patios extérieurs et son installation doit être conforme aux codes locaux. Lorsqu’un appareil est destiné à un branchement sur un système de tuyauterie fixe, l’installation doit être faite en conformité...
- Page 17 Installation de la bonbonne de propane : Positionnez la bonbonne dans le trou de la tablette inférieure et fixez-la en place en serrant la courroie sur la bonbonne. Passez la courroie dans les fentes de la tablette inférieure et attachez-la sur le dessus de la bonbonne, comme illustré.
- Page 18 Test De Détection De Fuites AVERTISSEMENT! Il doit être fait avant la première utilisation, annuellement et à chaque fois qu’une pièce du système de gaz est remplacée ou réparée. AVERTISSEMENT! N’utilisez pas une flamme nue pour vérifier pour des fuites de gaz. Assurez-vous qu’il n’y ait aucune étincelle ni flamme nue à...
- Page 19 Instruction D’allumage AVERTISSEMENT! N’utilisez jamais le chauffe-patio lorsqu’il pleut, car le tube de verre pourrait se fêler ou se briser et causer de graves blessures. AVERTISSEMENT! Fermez tous les boutons de contrôle des brûleurs, ouvrez la soupape d’alimentation en gaz lentement. 1.
- Page 20 Instructions D’opération Éclairage initial: Lorsqu’il est allumé pour la première fois, le chauffe-patio dégagera une légère odeur. Ceci est un phénomène normal et temporaire causé par l’évaporation des peintures et lubrifiants internes utilisés dans le processus de fabrication et ne se reproduira plus. Allumez simplement les brûleurs de cuve à “high” pendant une demi-heure.
- Page 21 être nettoyé avec un cure-pipe ou une brosse à venturi. AVERTISSEMENT! Boyau: Vérifiez l’usure, coupures, craquelures ou s’il est fondu. Si vous découvrez une de ces défectuosités, n’utilisez pas votre chauffe-patio. Faites remplacer la pièce par votre détaillant NAPOLEON ou par un installateur qualifié. www.napoleongrills.com...
- Page 22 Guide De Dépannage Problème Causes possibles Solutions Faible chaleur/petite flamme Pour le propane - procédure d’allumage Assurez-vous que la procédure d’allumage lorsque le bouton de contrôle incorrect. est suivie à la lettre. Tous les boutons de est à “high”. contrôle doivent être fermés lorsque vous ouvrez la soupape de la bonbonne.
- Page 23 Problème Causes possibles Solutions La veilleuse ne s’allume pas. Manque de gaz. Après avoir tourné le bouton de contrôle de (si équipé) la veilleuse à “high”, attendez environ 20-30 secondes pour que l’air puisse se purger de la ligne d’alimentation en gaz tout en appuy- ant sur l’allumeur.
- Page 24 GARDEZ VOTRE REÇU COMME PREUVE D’ACHAT POUR VALIDER VOTRE Commande De Pièces De Rechange Information Sur La Garantie MODÈLE: DATE D’ACHAT: NUMÉRO DE SÉRIE: (Inscrivez l’information ici pour y avoir accès facilement.) Avant de contacter le département du service aux consommateurs, consultez le site Web de NAC pour obtenir plus d’instructions sur le nettoyage, l’entretien, le dépannage et le remplacement des pièces à...
-
Page 25: Getting Started
CAUtION! During unpacking and assembly we recommended you wear work gloves and safety glasses for your protection. Although we make every effort to make the assembly process as problem free and safe as possible, it is characteristic of fabricated steel parts that the edges and corners might be sharp and could cause cuts if handled incorrectly. - Page 26 7 X (M5 X 8mm) Disassemble the control box (2) from the plate cover (7) and the middle plate (1) by removing the (M5 x 8mm) screws (17). These parts were assembled at the factory to protect the parts during shipping. Désassemblez le boîtier de contrôle (2) et le couvercle de plaque (7) de la plaque centrale (1) en retirant les vis (M5 x 8 mm) (17).
- Page 27 16 X (M5 X 8) Assemble the four upper supports (5) to the lower supports (4) using the (M5 x 8mm) screws (17). The upper plate (6) is then assembled to the upper supports (5) using the (M5 x 8mm) screws (17). Fixez les quatre pattes supérieures (5) aux pattes inférieures (4), à...
- Page 28 3 X (M5 X 8) Install an AA battery (20) into the control box. As- semble the control box (2) onto the bottom of the middle plate (1) using the (M5 x 8mm) screws (17). Note : The control knob is to face to the front of the heater where the two magnets are installed in the middle plate.
- Page 29 Carefully install the glass tube (8) by lifting up and inserting through the center hole in the upper plate (6). Ensure the black silicone ring is attached to the lower edge of the glass tube as To aid in installation place black illustrated.
- Page 30 12 X (M5 X 8) Attach the three side panels (15) to the heater using the (M5 x 8mm) screws (17). Note : Do not cover the front side where the control knob is. Fixez les trois panneaux latéraux (15) sur le chauffe-patio, à...
- Page 31 Propane Only – Proper Hose Connection Propane Seulement - Branchement Adéquat Du Boyau WARNING! Ensure the hose does not contact any high temperature surfaces, or it may melt and leak causing a fire. AVERTISSEMENT! Assurez-vous que le boyau ne touche à aucune surface à haute température sinon il risque de fondre, de provoquer une fuite et causer un feu.
- Page 32 Bubbles will indicate a gas leak. Either tighten the loose joint or have the part replaced with one recommend- ed by the Napoleon Customer Care department and have the patio heater inspected by a certified gas installer. If the leak cannot be stopped, immediately shut off the gas supply, disconnect it, and have the patio heater inspected by a certified gas installer or dealer.
- Page 33 Test De Détection De Fuites AVERTISSEMENT! Il doit être fait avant la première utilisation, annuellement et à chaque fois qu’une pièce du système de gaz est remplacée ou réparée. AVERTISSEMENT! N’utilisez pas une flamme nue pour vérifier pour des fuites de gaz. Assurez-vous qu’il n’y ait aucune étincelle ni flamme nue à...
-
Page 34: Parts List
Parts List Item # Description/Part # Picture Comments Middle Plate - LH230-1-3-0 Control Box Assy - LH200-30 Preassembled in the Middle Includes: Plate Burner LP - LH100-3-8-0 Burner NAT - LH200-3A-8-0 Pilot LP - LH100-3-7A-0 Pilot NAT - LH200-3A-7-0 Valve Assy LP - LH200-3-2-0 Valve Assy NAT - LH200-3A-2-0 Pilot Tube - LH200-3-4-0 Igniter - LH100-3-10... - Page 35 Parts List Item # Description/Part # Picture Comments Tube Connectors - LH200-8 Upper Protective Guards LH230-7 Fixing Brackets - LH100-10 Side Panel - LH230-11A Front Panel - LH230-12-3-0 A chain is preassembled in this panel Screw M5 x 8mm Preassembled in relative parts Knob - LH100-12-1 Chain - LH100-12-2-0...
- Page 36 Liste Des Pièces Réf. Description et no de pièce Qté Illustration Commentaires Plaque centrale - LH230-1-3-0 Assemblage du boîtier de contrôle - LH200-30 Preassembled in the Comprend : Middle Plate Brûleur Propane - LH100-3-8-0 Brûleur Gaz naturel - LH200-3A-8-0 Veilleuse Propane - LH100-3-7A-0 Veilleuse Gaz naturel - LH200-3A-7-0 Assemblage de soupape Propane - LH200-3-2-0 Assemblage de soupape Gaz naturel - LH200-3A-2-0...
- Page 37 Liste Des Pièces Réf. Description et no de pièce Qté Illustration Commentaires Douilles - LH200-8 Grillage de protection supérieur - LH230-7 Supports - LH100-10 Panneau latéral - LH230-11A Panneau avant - LH230-12-3-0 Ce panneau est équipé d’une chaînette Vis M5 x 8 mm Préassemblées dans certaines pièces Bouton - LH100-12-1...
- Page 38 FAX TO: 705 727 4282 ACCESSORIES & PARTS ORDER FORM PLEASE PRINT CLEARLY CONTACT NAME:______________________________________________________________________ SHIP TO :_____________________________________________________________________________ _________________________________________________________________________________________ _________________________________________________________________________________________ _________________________________________________________________________________________ TEL :_________________________________ FAX :______________________________ EMAIL: __________________________________________________________________ VISA OR MASTERCARD # :_______________________________________ EXPIRY DATE: _____________ SIGNATURE:_____________________________________________________________________________ QUANTITY PART NUMBER DESCRIPTION TAXES MAY APPLY SHIPPING EXTRA IF CONFIRMATION IS REQUIRED PLEASE INCLUDE A FAX NUMBER OR EMAIL ADDRESS...
- Page 39 TÉLÉCOPIEZ AU: 705 727 4282 BON DE COMMANDE POUR PIÈCES/ACCESSOIRES NOM DU CLIENT______________________________________________________________________ ADRESSE:_____________________________________________________________________________ _________________________________________________________________________________________ _________________________________________________________________________________________ _________________________________________________________________________________________ TÉLÉPHONE :_________________________________ FAX :______________________________ EMAIL: __________________________________________________________________ # VISA OU MASTERCARD :_______________________________________ DATE D’EXPIRATION : ________ SIGNATURE:_____________________________________________________________________________ QUANTITÉ NUMÉRO DE PRODUIT DESCRIPTION LES TAXES PEUVENT S'APPLIQUER LES FRAIS D'EXPEDITION SUPPLÉMENTAIRE SI VOUS DÉSIREZ RECEVOIR UNE CONFIRMATION, VEUILLEZ INCLURE UN NUMÉRO DE TÉLÉCOPIEUR OU UNE ADRESSE COURRIEL...