Table of Contents
Advertisement
Available languages
Available languages
IMPORTANT: Thoroughly read and follow all instructions before
installing this child seat. Store this user guide in the pocket behind
the cover (See features pages for reference).
IMPORTANTE: Debe leer y seguir atentamente todas las instrucciones antes
de instalar el asiento de seguridad para niños. Guarde esta guía del usuario en
el bolsillo detrás de la cubierta (utilice las páginas sobre las características de
referencia).
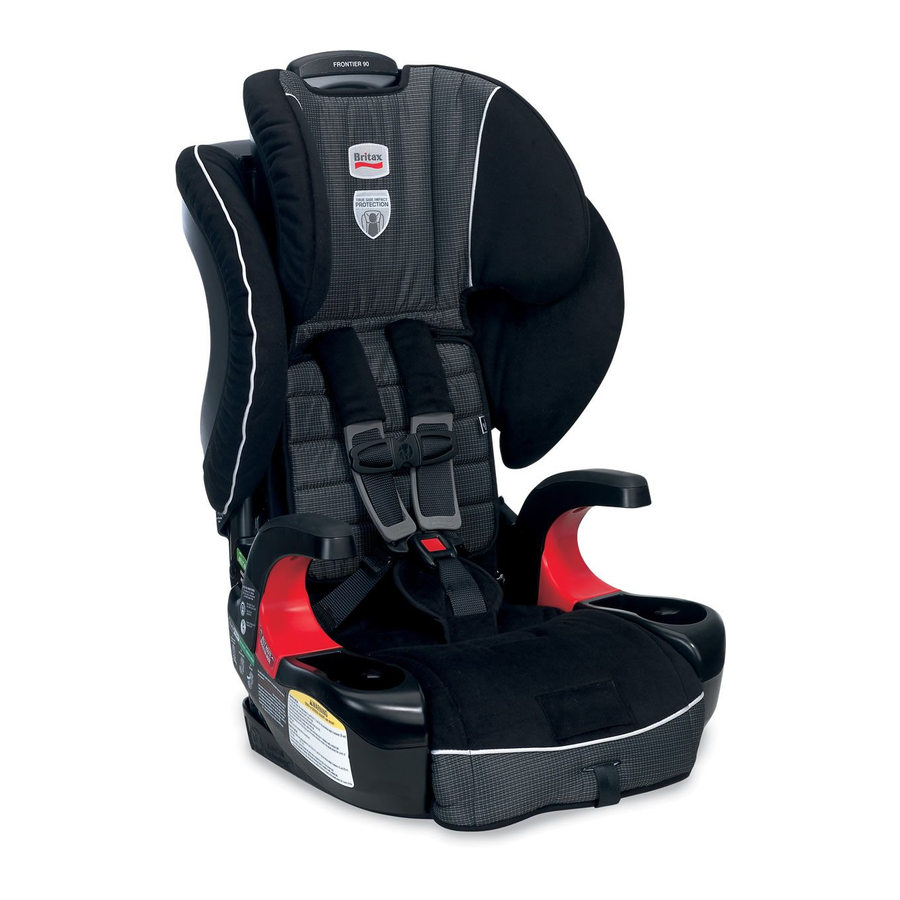
FRONTIER
User Guide
Guía del usuario
90
®
Advertisement
Chapters
Table of Contents

Related Manuals for Britax FRONTIER 90


Summary of Contents for Britax FRONTIER 90
- Page 1 FRONTIER ® User Guide Guía del usuario IMPORTANT: Thoroughly read and follow all instructions before installing this child seat. Store this user guide in the pocket behind the cover (See features pages for reference). IMPORTANTE: Debe leer y seguir atentamente todas las instrucciones antes de instalar el asiento de seguridad para niños.
-
Page 2: Table Of Contents
® ® ® Tether are trademarks owned by Britax Child Safety, Inc. and registered in the ® U.S.A. and other countries. All Rights Reserved. ©2013 Britax Child Safety, Inc. This product and its components are subject to change without notice. -
Page 3: Warnings
• The top tether MUST be used in harness mode for children that any part of the child seat or change the way the harness or vehicle’s weigh more than 65 lbs (29.5 kg). Britax recommends that the seat belts are used. -
Page 4: Harness & Booster Modes Requirements
5 the harness straps ears must be below the must be in the closest top of the head restraint position at or above the when seated and child’s shoulders when seated. NOTE: Britax recommends booster mode only after the child outgrows harness mode. -
Page 5: Installing The Child Seat
• The top tether MUST be used in harness mode for this seat in booster mode. See below. children that weigh more than 65 lbs. Britax recommends that the top tether be used at all times when installing the child seat. Using the top tether will improve the stability of your child seat and reduce the risk of injury. -
Page 6: Lap-Shoulder Belt With Clicktight
• Check that your vehicle has a top tether anchor. The top tether MUST be used in harness mode for children that weigh more than 65 lbs (29.5 kg). Britax recommends that the top tether be used at all times when installing the child seat. - Page 7 * The top tether MUST be used in harness mode for slack. children that weigh more than 65 lbs (29.5 kg). Britax recommends that the top tether be used at all times when installing the child seat. Using the top tether will improve the stability of your child seat and reduce the risk of injury.
- Page 8 * The top tether MUST be used in harness mode for the vehicle belt. children that weigh more than 65 lbs (29.5 kg). Britax recommends that the top tether be used at all times when installing the child seat. Using the top tether will improve the stability of your child seat and reduce the risk of injury.
-
Page 9: Positioning The Childseat
Positioning the Child Seat: Booster Mode Aircraft Installation LATCH with CLICKTIGHT Firmly press the Versa-Tether hook over a designated vehicle tether anchor. Remove Before you begin: slack. Secure excess webbing with IMPORTANT: It is not necessary to use LATCH to position this child the elastic strap. -
Page 10: Securing Your Child
Securing Your Child Securing Your Child Place the child in the child Harness Mode seat and position the harness straps around the child. WARNING! Fasten the harness buckle. • Never route the vehicle belt over the child when using this * Proper connection is confirmed child seat in harness mode. -
Page 11: Booster Mode
Securing Your Child Securing Your Child Remove slack from the vehicle Booster Mode belt. * The shoulder part must lie across the center of the child’s WARNING! chest, at or above the child’s • Only use a lap-shoulder belt to secure the child in booster shoulder. -
Page 12: Child Seat Overview
Child Seat Features Child Seat Features Cover 19 Serial Number and Manufactured Date Label Shell 20 Versa-Tether Adjuster Arm Rest 21 Versa-Tether Hook Booster Mode Belt Guide 22 Versa-Tether Webbing Cup Holder and Storage 23 Versa-Tether Storage Strap Harness and Head Restraint Height Adjuster 24 Harness Straps Head Restraint 25 Harness Mode Belt Path - Green (CLICKTIGHT) -
Page 13: Child Seat Functions
Child Seat Functions Child Seat Functions Harness and Head Restraint Height Adjustment Adjusting Buckle Position Removing the Buckle IMPORTANT: Make all adjustments for the fit of your child before Unbuckle the harness by using the child seat. Place the child seat on the floor and have your child sit in the seat. -
Page 14: Fastening The Buckle
Child Seat Functions Child Seat Functions Upright Position Fastening the Buckle Releasing the Buckle Insert one tongue at a time into Press the release button and the buckle. pull the tongues from the Recline Position buckle. NOTE: Proper connection is confirmed with an audible click NOTE: Periodically clean after inserting each buckle... -
Page 15: Using The Lower Connectors
• The top tether MUST be used in harness mode for children that weigh more than 65 lbs (29.5 kg). Britax recommends To remove the lower connector from the storage slot or lower... -
Page 16: Switching Between Modes
Child Seat Functions Switching Between Modes Energy-Absorbing Versa-Tether The Versa-Tether can indicate when the child seat has been in a Before you begin: moderate or severe crash and replacement of the child seat is IMPORTANT: It is not necessary to remove the harness to use this necessary. -
Page 17: Booster To Harness Mode: Restoring The Harness And Buckle
Switching Between Modes Switching Between Modes Place the seat cover and foam Booster to Harness Mode: Restoring the Harness and Buckle back in their original position and attach the retaining clips. Open the CLICKTIGHT. * Locate the two slots in the CLICKTIGHT cover. -
Page 18: Harness To Booster Mode: Removing The Harness And Buckle
Switching Between Modes Switching Between Modes Fasten the chest clip. Open the CLICKTIGHT. * Push together until a click is * Locate the two slots in the heard. CLICKTIGHT cover. * Squeeze the CLICKTIGHT release levers. Fasten the harness buckle. Unhook the harness straps from the CLICKTIGHT hip anchors. -
Page 19: Booster To Harness Mode: Replacing The Harness And Buckle
Switching Between Modes Switching Between Modes Nest the harness straps by Booster to Harness Mode: Replacing the Harness and Buckle inserting the right strap loop Open the CLICKTIGHT. into the left strap loop. * Locate the two slots in the CLICKTIGHT cover. -
Page 20: Vehicle Compatibility
Vehicle Compatibility Vehicle Compatibility Switchable Retractor in ALR Mode with Sliding Latch Plate Compatible Vehicle Seat Belts Has a latch plate that freely Vehicle seats and seat belts differ from vehicle to vehicle. Refer to slides along the vehicle belt your vehicle owner’s manual for specific information about your webbing. -
Page 21: Incompatible Vehicle Seat Belts
Vehicle Compatibility Vehicle Compatibility Vehicle Seating Positions Incompatible Vehicle Seat Belts WARNING! The following types of vehicle seat belts are NOT Some vehicles have no seating positions WARNING! compatible with this child seat. If any of the belt types listed below are which are compatible with this child seat or any other child seat. -
Page 22: Care And Maintenance
Care and Maintenance Care and Maintenance Unhook the elastic bands, Cover Removal then remove the side wing covers from each side of the WARNING! child seat shell. • Never remove the buckle tongues from the harness. * Be careful not to damage the •... -
Page 23: Cleaning The Cover
Care and Maintenance Care and Maintenance Fit the cover over the Cleaning the Cover CLICKTIGHT and pull the • HAND WASH the cover using cold water and mild soap. elastic band over the hook on • LINE DRY to prevent the cover from shrinking. the bottom of the CLICKTIGHT. - Page 24 Care and Maintenance Care and Maintenance To Clean: Cleaning the Buckle • THOROUGHLY RINSE the buckle using warm water. • TEST THE BUCKLE by fastening and unfastening until a positive If your child eats and drinks while in the child seat, you may need click is heard after inserting each buckle tongue.
-
Page 25: Tips And Troubleshooting
The warranty and remedies as set forth above are exclusive and in lieu of all others, Problem: The harness is hard to adjust. oral or written, express or implied. In no event will BRITAX, or the retailer selling this product, be liable to you for any damages, including incidental or consequential Possible Solution: The yoke may be caught on a strap or other damages, arising out of the use or inability to use this product. - Page 26 Britax y registradas en los Estados ® Unidos y otros paises. Reservados todos los derechos. ©2013 Britax Child Safety, Inc. Este producto y sus componentes están sujetos a cambios sin previo aviso. Impreso en EE.UU. P502400_R2:04.13.
-
Page 27: Advertencias
• Modo de arnés: únicamente se debe utilizar con niños que pesan o dispositivos de ajuste que no sean de Britax. Su uso podría hacer entre 11,3 y 40,8 kg (entre 25 y 90 lb), miden entre 76,2 y 147,3 cm que el asiento no cumpla con las normas federales de seguridad (30 y 58 pulg.), y tienen como mínimo 2 años de edad. -
Page 28: Registro
Si el niño no cumple todos los requisitos para para niños a Britax Child Safety, Inc., P .O. Box 91167 Allentown, PA 18109- utilizar el modo regulable porque es demasiado pequeño, puede que sea 9925 (EE. -
Page 29: Instalación Del Asiento De Seguridad Para Niños
• La correa de retención superior DEBE utilizarse en modo de utilizar el sistema LATCH para colocar este asiento en modo arnés para niños que pesan más de 29,5 kg (65 lb). Britax regulable. Observe el siguiente diagrama. recomienda que se use la correa de retención superior en todo momento, cuando se esté... -
Page 30: Cinturón De Banda Horizontal Y Transversal Con Clicktight
* La correa de retención superior DEBE utilizarse en modo de arnés Tense primero la banda para niños que pesan más de 29,5 kg (65 lb). Britax recomienda que horizontal del cinturón de se use la correa de retención superior en todo momento, cuando se seguridad del vehículo (a) y... - Page 31 * La correa de retención superior DEBE utilizarse en modo de arnés para niños que pesan más de 29,5 kg (65 lb). Britax recomienda que tensarlo. se use la correa de retención superior en todo momento, cuando se esté...
- Page 32 * La correa de retención superior DEBE utilizarse en modo de arnés para niños que pesan más de 29,5 kg (65 lb). Britax recomienda que se use la correa de retención superior en todo momento, cuando se esté...
-
Page 33: Posición Del Asiento De Seguridad Para Niños
Posición del asiento de seguridad para niños: Modo regulable Posición del asiento de seguridad para niños: Modo regulable Cierre el CLICKTIGHT. LATCH con CLICKTIGHT * Oirá un clic cuando el CLICKTIGHT esté perfectamente acoplado. Antes de comenzar: IMPORTANTE: No es necesario utilice el sistema LATCH en modo regulable. -
Page 34: Sujeción Del Niño
Sujeción del niño Sujeción del niño Siente a su hijo en el asiento Modo de arnés de seguridad para niños y ajuste las correas del arnés ADVERTENCIA! alrededor del niño. • Nunca se debe pasar el cinturón del vehículo por encima del niño cuando se utilice este asiento de seguridad para Abroche la hebilla del arnes niños en modo de arnés. -
Page 35: Modo Regulable
Sujeción del niño Sujeción del niño Modo regulable Tense el cinturón de seguridad del vehículo. ADVERTENCIA! * La banda transversal del • Solo debe usarse el cinturón de banda horizontal y cinturón del vehículo debe transversal cuando se esté sujetando al niño utilizando el estar colocado por en modo regulable. -
Page 36: Características Del Asiento De Seguridad Para Niños
Características del asiento de seguridad para niños Características del asiento de seguridad para niños SISTEMA DE INSTALACIÓN PARA UN AJUSTE RÁPIDO Y SEGURO Cubierta 19 Etiqueta con la fecha de fabricación y de el numero de serie Exterior del asiento 20 Dispositivo de ajuste del Versa-Tether Apoyabrazos 21 Gancho del Versa-Tether... -
Page 37: Funciones Del Asiento De Seguridad Para Niños
Funciones del asiento de seguridad para niños Funciones del asiento de seguridad para niños Regulación de altura de reposacabezas y del Ajuste de la posición de arnés la hebilla Extracción de la hebilla IMPORTANTE: Antes de utilizar el asiento de seguridad para niños, debe realizar todos los ajustes oportunos para adaptarlo al Desabroche el arnés tamaño de su hijo. - Page 38 Funciones del asiento de seguridad para niños Funciones del asiento de seguridad para niños Posición vertical Cómo abrochar la Cómo desabrochar la hebilla hebilla Inserte las lengüetas en la Presione el botón de Posición reclinada hebilla de una en una. desbloqueo y quite las dos lengüetas de la hebilla.
- Page 39 Para extraer el conector LATCH del compartimento o anclaje • La correa de retención superior DEBE utilizarse en modo de inferior: arnés para niños que pesan más de 29,5 kg (65 lb). Britax recomienda que se use la correa de retención superior en Mantenga pulsado el botón todo momento, cuando se esté...
-
Page 40: Cómo Cambiar De Modo
Funciones del asiento de seguridad para niños Cómo cambiar de modo Absorción de fuerzas Versa-Tether El Versa-Tether puede indicar cuando el asiento de seguridad para Antes de comenzar: niños ha estado implicado en un accidente moderado o grave, y • No es necesario quitar el arnés para utilizar el asiento de es necesario reemplazarlo. -
Page 41: Restauración Del Arnés Y La Hebilla
Cómo cambiar de modo Cómo cambiar de modo Coloque la almohadilla Cómo pasar del modo regulable al modo de arnés: abdominal para el sistema de Restauración del arnés y la hebilla abrochado hacia delante y Abra el CLICKTIGHT. póngala encima de la palanca de ajuste de la correa del * Localice las dos ranuras en la cubierta del CLICKTIGHT. -
Page 42: Extracción Del Arnés Y La Hebilla
Cómo cambiar de modo Cómo cambiar de modo Ajuste el broche pectoral. Abra el CLICKTIGHT. * Acople las piezas hasta que se * Localice las dos ranuras en la oiga un clic. cubierta del CLICKTIGHT. * Presione las palancas de desbloqueo del CLICKTIGHT para abrirlo. -
Page 43: Sustitución De Arnés Y La Hebilla
Cómo cambiar de modo Cómo cambiar de modo Como pasar de modo regulable al modo de arnés: Junte las correas del arnés insertando la lazada de la Sustitición del arnés y la hebilla correa derecha en la izquierda. Abra el CLICKTIGHT. Localice las dos ranuras en la cubierta del CLICKTIGHT. -
Page 44: Compatibilidad Con El Vehículo
Compatibilidad con el vehículo Compatibilidad con el vehículo Cinturones de seguridad de vehículo compatibles 3. Sistema retráctil intercambiable en modo de sistema retráctil de bloqueo automático con hebilla deslizante Los asientos del vehículo y los cinturones de seguridad difieren Dispone de una hebilla que según el automóvil. -
Page 45: Cinturones De Seguridad De Vehículo Incompatibles
Compatibilidad con el vehículo Compatibilidad con el vehículo Asientos del vehículo Cinturones de seguridad de vehículo incompatibles Algunos vehículos no tienen asientos ADVERTENCIA! ADVERTENCIA! Los siguientes tipos de cinturones compatibles con este asiento de seguridad para niños ni de seguridad de vehículos NO son compatibles con este asiento de ningún otro. -
Page 46: Cuidado Y Mantenimiento
Cuidado y mantenimiento Cuidado y mantenimiento Extracción de la cubierta Desenganche las bandas elásticas y retire las cubiertas laterales de ambos laterales ADVERTENCIA! del exterior del asiento de • Nunca quite las lengüetas de la hebilla para desabrochar seguridad para niños. el arnés. -
Page 47: Limpieza De La Cubierta
Cuidado y mantenimiento Cuidado y mantenimiento Limpieza de la cubierta Coloque la cubierta sobre el CLICKTIGHT y pase la cinta • LAVAR A MANO con agua fría y jabón suave. elástica por el enganche • COLGAR PARA SECAR a fin de evitar que encoja. que se encuentra en la parte •... - Page 48 Cuidado y mantenimiento Cuidado y mantenimiento Limpieza: Limpieza de la hebilla • ENJUAGAR BIEN con agua templada. • PROBAR LA HEBILLA abrochándola y desabrochándola hasta Si el niño come y bebe en el asiento, usted deberá revisar la que oiga claramente un clic después de insertar cada lengüeta. hebilla periódicamente y limpiar los restos que pueda haber de Si no oye ningún clic, debe proceder a limpiar la hebilla de comida o líquido solidificado.
-
Page 49: Consejos Y Solución De Problemas
Britax no aprueba el uso de cubiertas, piezas, juguetes, interfieren con el mecanismo. Asegúrese de que el área del accesorios o dispositivos de ajuste que no sean de Britax Child Safety, Inc. Su uso asiento esté despejado de obstrucciones y cerráis el CLICKTIGHT podría hacer que el asiento no cumpla con las normas federales de seguridad... - Page 50 Notas...
- Page 51 Britax Child Safety, Inc. Tel. : 1-888-427-4829 4140 Pleasant Road 1-704-409-1700 Fort Mill, SC 29708 www.Britax.com A Britax Childcare Group Limited company...