
Related Manuals for FoodSaver V4880 series


Summary of Contents for FoodSaver V4880 series
- Page 1 User Manual & RecipeBook Notice d’emploi et recettes for V4880 series appliances pour appareils de la série V4880 www.foodsaver.ca 1 877 804-5383...
-
Page 2: Important Safeguards
9. Wait 20 seconds between seals to allow appliance to cool. 10. Caution: Place cord where the cord cannot be pulled, cause user to be entangled with the cord, or cause the product to be overturned. For Household Use Only SAVE THESE INSTRUCTIONS www.foodsaver.ca 1-877-804-5383... -
Page 3: Table Of Contents
Welcome to FoodSaver Vacuum Sealing System ..............4 ® Features of Your FoodSaver Appliance ................. 4 ® How to Make a Bag from a FoodSaver Vacuum Sealing Roll ..........8 ® How to Vacuum Seal with FoodSaver Vacuum Sealing Bags ..........9 ®... -
Page 4: Welcome To Foodsaver ® Vacuum Sealing System
You are about to enjoy the freshness benefits of its convenience and versatility. FoodSaver , The #1 Selling Brand of Vacuum ® Sealing Systems. For years, the FoodSaver ® Questions? Vacuum Sealing System has helped millions Contact customer service at... - Page 5 I. Appliance Door Opens to access Built-in Roll Holder and Cutter. J. Built-in Roll Holder For storage of FoodSaver ® Vacuum Sealing Rolls. K. Roll Cutter Bar Simplifies making custom-sized bags. L. Bag Cutter M. Auto Bag Sensing Simply insert open end of bag...
-
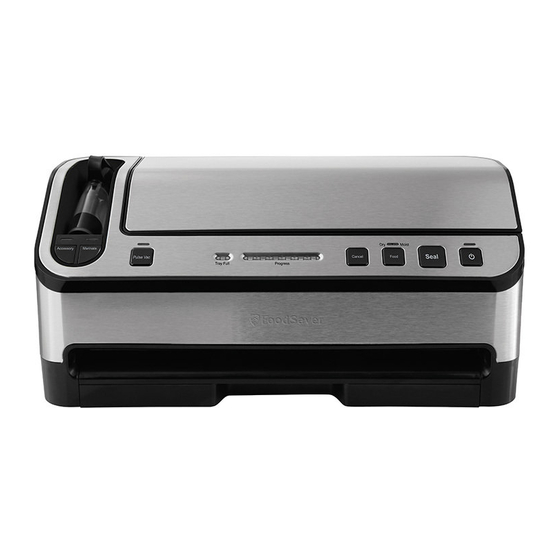
Page 6: Control Panel Of Appliance
Control Panel of Your FoodSaver Appliance ® Retractable Handheld Sealer Indicator LEDs Vacuum ™ Accessory Marinate PulseVac Tray Full Seal Indicator Cancel Adjustable Seal Power Progress Mode Mode Control Feature Indicator Light Button Food Settings Button Button Display ACCESSORY MODE BUTTON Press to achieve best vacuum for canisters and accessories. - Page 7 1. CrushFree ™ Instant Seal feature- Press to immediately stop the vacuum process and begin sealing the bag. This prevents crushing delicate items such as bread, cookies and pastries. 2. Press to create a seal when making bags from a FoodSaver Roll. ®...
-
Page 8: How To Make A Bag From A Foodsaver ® Vacuum Sealing Roll
You may remove bag from the Vacuum Channel (G). 7. You now have one sealed end (Fig. 5). Insert Bag Fig. 4 Curl Downward 8. Now you are ready to vacuum seal with your new bag (see next page). Fig. 5 www.foodsaver.ca 1-877-804-5383... -
Page 9: How To Vacuum Seal With Foodsaver ® Vacuum Sealing Bags
How to Vacuum Seal with FoodSaver ® Vacuum Sealing Bags Fig. 1 1. Begin with a FoodSaver Vacuum Sealing System Bag ® (or create a bag as described in the “How to Make a Bag from a Roll” section on page 9). -
Page 10: Removing Air From A Bag
Zipper Bags Canisters ® 1. Place food into Zipper Bag. Make sure not to put 1. Prepare canister according to FoodSaver ® any food under valve. Press zipper closed with Accessory Guidelines, which are included with finger while bag is lying down on a flat surface. -
Page 11: Using Pulsevac™ Control Feature
Repeat pushing the PulseVac ™ Button until Emptying Drip Tray This FoodSaver model comes with a convenient, ® pull-out drawer to access the Drip Tray (P). -
Page 12: Marinating With Your Foodsaver ® Appliance
Marinating with your FoodSaver Appliance ® Your FoodSaver Vacuum Sealing System has a special ® Fig. 1 Quick Marinate Cycle which will last about ten minutes. The FoodSaver Quick Marinating Canister is the perfect ® FoodSaver accessory for marinating foods. -
Page 13: Care And Cleaning
Retractable Handheld Sealer Reservoir: Empty Reservoir after each use. Wash in warm soapy water. Air dry before replacing. IMPORTANT: To remove Reservoir from Retractable Handheld Sealer: While holding top portion by hose pull clear Reservoir down and off. www.foodsaver.ca 1-877-804-5383... -
Page 14: Trouble-Shooting
Vacuum Pump is running, • If making a bag from a roll, make sure one end of bag is sealed. but bag is not evacuating (See “How to Make a Bag from a FoodSaver Vacuum Sealing Roll” on page 9.) ®... -
Page 15: Guidelines For Vacuum Packaging
Guidelines for Vacuum Packaging Vacuum Packaging and Food Safety To reheat foods in a microwave in a FoodSaver ® Bag, always cut corner of the bag before placing The vacuum packaging process extends the life of it on a microwave-safe dish. However, to avoid hot... - Page 16 FoodSaver , visitez au www.foodsaver.ca ou bien appelez le 1 877 804-5383 au Canada. ©2013 Sunbeam Products, Inc. doing business as Jarden Consumer Solutions. All rights reserved. In Canada, imported and distributed by Sunbeam Corporation (Canada) Limited doing business as Jarden Consumer Solutions, 20 B Hereford Street, Brampton, Ontario L6Y 0M1.