
Related Manuals for Spirit CG800 e


Summary of Contents for Spirit CG800 e
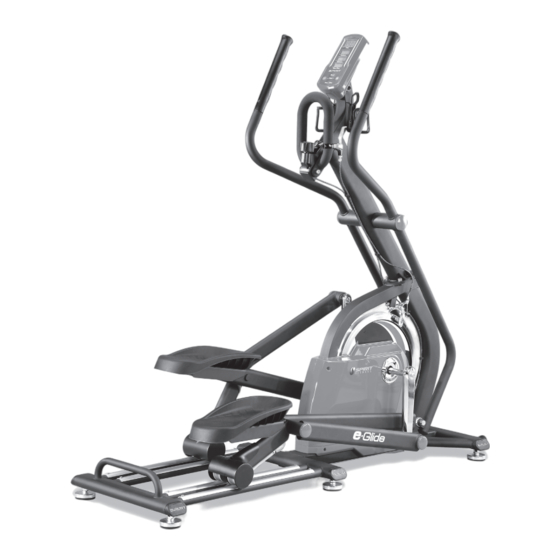
- Page 1 CG800 Glide Trainer OWNER’S MANUAL Please carefully read this entire manual before operating your new e•Glide Trainer...
- Page 3 Product Registration Important Safety Instructions CG800 Assembly Instructions Operation of Y our Console General Maintenance Manufacturer’s Limited Warranty...
- Page 4 CG800 Glide Trainer...
- Page 5 Congratulations on your new e•Glide Trainer and welcome to the Spirit Fitness family! Thank you for your purchase of this quality group e•Glide Trainer from Spirit Fitness. Your new e•Glide Trainer was manufactured by one of the leading fitness manufacturers in the world and is backed by one of the most comprehensive warranties available.
- Page 6 WARNING - Read all instructions before using this appliance. ƒ Do not operate e•Glide Trainer on deeply padded, plush or shag carpet. Damage to both carpet and e•Glide Trainer may result. ƒ Keep children away from the e•Glide Trainer. There are obvious pinch points and other caution areas that can cause harm.
-
Page 7: Pre-Assembly
Pre-Assembly Using a razor knife (Box Cutter), cut the banding straps that wrap around the carton. Reach under the bottom edge of the carton and pull it away from the cardboard underneath, separating the staples that join the two together. Lift the box over the unit and unpack. Carefully remove all parts from carton and inspect for any damage or missing parts. -
Page 8: Step 1: Console Mast
STEP 1: Console Mast The resistance adjustment cable and speed sensor wire are pre-installed to the console mast and main frame so be careful not to pull too hard on the console mast during assembly to avoid damaging them. Lift the console mast (2) into place and align it so the locating pins in the mounting plate are set into the holes in the mating plate of the main frame. - Page 9 STEP 2: Swing Arms & Pedals Slide the two swing arms (9 & 10) onto the console mast axle. There is a left and right swing arm so make sure you assemble the correct one on each side. Do not force the arms onto the axle or use a hammer as damage to the bearings could occur.
- Page 10 STEP 3: Console, Wheels & End Caps Attach the transport wheels (79) with two bolts (44) and two nuts (45). Unpack the console and install the 3 AA batteries. Connect the speed sensor wire into the white two pin connector accessed through the opening in the back of the console. Mount the console onto the console mast plate and secure with four screws (59).
- Page 11 STEP 4: Arm Connection Assemble the bracket at the bottom of the swing arms (9 & 10) to the ends of the pedal arms using two shoulder bolts (74) and the two nuts (110). HARDWARE #74. M10 x 38mm #110. M10 Shoulder Bolt CG800 Glide Trainer...
- Page 12 STEP 5: Levelers & End Caps Tilt the e•Glide Trainer to one side and put something under the unit for support. Install the three levelers (40) on that side. Tilt the unit to the other side and install those three levelers (40) on that side. Level the e•Glide Trainer once it is positioned where it will be used.
- Page 13 CG800 Glide Trainer...
- Page 14 CG800 Console 4 Individual LCD Windows Easy-T ouch Control Buttons Power The power for the console is provided by 3 AA alkaline batteries (provided) and will operate on rechargeable NiCd AA batteries. Once the batteries are installed the console will power on, the Time window will display an hour meter reading, the Distance window will display an odometer reading and the RPM/Cadence window will display the software version.
-
Page 15: Operation
Displays TIME: Displays workout time two ways; either count up (accumulated time) or count down (remaining time), depending on your preference. SPEED/CADENCE/RPM: Displays the current pedaling speed as revolutions per minute. DISTANCE: Displays virtual distance traveled in miles or kilometers (units selected through management mode, see page 12 for details). -
Page 16: Management Mode
The e•Glide Trainer is practically maintenance free. Just keep it clean by wiping down the unit with a damp cloth after each use. Do not use harsh detergents. Every month check that all the hardware is securely tightened. Do not use the e•Glide Trainer if any parts are loose or broken. The wheels and aluminum tracks will need to be kept clean to prevent noise and maintain smoothness. - Page 17 T rainer Warranty - Effective January 1, 2011 Spirit Fitness warrants all its e•Glide Trainer parts for a period of time listed below from the date of retail sale, as determined by sale receipt, or in the absence of a sales receipt eighteen (18) months from the original factory shipping date. Spirit Fitness’ responsibilities include providing new or remanufactured parts, at Spirit Fitness’...
- Page 18 2601 Commerce Drive Jonesboro, AR 72401 - Phone: 800-258-4555 - Fax: 870-935- 7 611 © 2011 All Rights Reserved. www.spiritfitness.com CG800 Owner’s Manual 1. 1 Rev . 1...