
Related Manuals for Samson CL8


Summary of Contents for Samson CL8
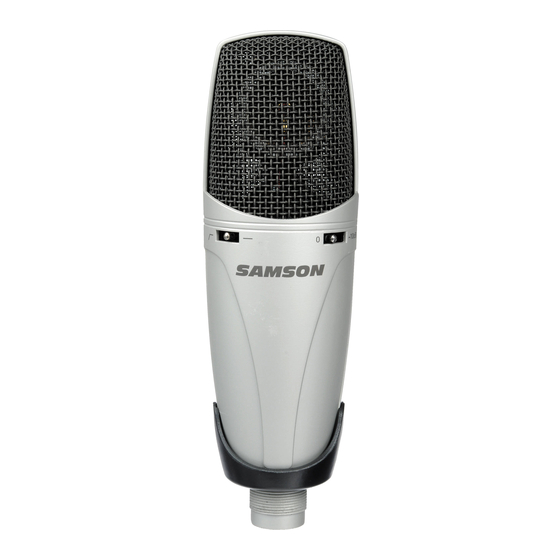
- Page 1 Multi-Pattern Large Diaphragm Condenser Microphone CL8_ownman.indd 1 10/12/04 8:26:13 PM...
-
Page 2: Table Of Contents
Cardioid Omni Figure-8 Microphone Placement P-Popping Stand Mounting Using the Optional SP01 “Spider” Shock-Mount Specifications Copyright 2004, Samson Technologies Corp. Printed October, 2004 Samson Technologies Corp. 575 Underhill Blvd. P.O. Box 9031 Syosset, NY 11791-9031 Phone: 1-800-3-SAMSON (1-800-372-6766) Fax: 516-364-3888 www.samsontech.com... -
Page 3: Introduction
The extended frequency and fast transient response insures an accurate repro- duction with linear characteristics from bottom to top. In these pages, you’ll find a detailed description of the features of the CL8 Studio Condenser Microphone, as well as step-by-step instructions for its setup and use, an expla- nation of the variable pick-up patterns and full specifications. -
Page 4: Operating The Cl8
PEAK or CLIP LED. To set a good level on the mic, set the CL8 up in front of the desired sound source and slowly raise the mic trim control until you see the PEAK LED light up. -
Page 5: Cardioid
You can also create some interesting slap back echo effects by positioning the CL8 in Figure-8 pattern between a recorded instrument and a particular wall in the studio. The rear capsule will pick up the reflec- tion of the sound off the wall, and by changing the distance of the microphone from the wall you can actually change the delay time of the echo. -
Page 6: Microphone Placement
In order to maximize the sound quality, you must pay careful attention to the placement of your CL8 and how it is positioned for the instrument or vocalist that you are miking. All microphones, especially uni-directional or cardioid microphones, exhibit a phenomenon known as the “prox- imity effect. -
Page 7: Using The Optional Sp01 "Spider" Shock-Mount
1/ Insert the internal shock-mount washer into the SP01 with the curved side up. (Figure 1) Internal Shock- mount Washer CL7 or CL8 SP01 Figure 1 Figure 2 2/ Place the microphone carefully into 3/ Tighten the SP01 threaded collar... -
Page 8: Specifications
CL8 Specifications CL8 Specifications Cardioid Polar Pattern Cardioid Frequency Response Graph Cardioid Frequency Response Graph Cardioid Figure 8 Frequency Response Graph Figure 8 Polar Pattern Omni Frequency Response Graph Omni Polar Pattern ni Polar Pattern Max. SPL: Specifications Cardioid 144 dB...