Table of Contents
Advertisement
Quick Links
Advertisement
Table of Contents

Related Manuals for Samson CL7


Summary of Contents for Samson CL7
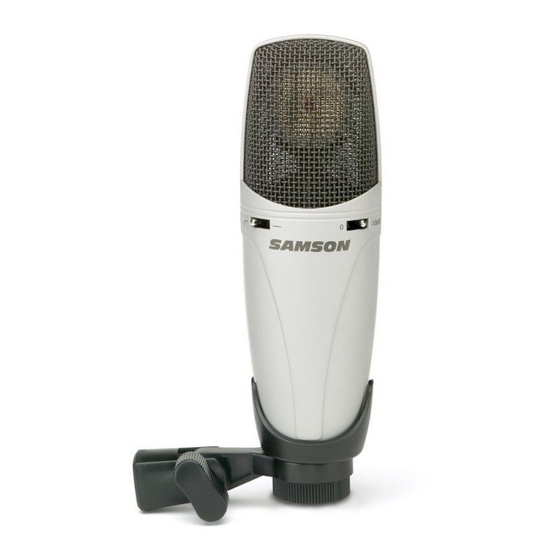
- Page 1 Large Diaphragm Studio Condenser Microphone...
-
Page 2: Table Of Contents
Using the Hi-pass Filter switch Polar Pattern Microphone Placement P-Popping Stand Mounting Using the Optional SP01 “Spider” Shock-Mount Specifications Copyright 2003, Samson Technologies Corp. Printed December, 2003 Samson Technologies Corp. 575 Underhill Blvd. P.O. Box 9031 Syosset, NY 11791-9031 Phone: 1-800-3-SAMSON (1-800-372-6766) Fax: 516-364-3888 www.samsontech.com... -
Page 3: Introduction
In these pages, you’ll find a detailed description of the features of the CL7 Studio Condenser Microphone, as well as step-by-step instructions for its setup and use, and full specifications. You’ll also find a warranty card enclosed—... -
Page 4: Operating The Cl7
PEAK or CLIP LED. To set a good level on the mic, set the CL7 up in front of the desired sound source and slowly raise the mic trim control until you see the PEAK LED light up. Then, turn the mix trim control down until the LED does not light any more. -
Page 5: Using The Hi-Pass Filter Switch
Operating the CL7 Using the Hi-Pass Filter The CL7 offers a user selectable hi- pass, (or low-cut filter), which you can use to eliminate any unwanted low fre- quency reproduction. When the Hi- pass Filter is set to the “flat” (indicated by the straight line) position, there is no effect on the signal. -
Page 6: Microphone Placement
Microphone Placement In order to maximize the sound quality, you must pay careful attention to the placement of your CL7 and how it is positioned for the instrument or vocalist that you are miking. All microphones, especially uni-directional or cardioid microphones, exhibit a phenomenon known as “proximity effect.”... -
Page 7: Using The Optional Sp01 "Spider" Shock-Mount
Using the Optional SP01 Shock-Mount Using the Optional SP01 “Spider” Shock-Mount For additional isolation the CL7 can be fit- ted on the optional SP01 “Spider” shock mount. Follow the steps below to install the SP01. • First, screw the SP01 shock mount onto your mic stand or boom arm. -
Page 8: Specifications
1000 ohms phantom power 48V +/-3V 1.1 lbs. (500 g) Height: 7" (175 mm) Width: 2.125" (54 mm) Depth: 2.125" (54 mm) CL7 POLAR PATTERN Samson Technologies Corp. 575 Underhill Blvd. P.O. Box 9031 Syosset, NY 11791-9031 Fax: 516-364-3888 www.samsontech.com...