Table of Contents
Advertisement
Quick Links
Advertisement
Table of Contents

Related Manuals for Dukane DC80A


Summary of Contents for Dukane DC80A
- Page 1 Document Camera Service Manual DC80A V1.0 05/01/2001...
-
Page 2: Table Of Contents
Introduction......................3 Package Check .......................3 Installation......................3 Control Button Description..................5 Some Using Tips ....................5 Tip 1: How to avoid the hot spot..............5 Tip 2: How to control the camera to get best picture........5 Tip 3: How to avoid a shadow image on document........5 Tip 4: How to avoid image flicking ...............5 Maintenance......................6 Replacing the mainboard and CCD board .............6... -
Page 3: Introduction
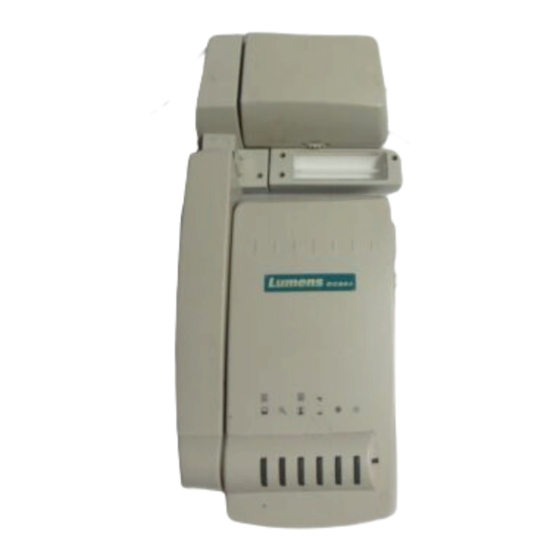
Document Camera Service Manual Introduction This Document Camera is equipped with the most advanced RGB progressive CCD to capture the details of documents and output the high quality RGB signal. Also provide some easy but useful functions such as flip image, adjust the brightness and digital zoom to let your presentation successful Package Check The Document Camera comes with the parts listed below. - Page 4 Figure 2: Front side view of Document Camera Figure 3: Rear Side View of Document Camera (1) Focus Ring (7) Lamp Power (2) Height Adjust Column (8) Lamp (3) Angle Adjust Column (9) DC12V In (4) Control Panel (10) VGA In (5) LED (11) VGA Out (6) Power Switch...
-
Page 5: Control Button Description
Note : The DIP switch setting will be taken effect only when you re-power on the camera Control Button Description Source Source selection : computer VGA or Select camera Digital Zooming from 100% to 300% Zoom Image Photo , Text , Invert or Mono Type Flip Rotate the image 180 degrees... -
Page 6: Maintenance
Maintenance Replacing the mainboard 1.There are four screws on the CCD Box Cover. 2.Loosen four screws and open the CCD Box Cover. The mainboard and CCD board are under the iron sheet. 3.Remove the CCD lens unit and detach the flat cable. Loosen one screw and thentake the mainboard and the CCD Board. - Page 7 4.There is a screw securing the mainboard and CCD Board. 5.Detach the mainboard and CCD board carefully and then get each one of them. 6. The same applies to the CCD housing and arm joint (which has no spring). (0.7kgf-cm)
-
Page 8: Replacing The Hinge
Replacing the Hinge 1. There are four screws under the rubber foot. Loose them and open the Top Base Cover. 2. Remove the screw and spring used to fasten the hinge. 3. Detach the flat cable. - Page 9 4. Remove two screws that keep the hinge in place. 5. Replace the hinge, and repeat the above steps in reverse order. (3.5kgf-cm)
-
Page 10: Replacing The Internal Slide Of The Arm
Replacing the internal slide of the arm 1. Detach the arm from the base as steps shown above. 2. Remove the 17 screws that keep the lower arm in place, and remove the cover. You now have access to the interior. 3.