Table of Contents
Advertisement
Advertisement
Table of Contents

Related Manuals for Dymo 6000


Summary of Contents for Dymo 6000
- Page 1 DYMO 6000 Electronic Labelmaker User’s Guide ESSELTE DYMO...
- Page 2 UL 1950 EN 55022 Specification for limits and methods of measurement of radio interference characteristics of information technology equipment. FCC pt15 J Federal communications commission radio frequency Class B emissions. Written by DAW Publications, Cambridge ® DYMO 6000 Labelmaker...
-
Page 3: Table Of Contents
Display window ....... 19 Inserting characters ......19 Deleting characters ......20 Storing a label in the memory ..20 Deleting a label ....... 20 Inserting an existing label from memory .......... 20 Editing an existing label ....21 ® DYMO 6000 Labelmaker... -
Page 4: Introduction
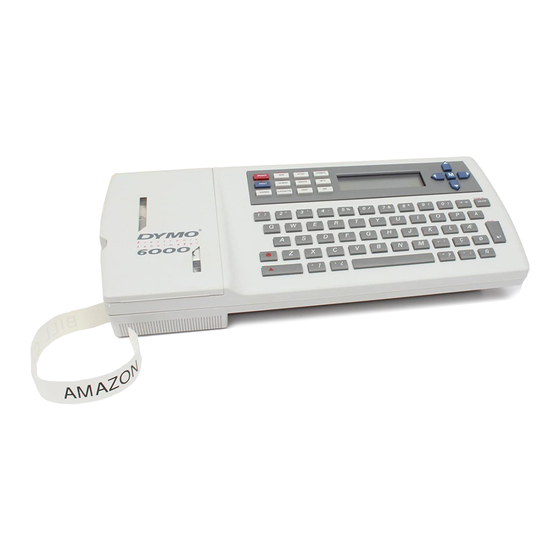
DYMO 6000 Electronic Labelmaker Introduction Thank you for choosing the Dymo 6000 Electronic Labelmaker. This machine enables you to create a wide variety of high quality self-adhesive labels in numerous colour combinations. Facilities are arranged so that simple labels can be created quickly and easily, whilst more advanced features are available using additional key operations. -
Page 5: Caring For Your Labelmaker
• clean the Labelmaker with a soft, dry or damp cloth; do not use any solvents • use only the special AC adaptor designed for the DYMO 6000 Labelmaker • disconnect from the AC power supply and remove the cassettes if the Labelmaker is not to be used for a long period of time •... -
Page 6: Preparing For Use
AT LEAST 24 hours. You can use the Labelmaker with power from the AC adaptor during the initial 24-hour charging period. Connect the AC adaptor plug here External interface socket Fig. 1 — Rear/underside view ® DYMO 6000 Labelmaker... -
Page 7: Battery Life
The external interface socket at the rear of the Labelmaker enables Interface you to plug in a range of optional cartridges. Socket DO NOT ATTEMPT TO CONNECT ANYTHING OTHER THAN AN APPROVED DYMO CARTRIDGE FOR THE 6000 ELECTRONIC LABELMAKER TO THE EXTERNAL INTERFACE SOCKET. ® DYMO... -
Page 8: Creating Your First Label
You will no doubt be anxious to see what your new Labelmaker can do. Before we go on to explore the many advanced features of the DYMO 6000, follow these simple steps to create your first label. 1. Connect the AC adaptor, plug in and switch on at the wall socket. - Page 9 You should now have a high quality printed name label — don’t waste it! If this is your personal machine, why not fix the label to the underside to identify its owner? You have just found the first of many uses for your DYMO Labelmaker labels. Now read on..®...
-
Page 10: Description Of Keys
A menu appears from which you can choose to convert the label SYMBOL into a barcode label. PRINT Prints the label, then cuts the label at the end. Feeds out approximately 30mm (1 ) of label tape, then cuts the / " PRINT tape. ® DYMO 6000 Labelmaker... - Page 11 Rotates the complete label through 90 , as indicated in the display. VERT Text is printed vertically. Press again to cancel. COLOUR Press to change the print colour of the label at the cursor position. VERT ® DYMO 6000 Labelmaker...
-
Page 12: The Main Typewriter-Style Keyboard
Enables you to search for particular types of labels only, e.g. all labels beginning ‘DYMO 6’. key enables you to mark and edit part of a label only. -
Page 13: International Characters
Press ‘E’ followed by ‘´’ to get é. You can also add a diacritical to an existing character: • Use to place the cursor to the right of the character to be changed • Press the appropriate diacritical key. ® DYMO 6000 Labelmaker... -
Page 14: Display And Indicators
PRINT Pressing enables you select the correct label format to CASSETTE CASSETTE match the label tape width installed. Note, however, that the format of your label may be altered when you select a different width. ® DYMO 6000 Labelmaker... -
Page 15: Warning Symbols
Note: The layout of the current label may be adjusted automatically if: • you insert a label from memory which was created for a different width of label tape • the label you are inserting has multiple lines of text, colour changes or page breaks. ® DYMO 6000 Labelmaker... -
Page 16: Removing A Label From Memory
Search labels of similar types, for example all the labels which include ‘DYMO 6000’. This facility is useful if you have many labels of different types stored in the memory and will save time in finding the label or labels required. -
Page 17: Symbols
¢ character, which õ Ã Ñ Õ á é í ó is the first symbol character in the table. ú Á É Í Ó Ú à è ì ò ù â ê î ô û ç Ç ® DYMO 6000 Labelmaker...